
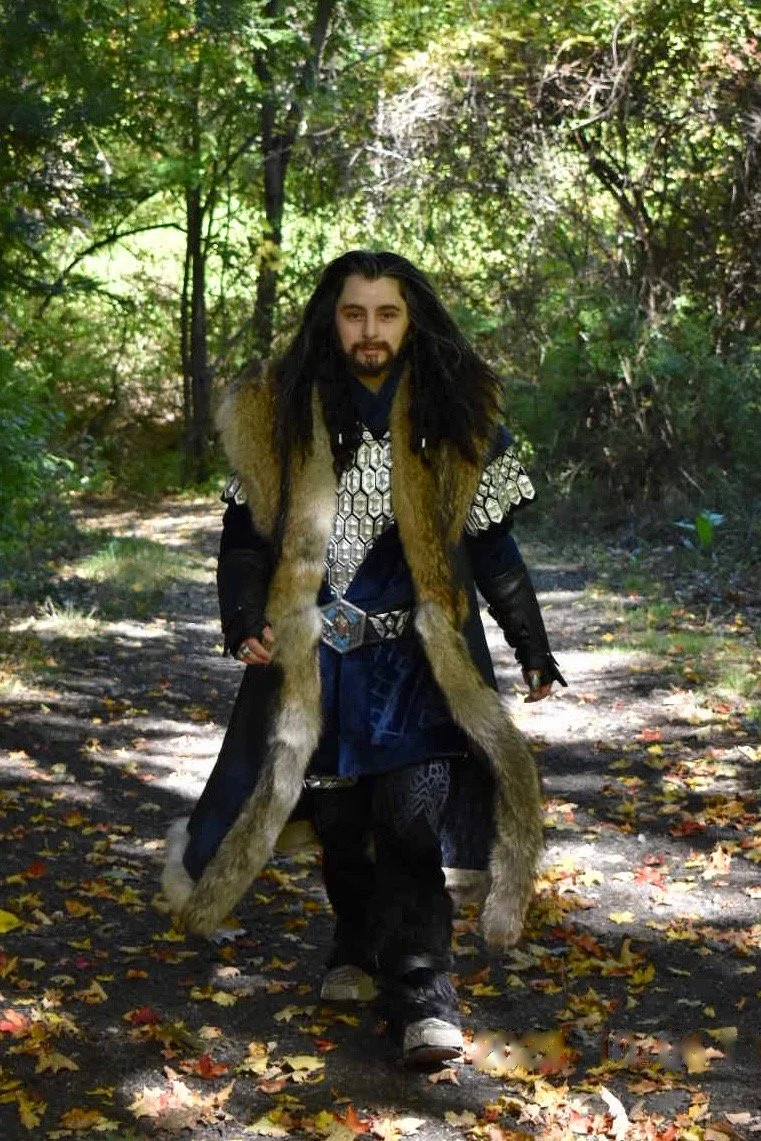
Thorin Oakenshield
This costume is a replica of the costume worn by the character Thorin Oakenshield in the movies based on J.R.R. Tolkien’s book, The Hobbit; specifically, in the movies An Unexpected Journey (2012), and The Desolation of Smaug (2013).
The Hobbit is a story I’ve loved since I was little, and when I first saw the movies, I absolutely fell in love with this costume, and more specifically this coat. Now, years later, I realized that I finally have the skills to actually make this for myself, and that I could learn a lot along the way. It was really fun to try different things and problem solve to make this work, and I got the opportunity to work with some materials and techniques I’d never or barely touched on.
I started this costume in early February 2022, beginning with the wig, and ordering fabric samples. It then went on hiatus until early May, when the bulk of the work started. I worked from then until September 1st, when I did the first full try on of the completed costume. This will be my 2022 Halloween costume.
Because this is my attempt to replicate this costume, I used many, many reference images. Any that are relevant to this write up will be linked; I will not, however, be attaching any of those photos to this page, as I don’t own them.
If you’re looking for the rest of the cinematic photos, scroll to the bottom of the page!
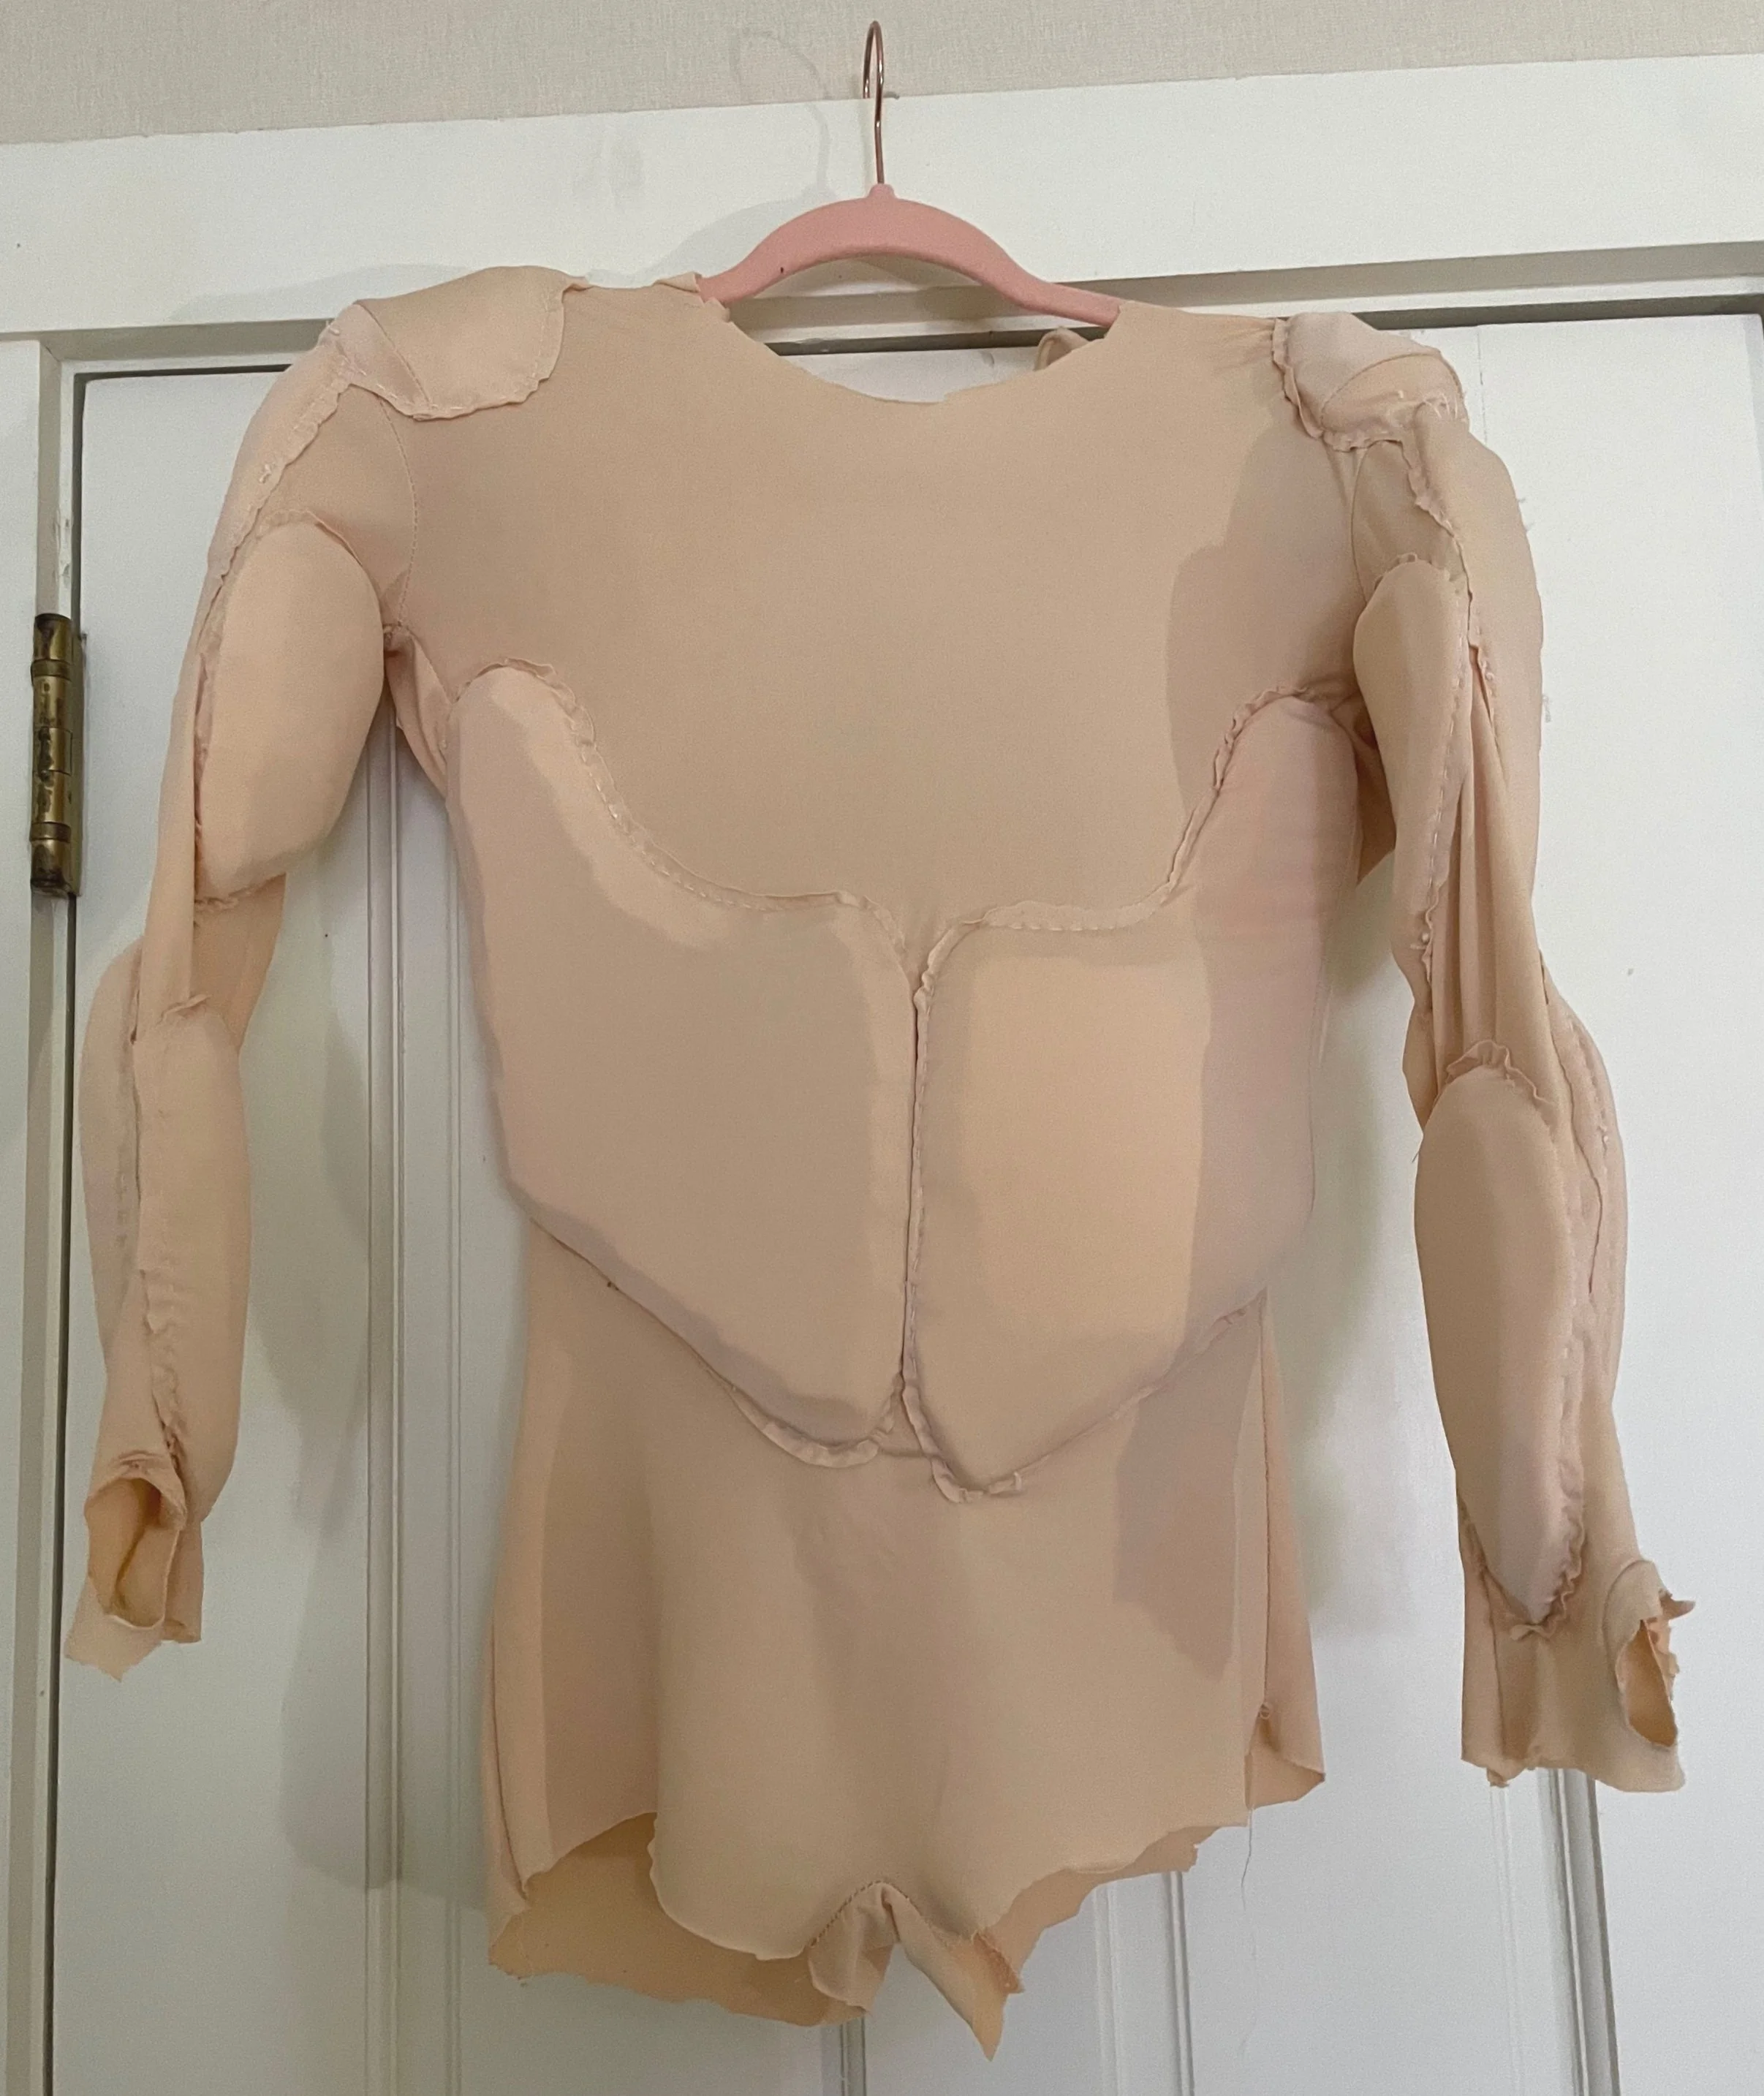
Muscle suit
I knew that one of the first things I needed to make for this costume was a muscle suit to get the right shape, especially in my arms and shoulders. The actors who played the dwarves in the movies wore similar padding, and a few photos of those exist, an example of which can be seen here. Looking at those references, I was able to map out roughly what I wanted to do, and adjusted as I went. Mine consists of a skin-tight bodysuit with foam pieces cut to shape and then sewed on top. While it looks lumpy on its own, it creates the appropriate shape when the costume is worn on top of it.
Bodysuit
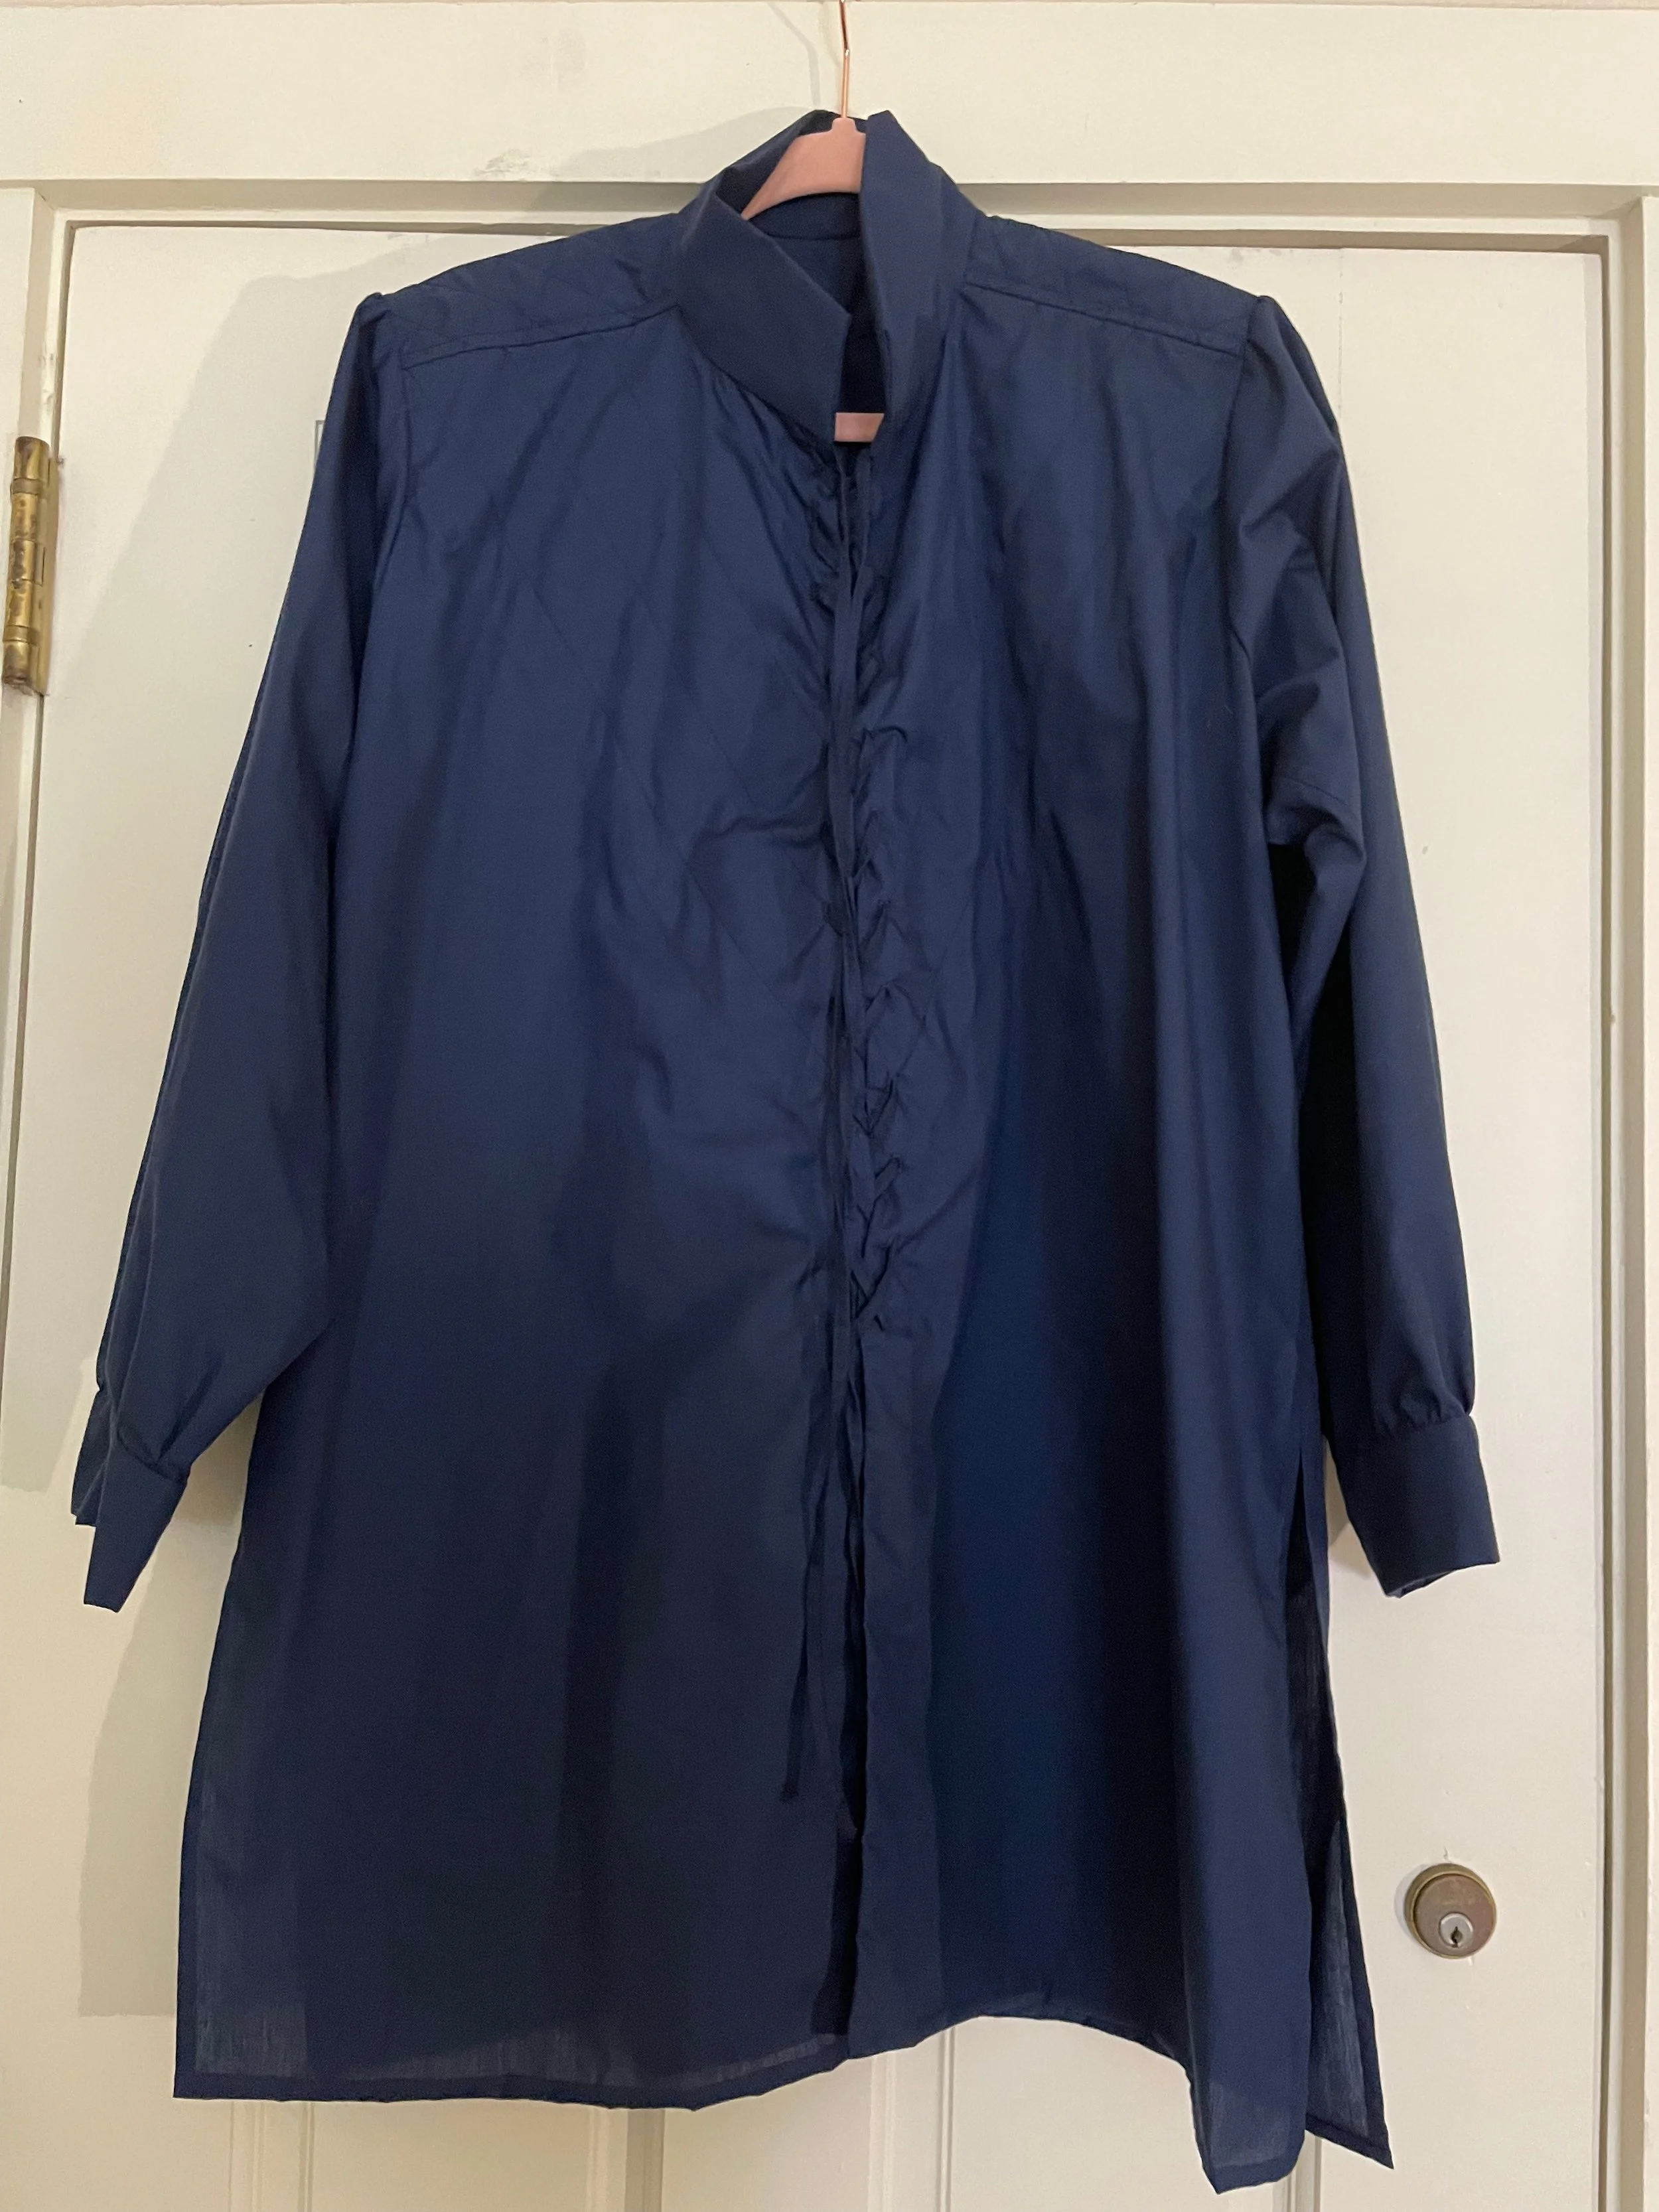
The tunic
Tunic
Now that the foundation for this costume was done, I was able to start working on the tunic. Thorin’s tunic was originally made out of dark blue silk; mine was made out of a fine, thin cotton-like material which I had left over from another costume, and which happened to be the perfect color. The tunic is laced up in the front, and has quilting on the shoulders, as well as decorative stitching across the upper chest (my reference for which can be seen here). Mine is based on Folkwear pattern 202, with some heavy edits to the pattern.
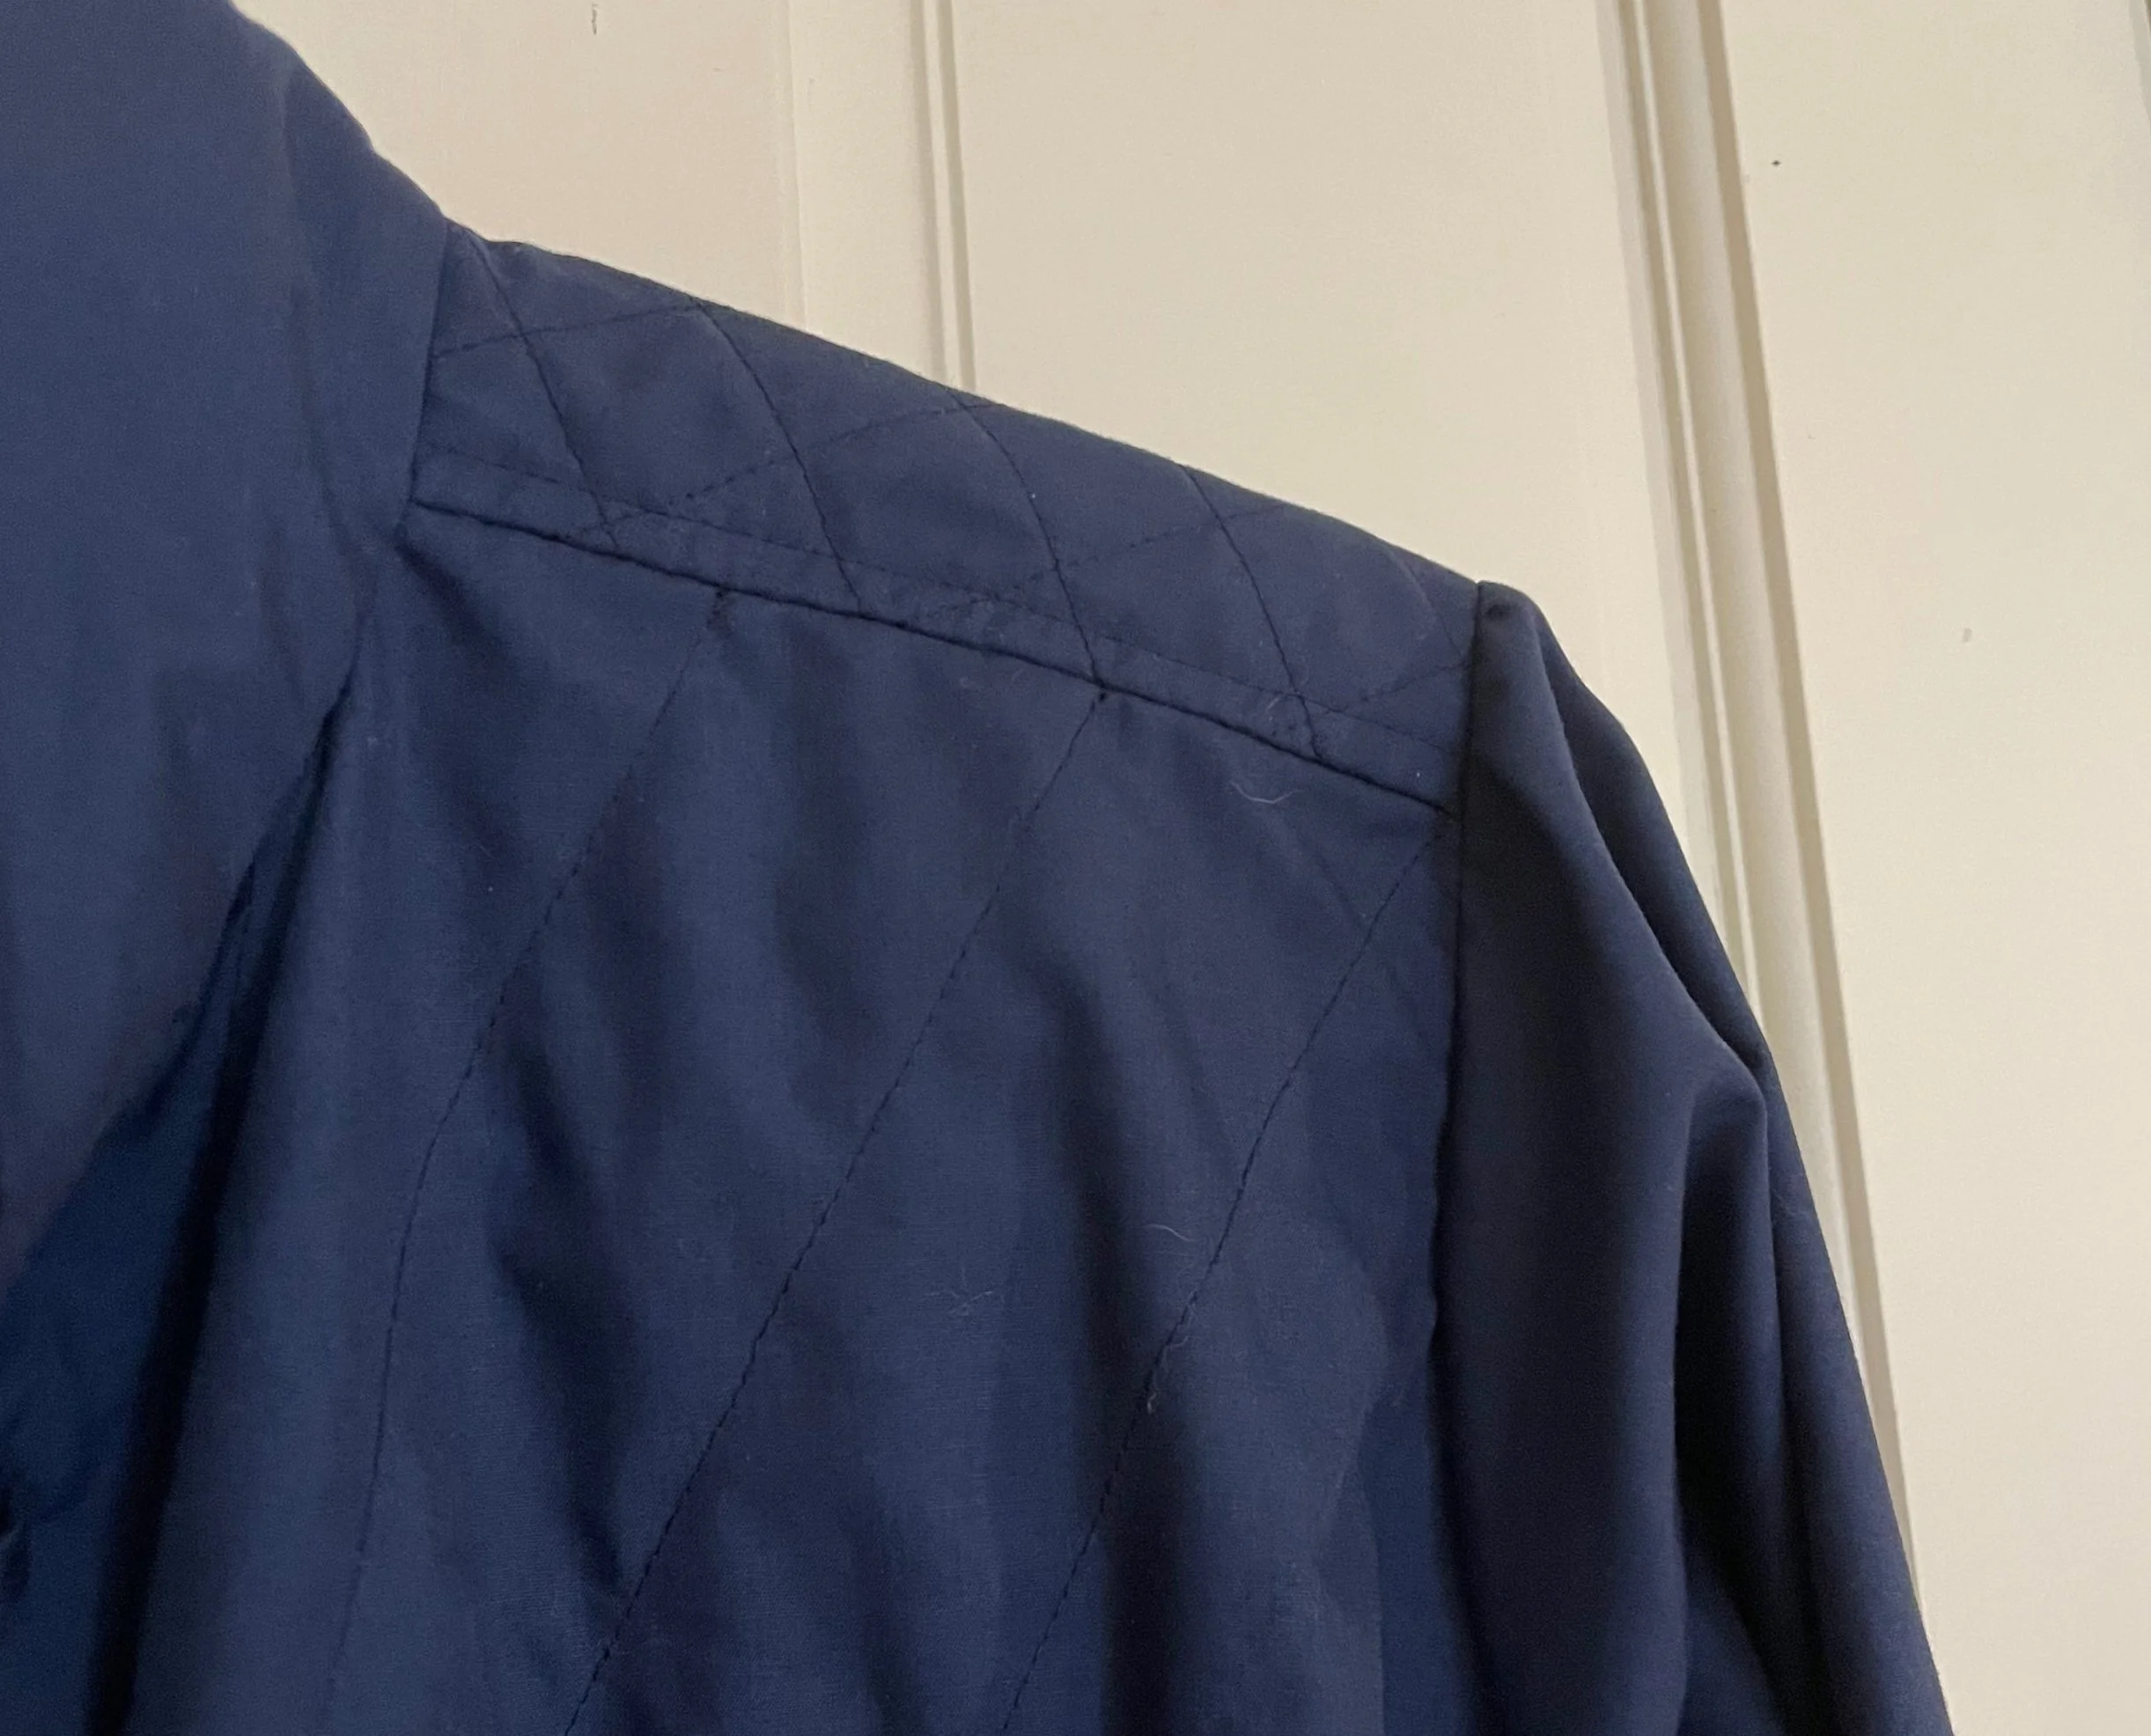
Details of quilting and stitching
Trousers
Thorin’s trousers are fairly simple, made out of black velvet, and the only visible part of them is at the knees, where it’s possible to see a decorative pattern. From my research, it seems like this was originally laser cut into the fabric. As I don’t have any machine that could do that, I did it by hand, stabilizing the cut edges with lots of Fray Check. I was very lucky to find a photo someone had taken of the patterns for many of the designs used in this costume, including the knee designs. I was able to edit that original photo to get a stencil I could easily use. The design was then sewn onto a cotton patch, which was then sewn down on top of the velvet. For the waistband, I just used elastic; since it’s never seen, I was able to go with something easier to deal with, rather than any kind of complicated fastening.
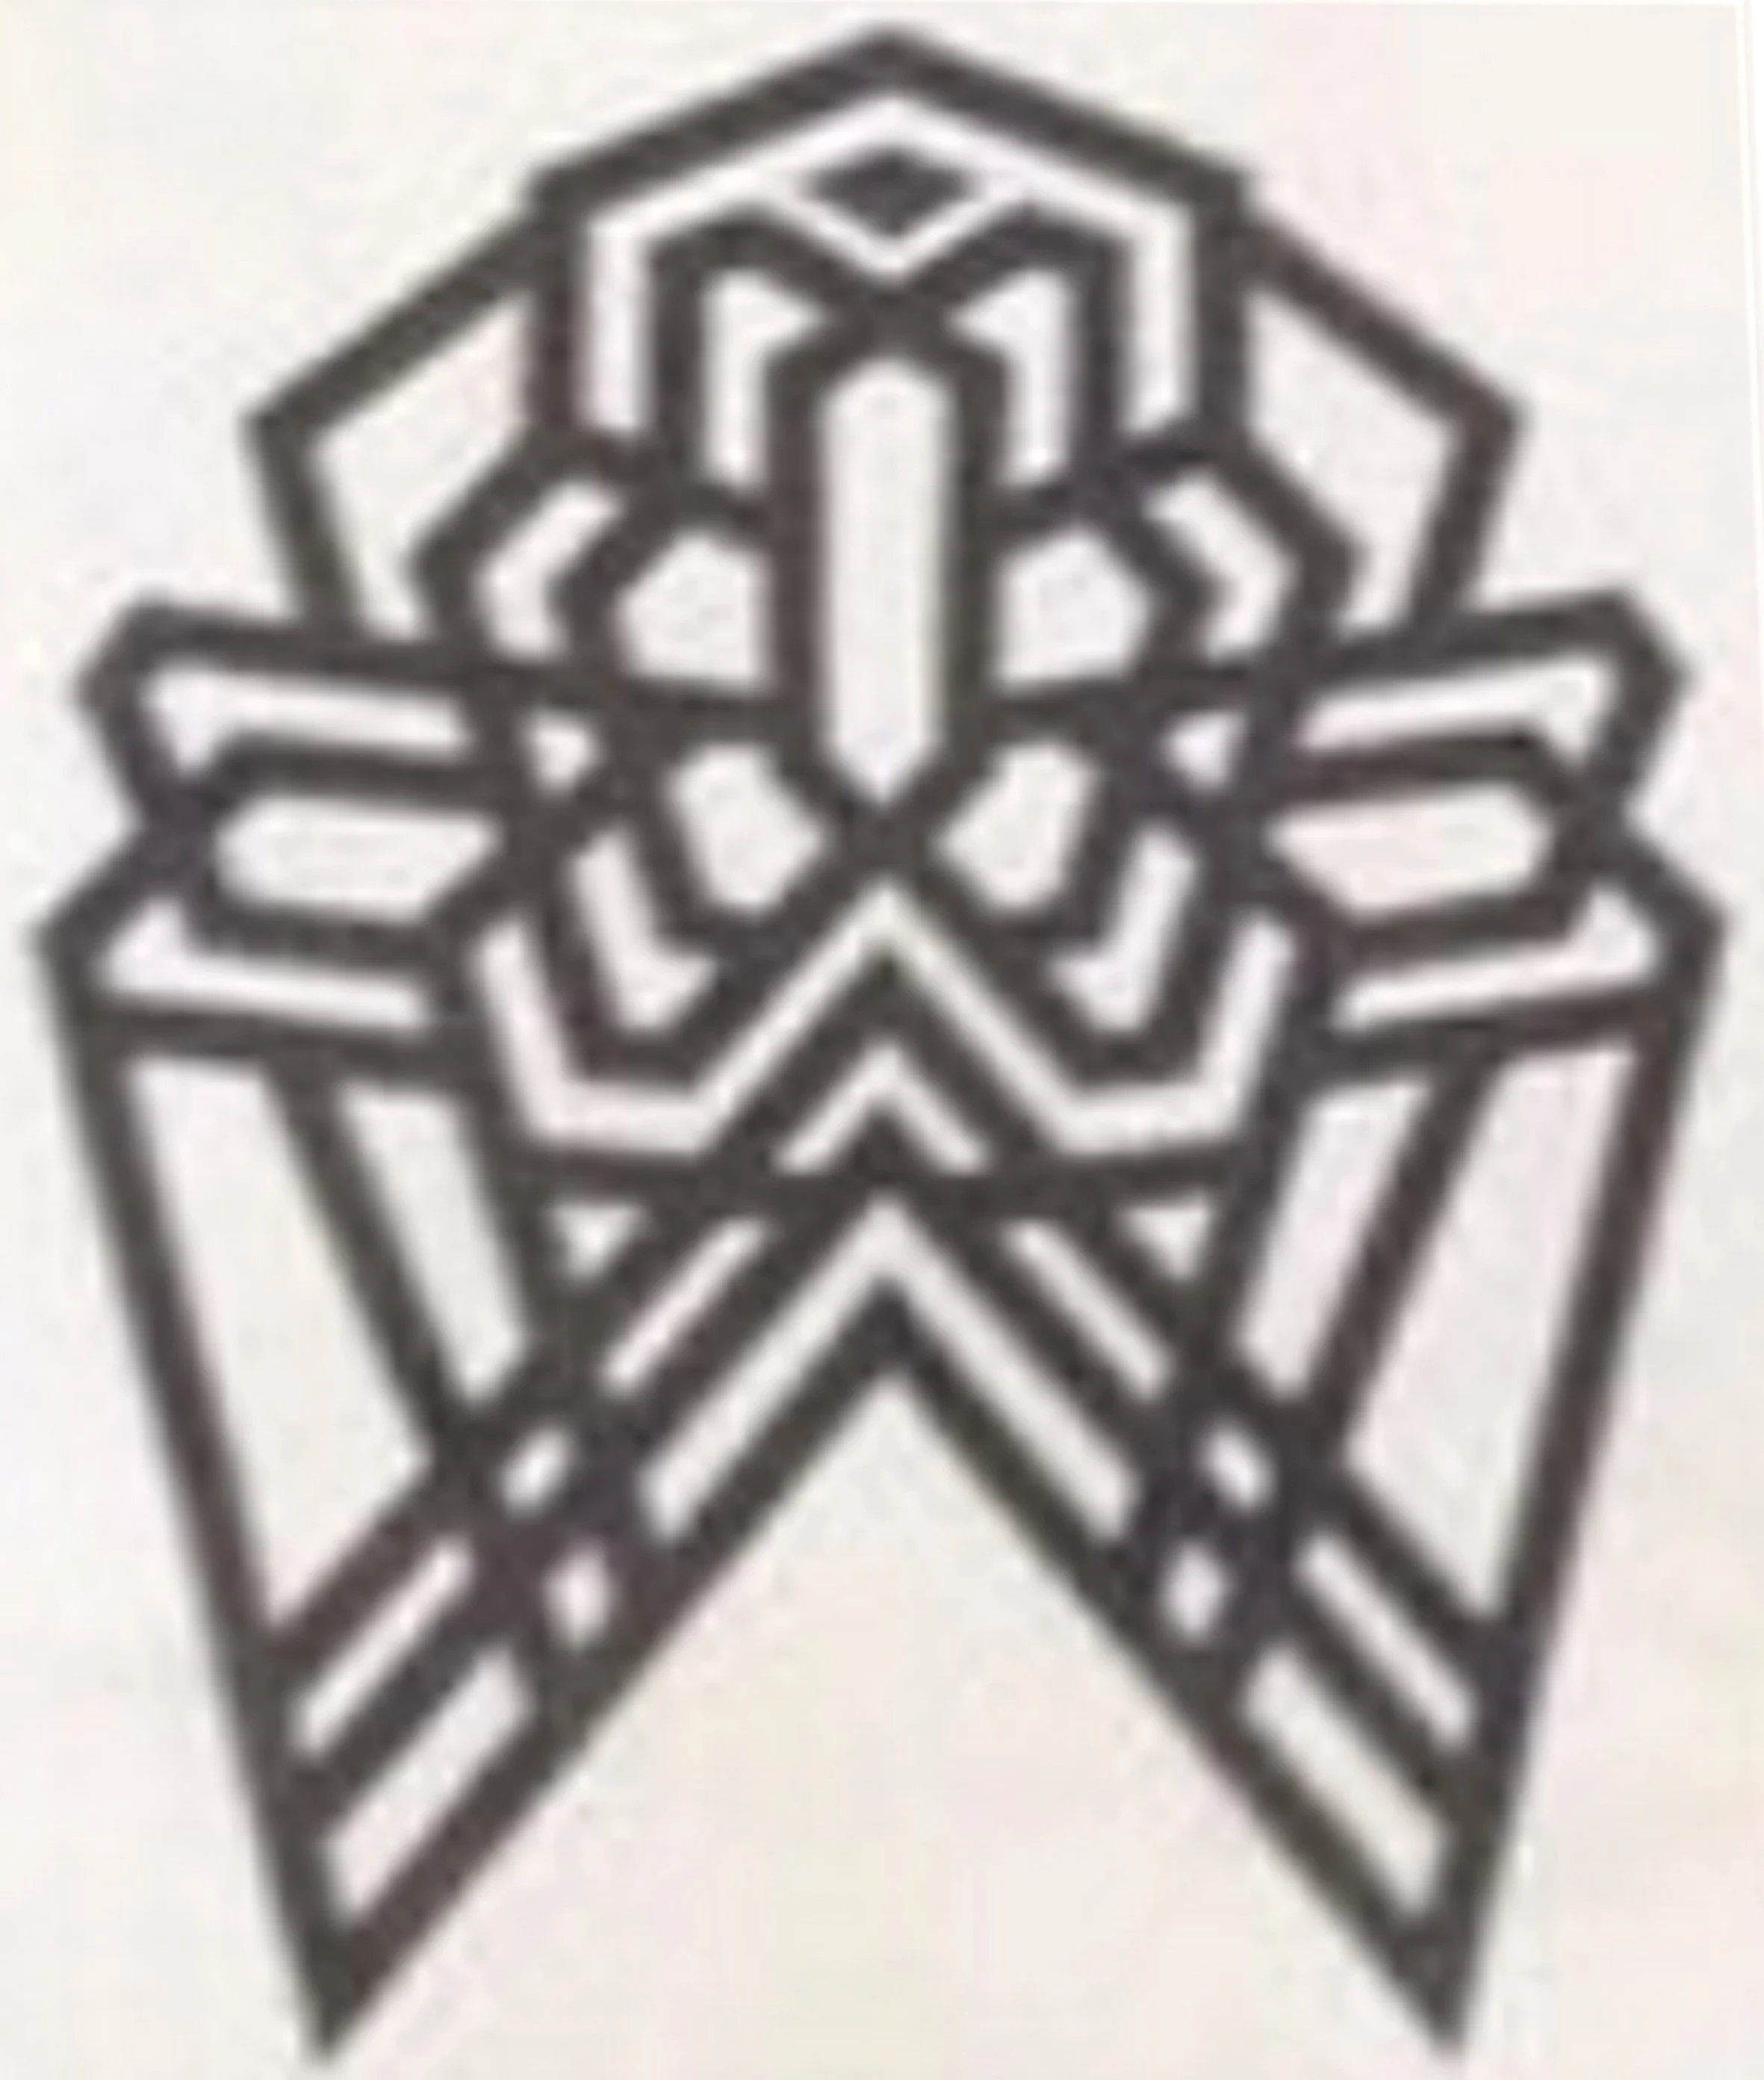
My edited stencil for the knees
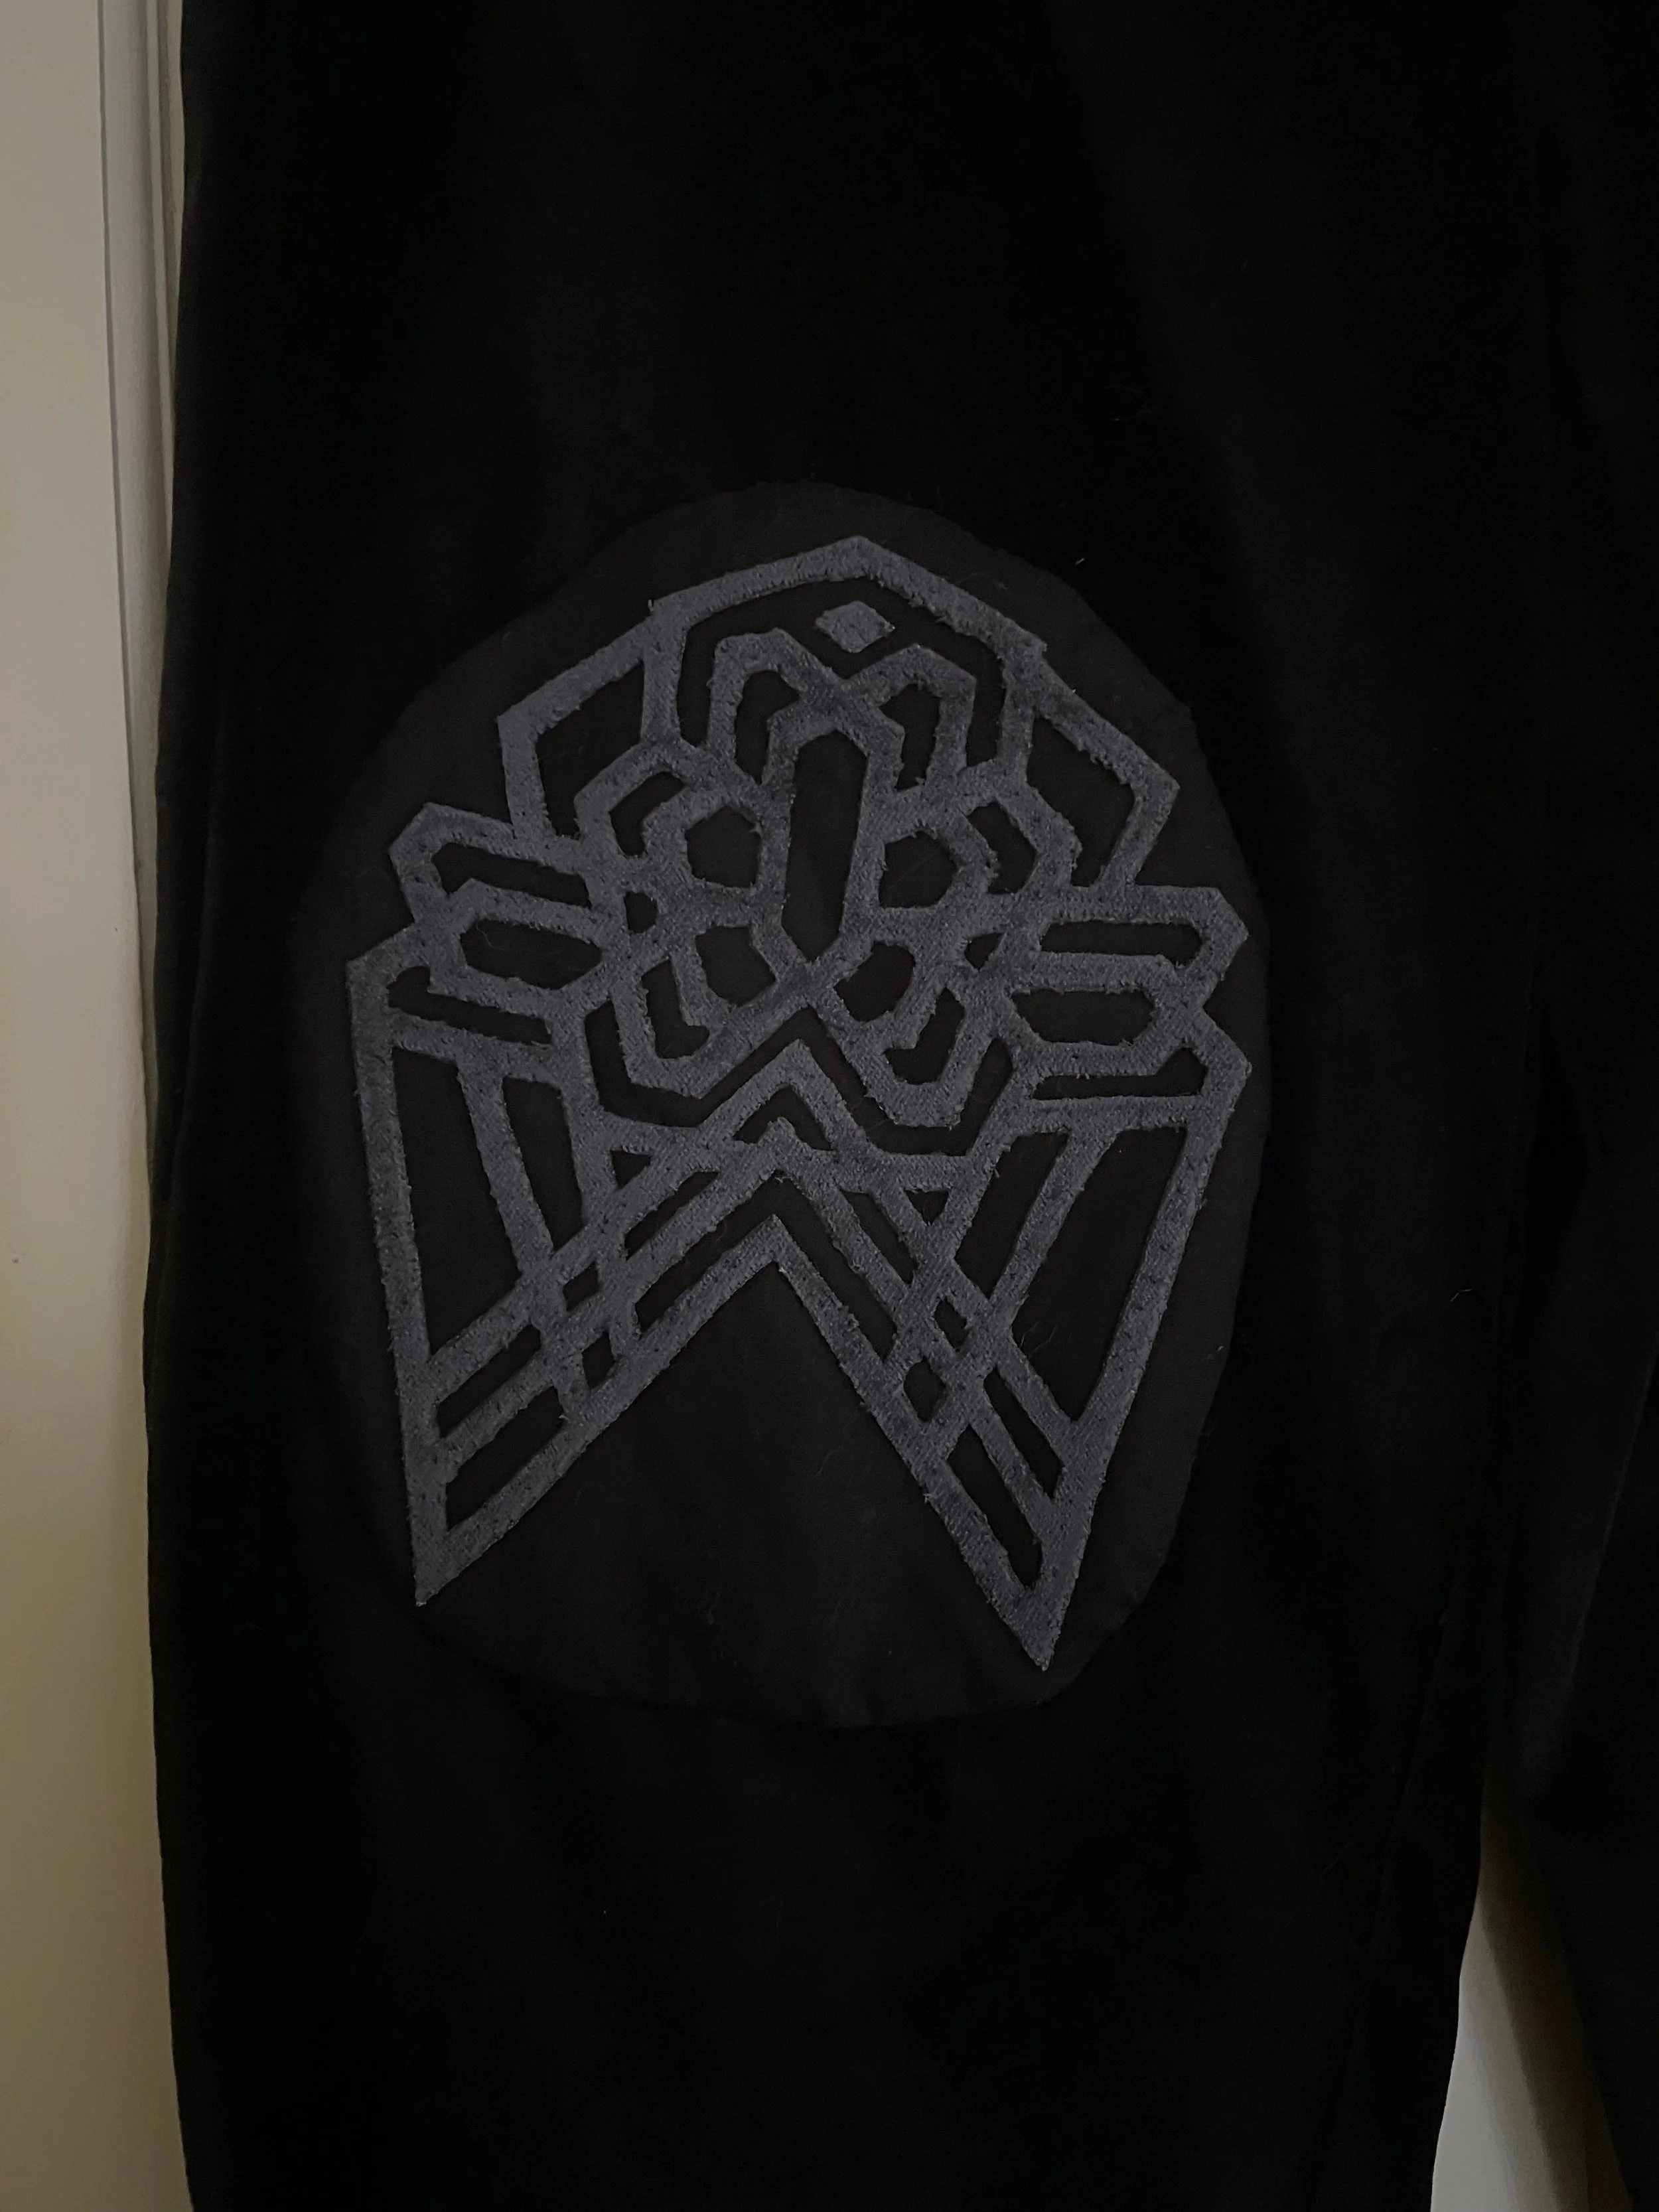
Completed knee pad

Finished trousers
Boots
The large boots with metal toe caps were the next part of this project. I realized I had a pair of lilac boots that were remarkably close to the originals, so I used those as a foundation. I painted them black, glued on some cheap fake fur, attached the belts, and used contact cement to put the details on the heel.
The toe caps took significantly more work. I knew I couldn’t make them out of metal, so I decided to go with leather, thinking I could tool the design in. I tried doing that, but as soon as I painted it, the design completely disappeared. To fix that, I ended up cutting the design out of leather, then glueing it to the toe cap form.
I attached the caps to the boots, then used brown acrylic paint to paint in mud on the toes and sides of the boots
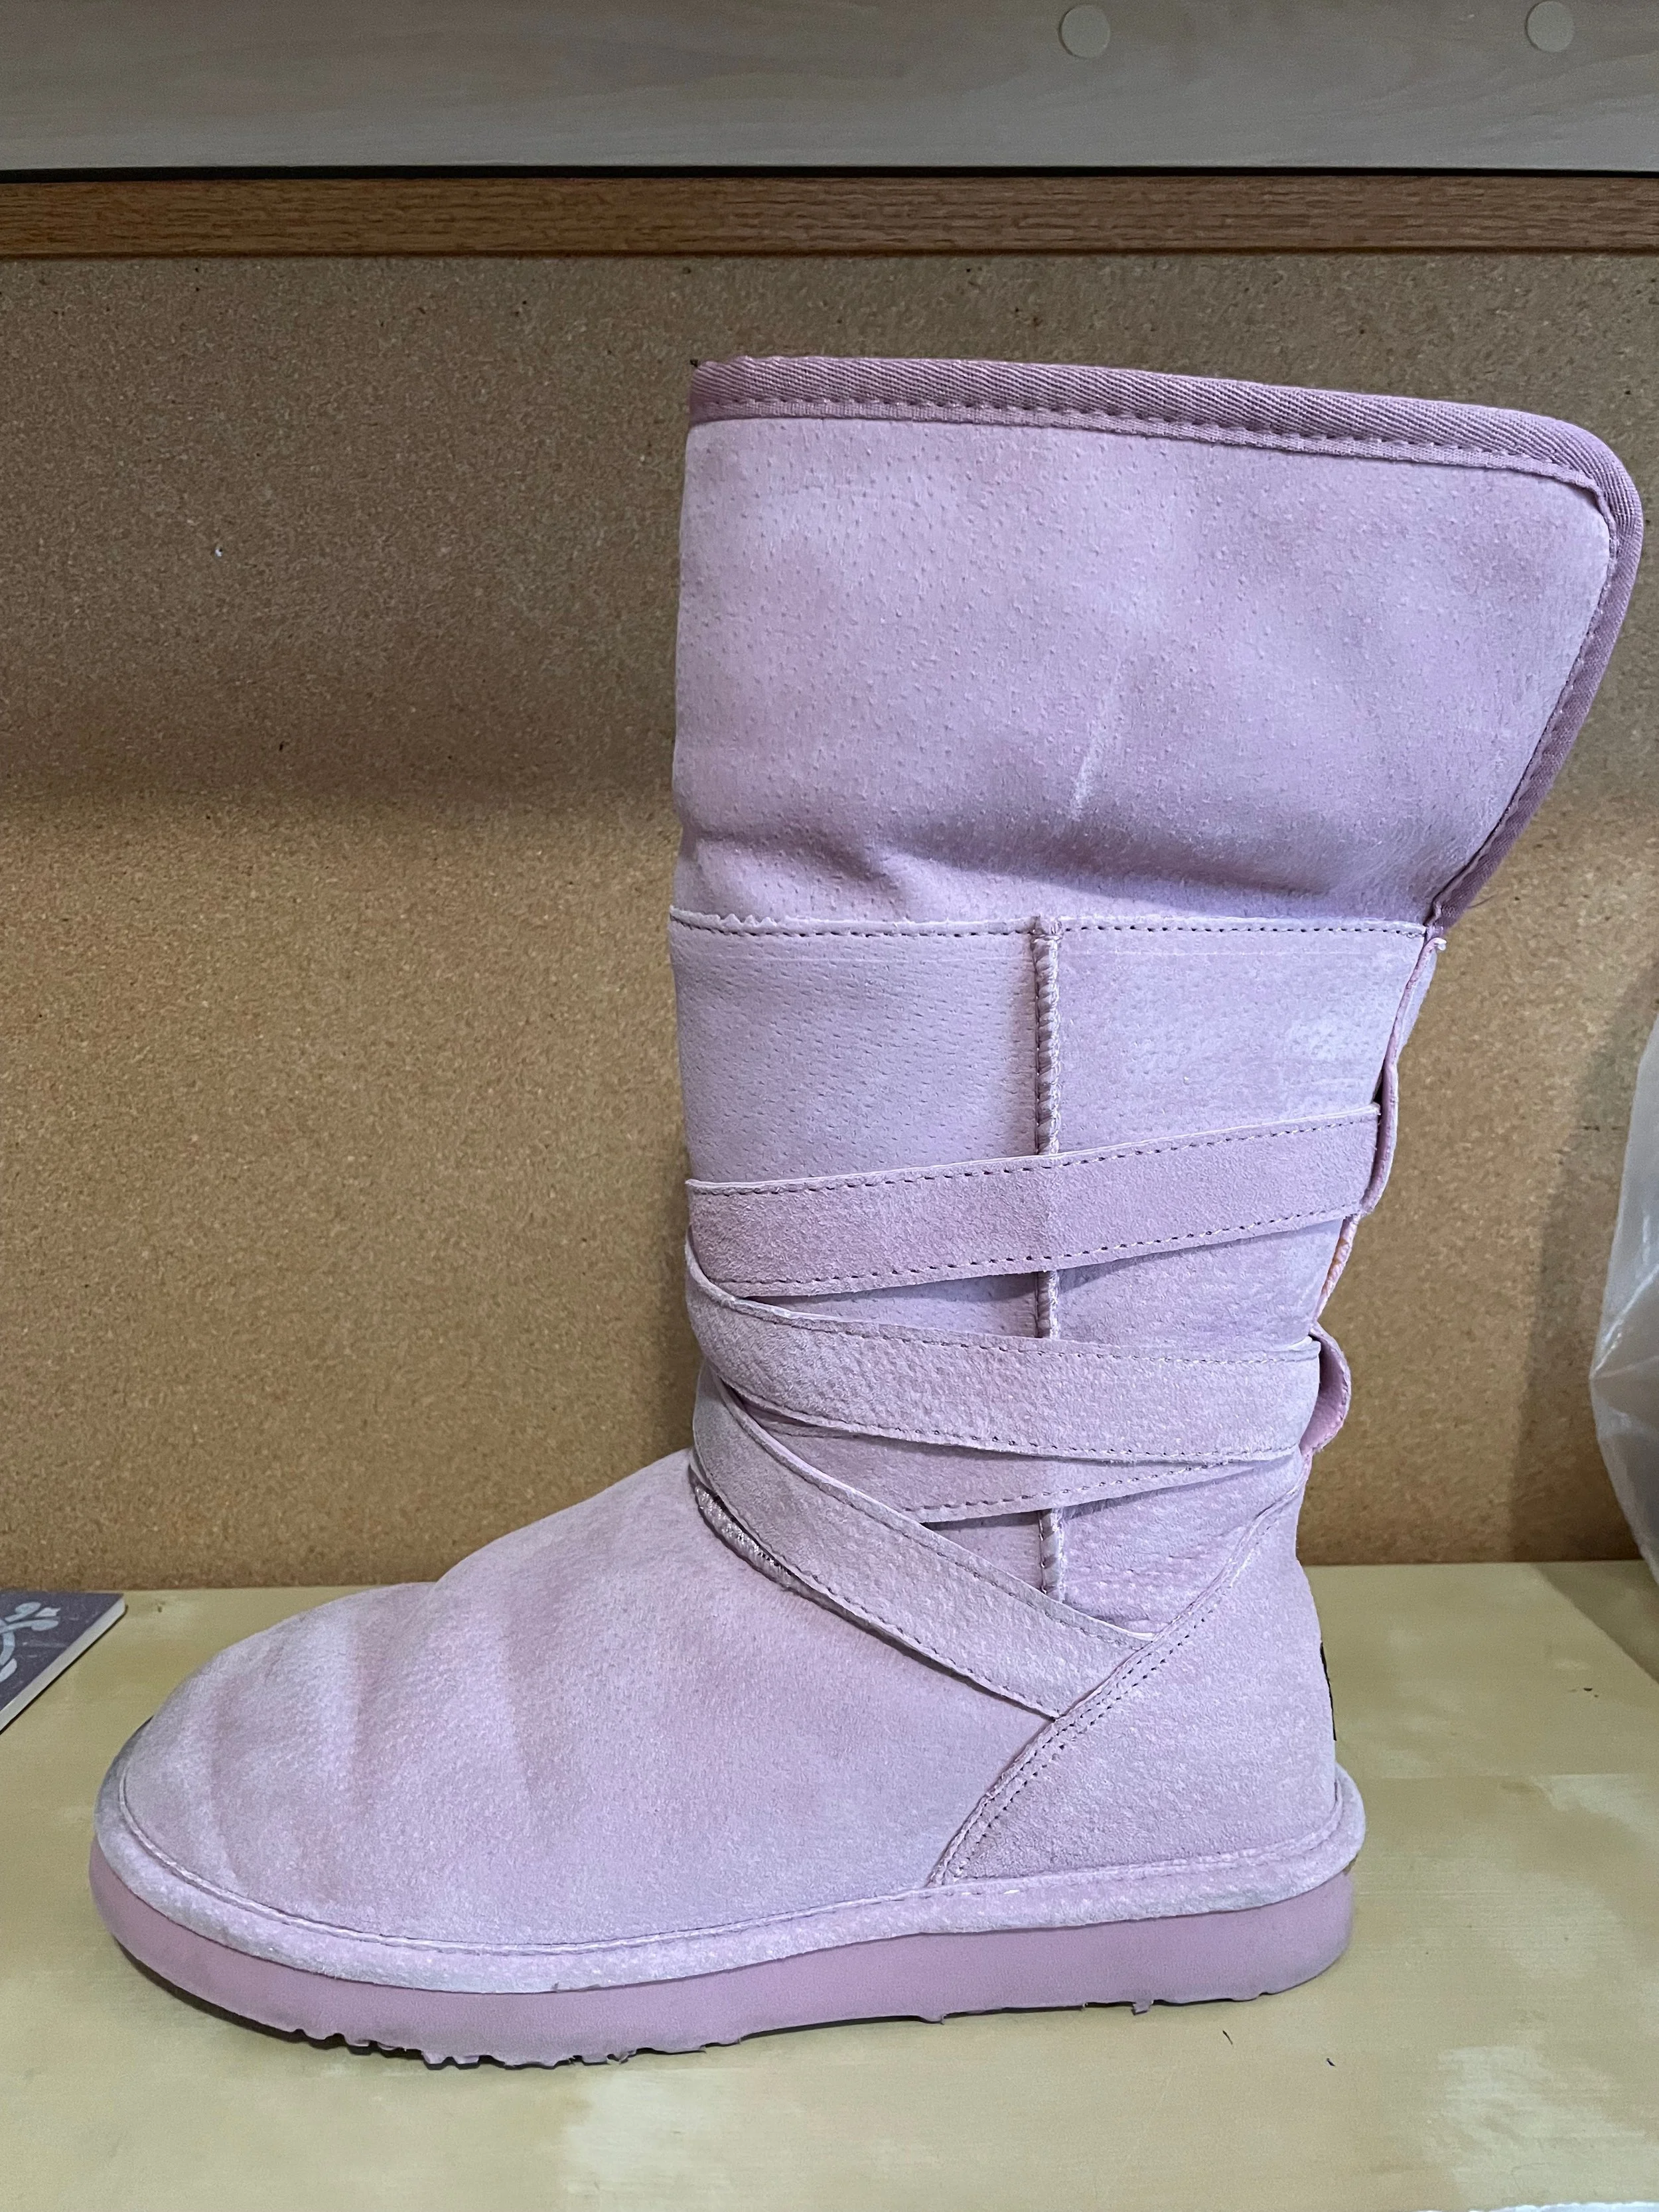
Original boot
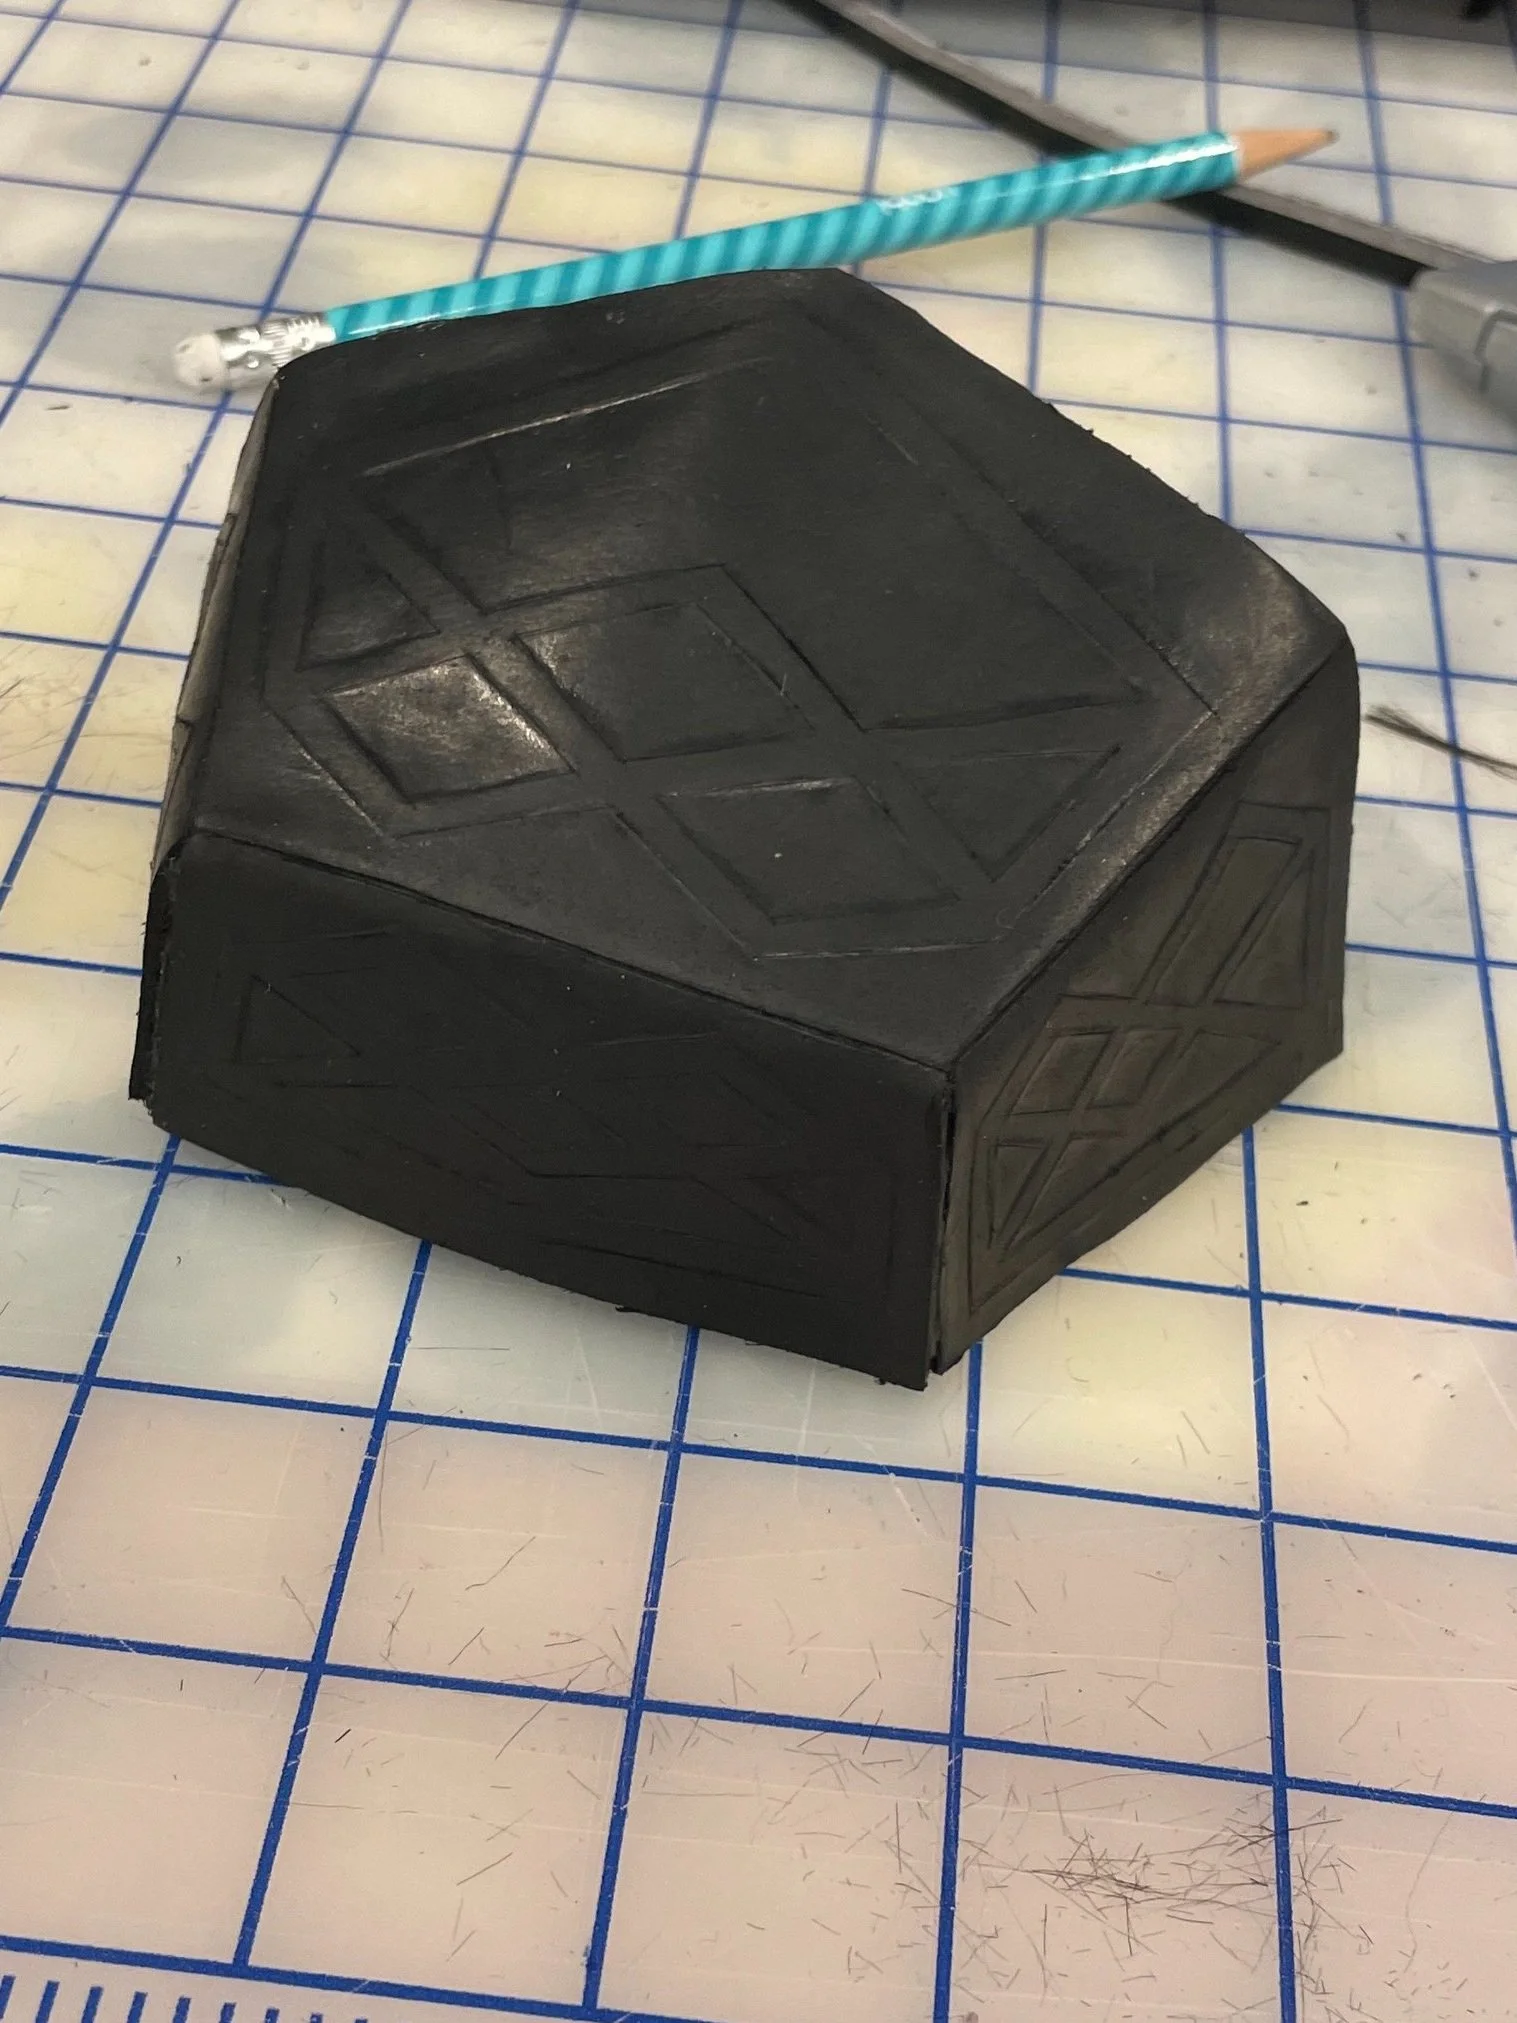
Tooled leather toe cap
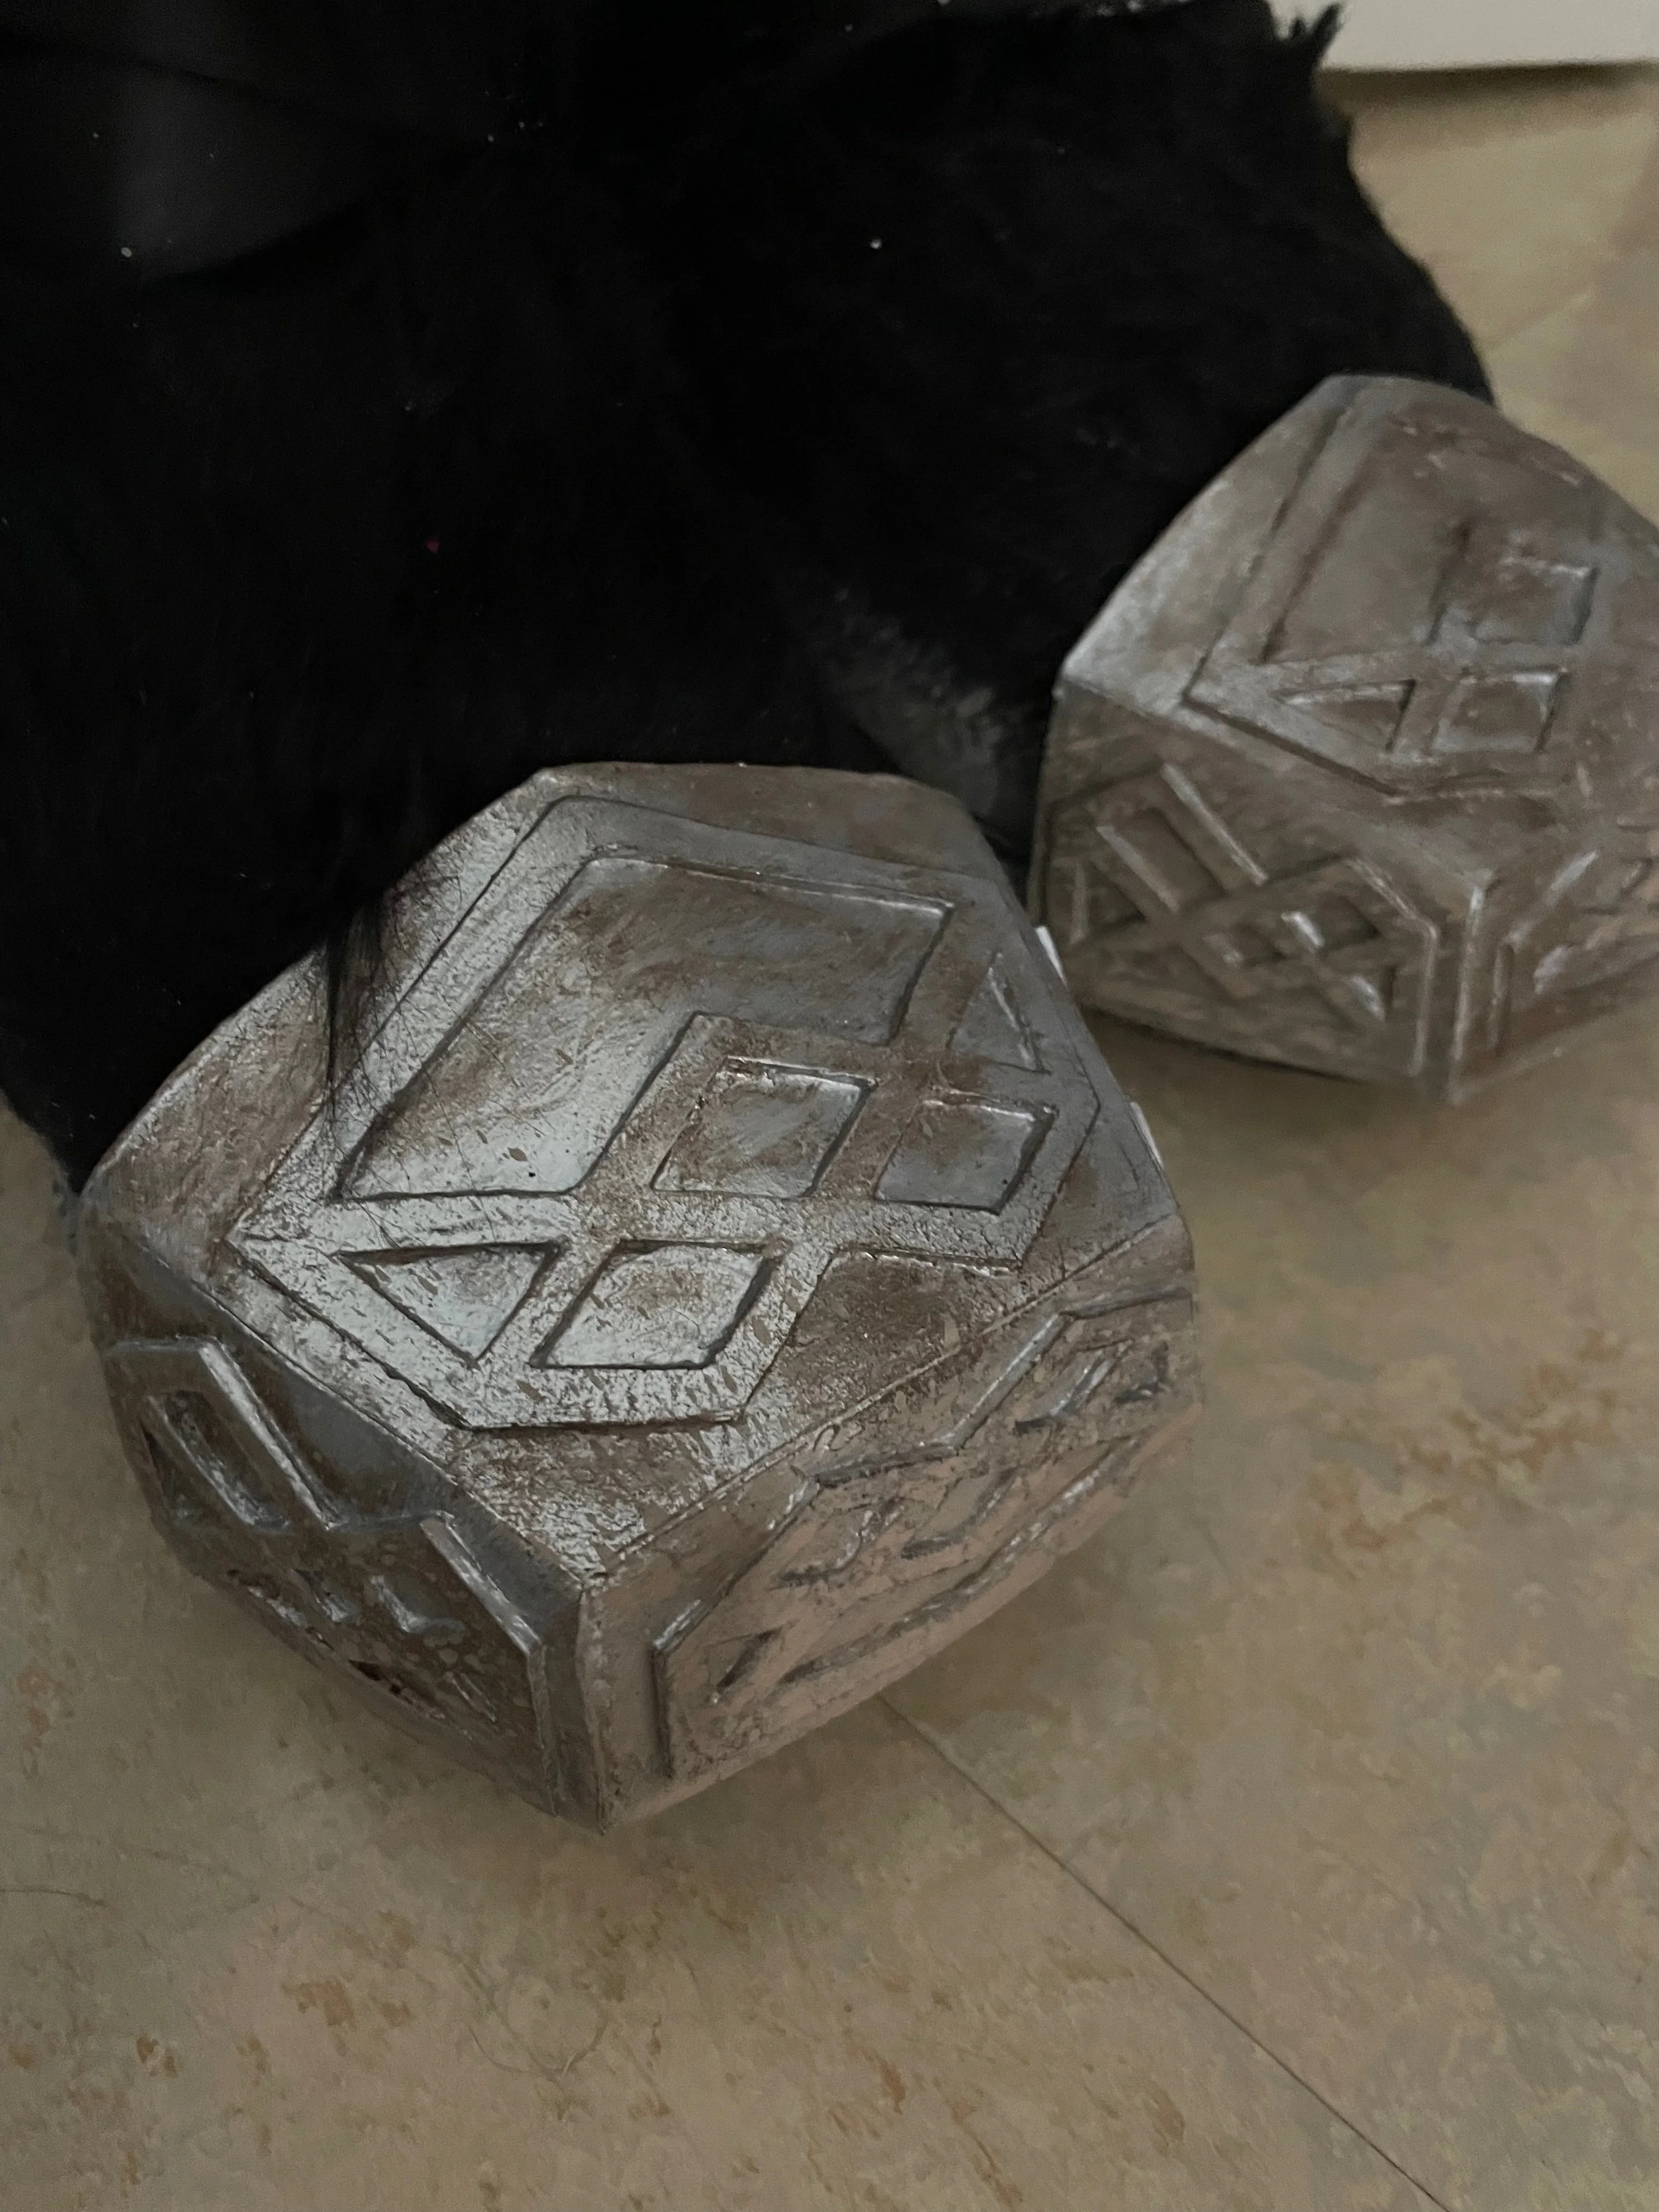
Finished toe cap
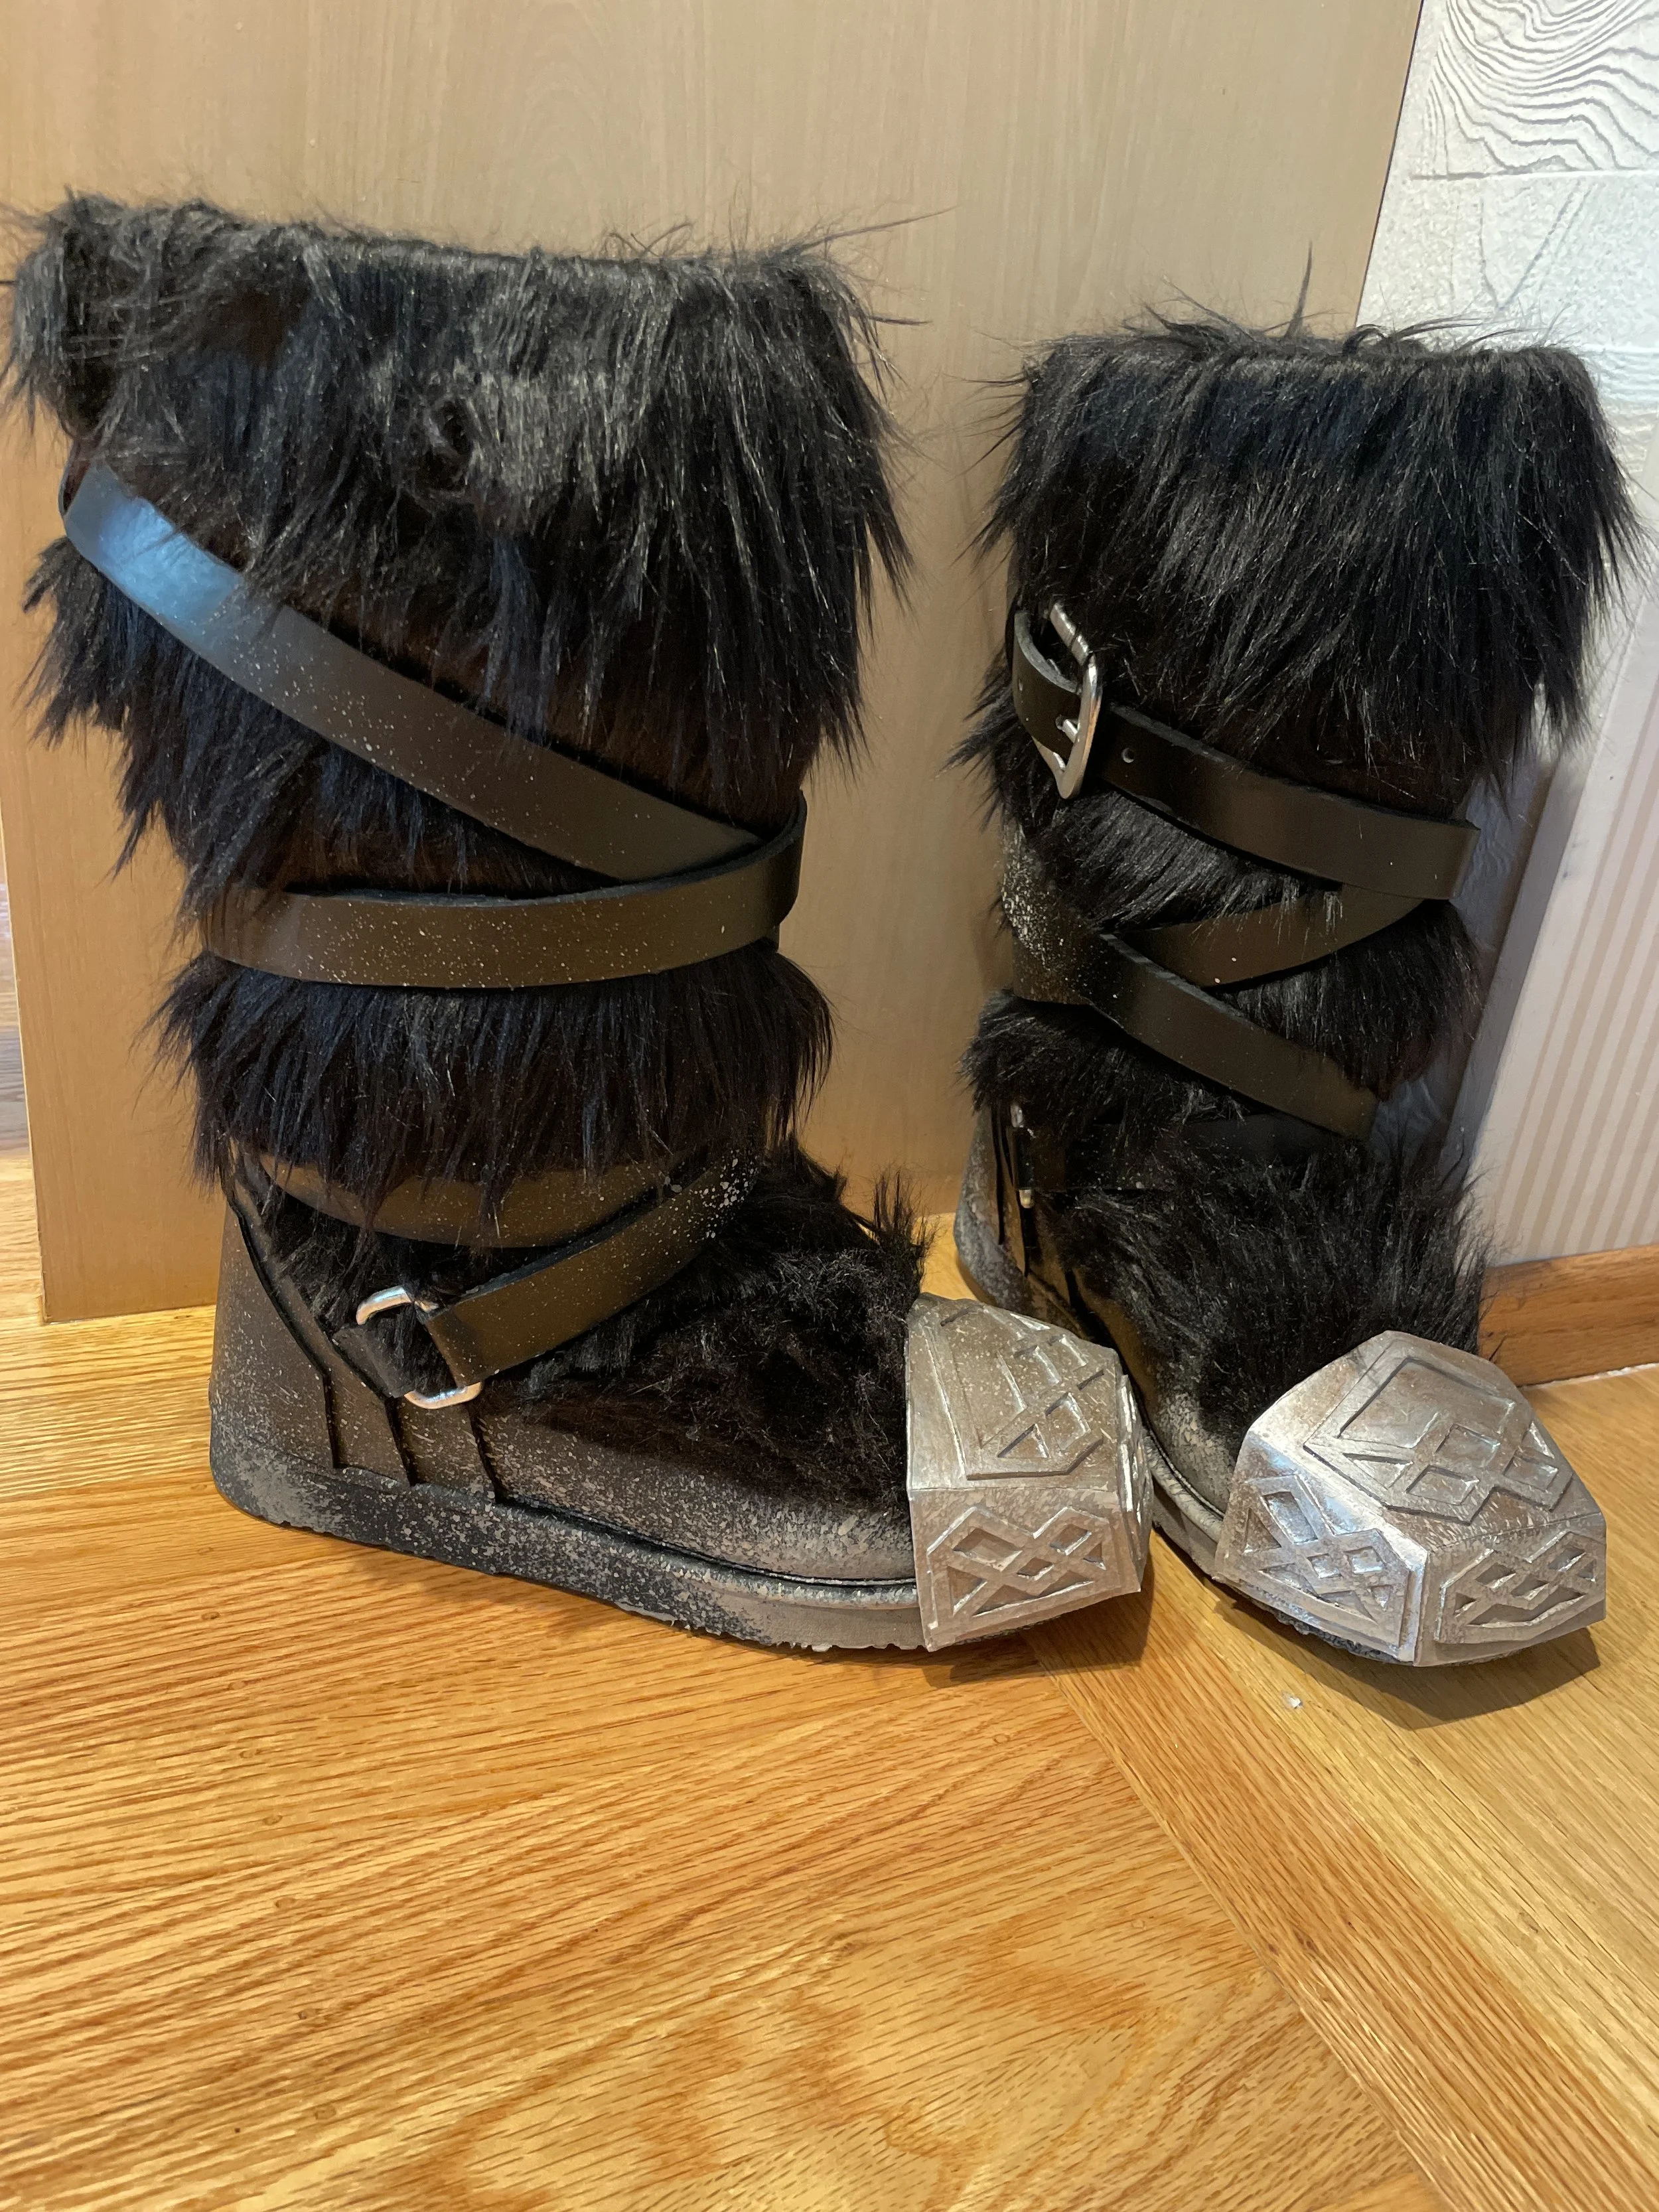
Finished boots
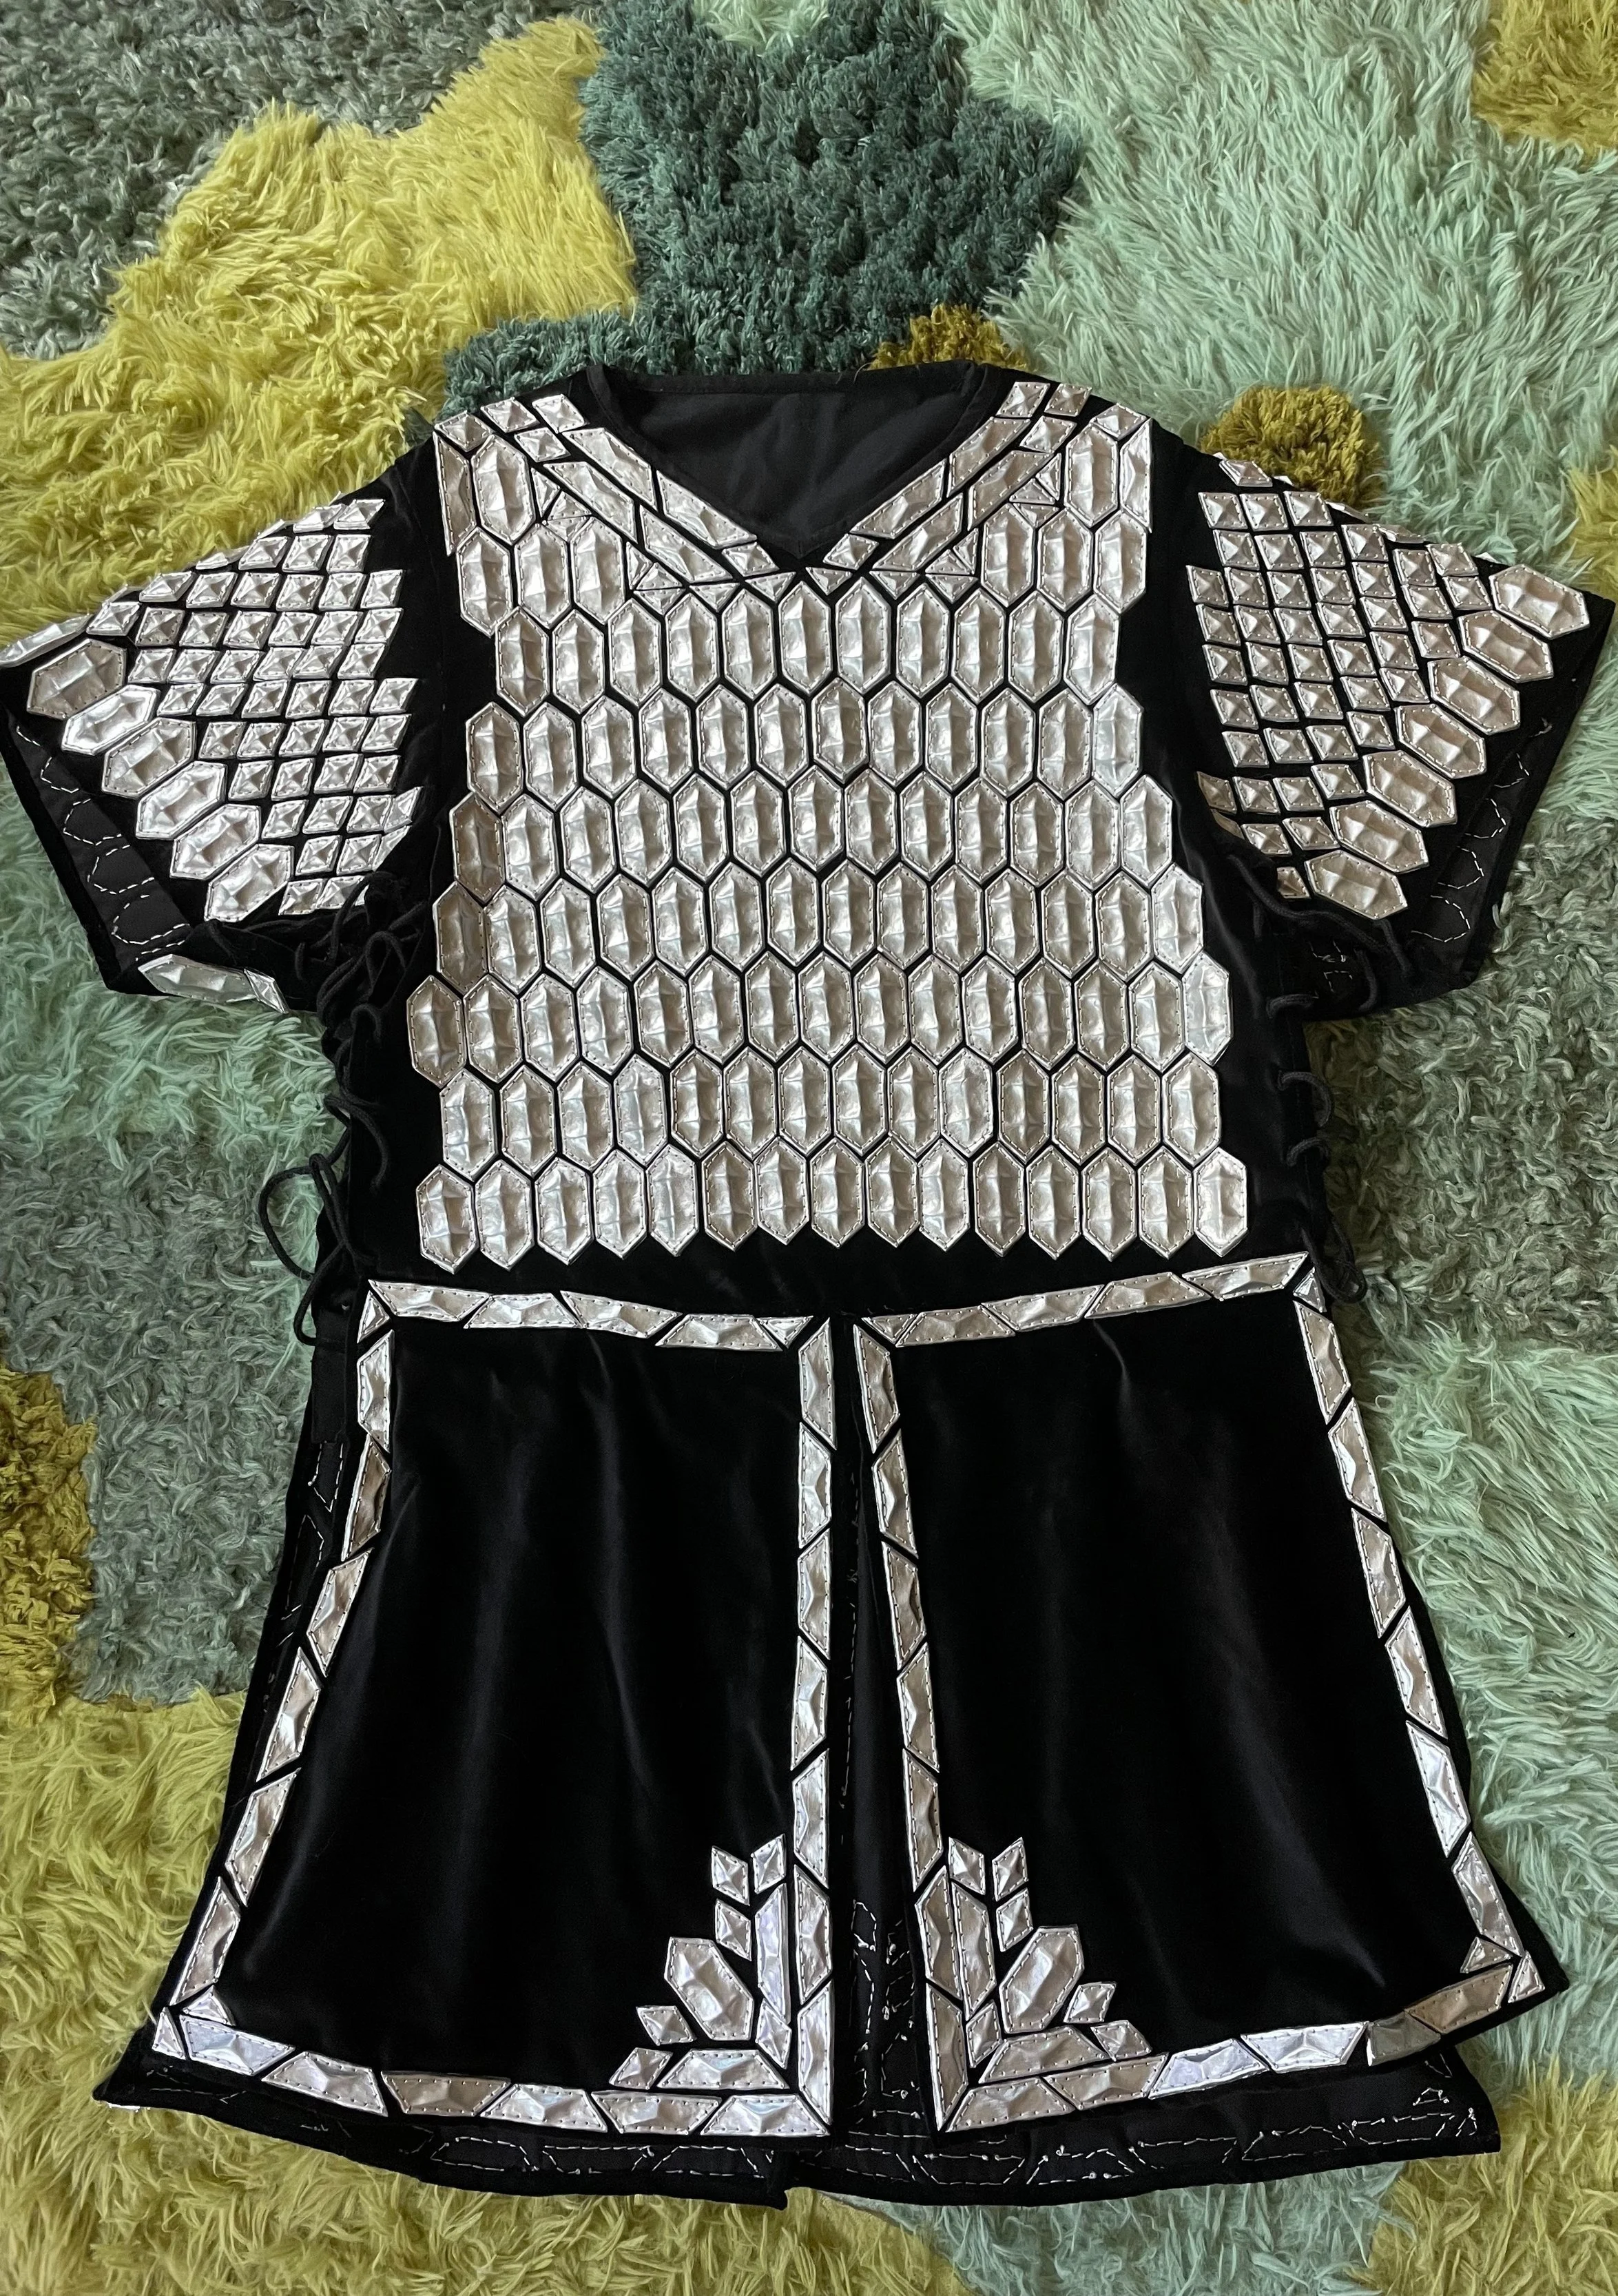
Finished armor - which is too heavy to hang on a hanger!
Armor
Worn over the tunic is a piece of armor, made of metal scales sewn onto a fabric base. In the original, it seems this was a dark blue velvet, but I opted for black. This is a step away from the piece I’m trying to replicate, which I took to balance out some of the differences between the real colors and how they appeared in the movies.
For this armor, I sewed on a total of 556 scales, though I made closer to 600. To make these, I hand sculpted the originals out of polymer clay, baked them, and used those to make molds. I then pressed polymer clay into the molds, which allowed me to make many identical scales. The issue with this is that I had to make them individually. I wish I’d timed this, but it definitely took a week or two.
The armor was then sewn on by hand. The originals look like their only attachment is at the corners, but I wanted this to be a little more secure than that, so they’re sewed the whole way around.
In the end, this is a heavy garment. Getting it on is tricky, so I opted for minimal fuss with how it closes; it simply laces up the sides. This allows me to almost completely open it at the sides, and then easily tighten and tie it closed at my hip.
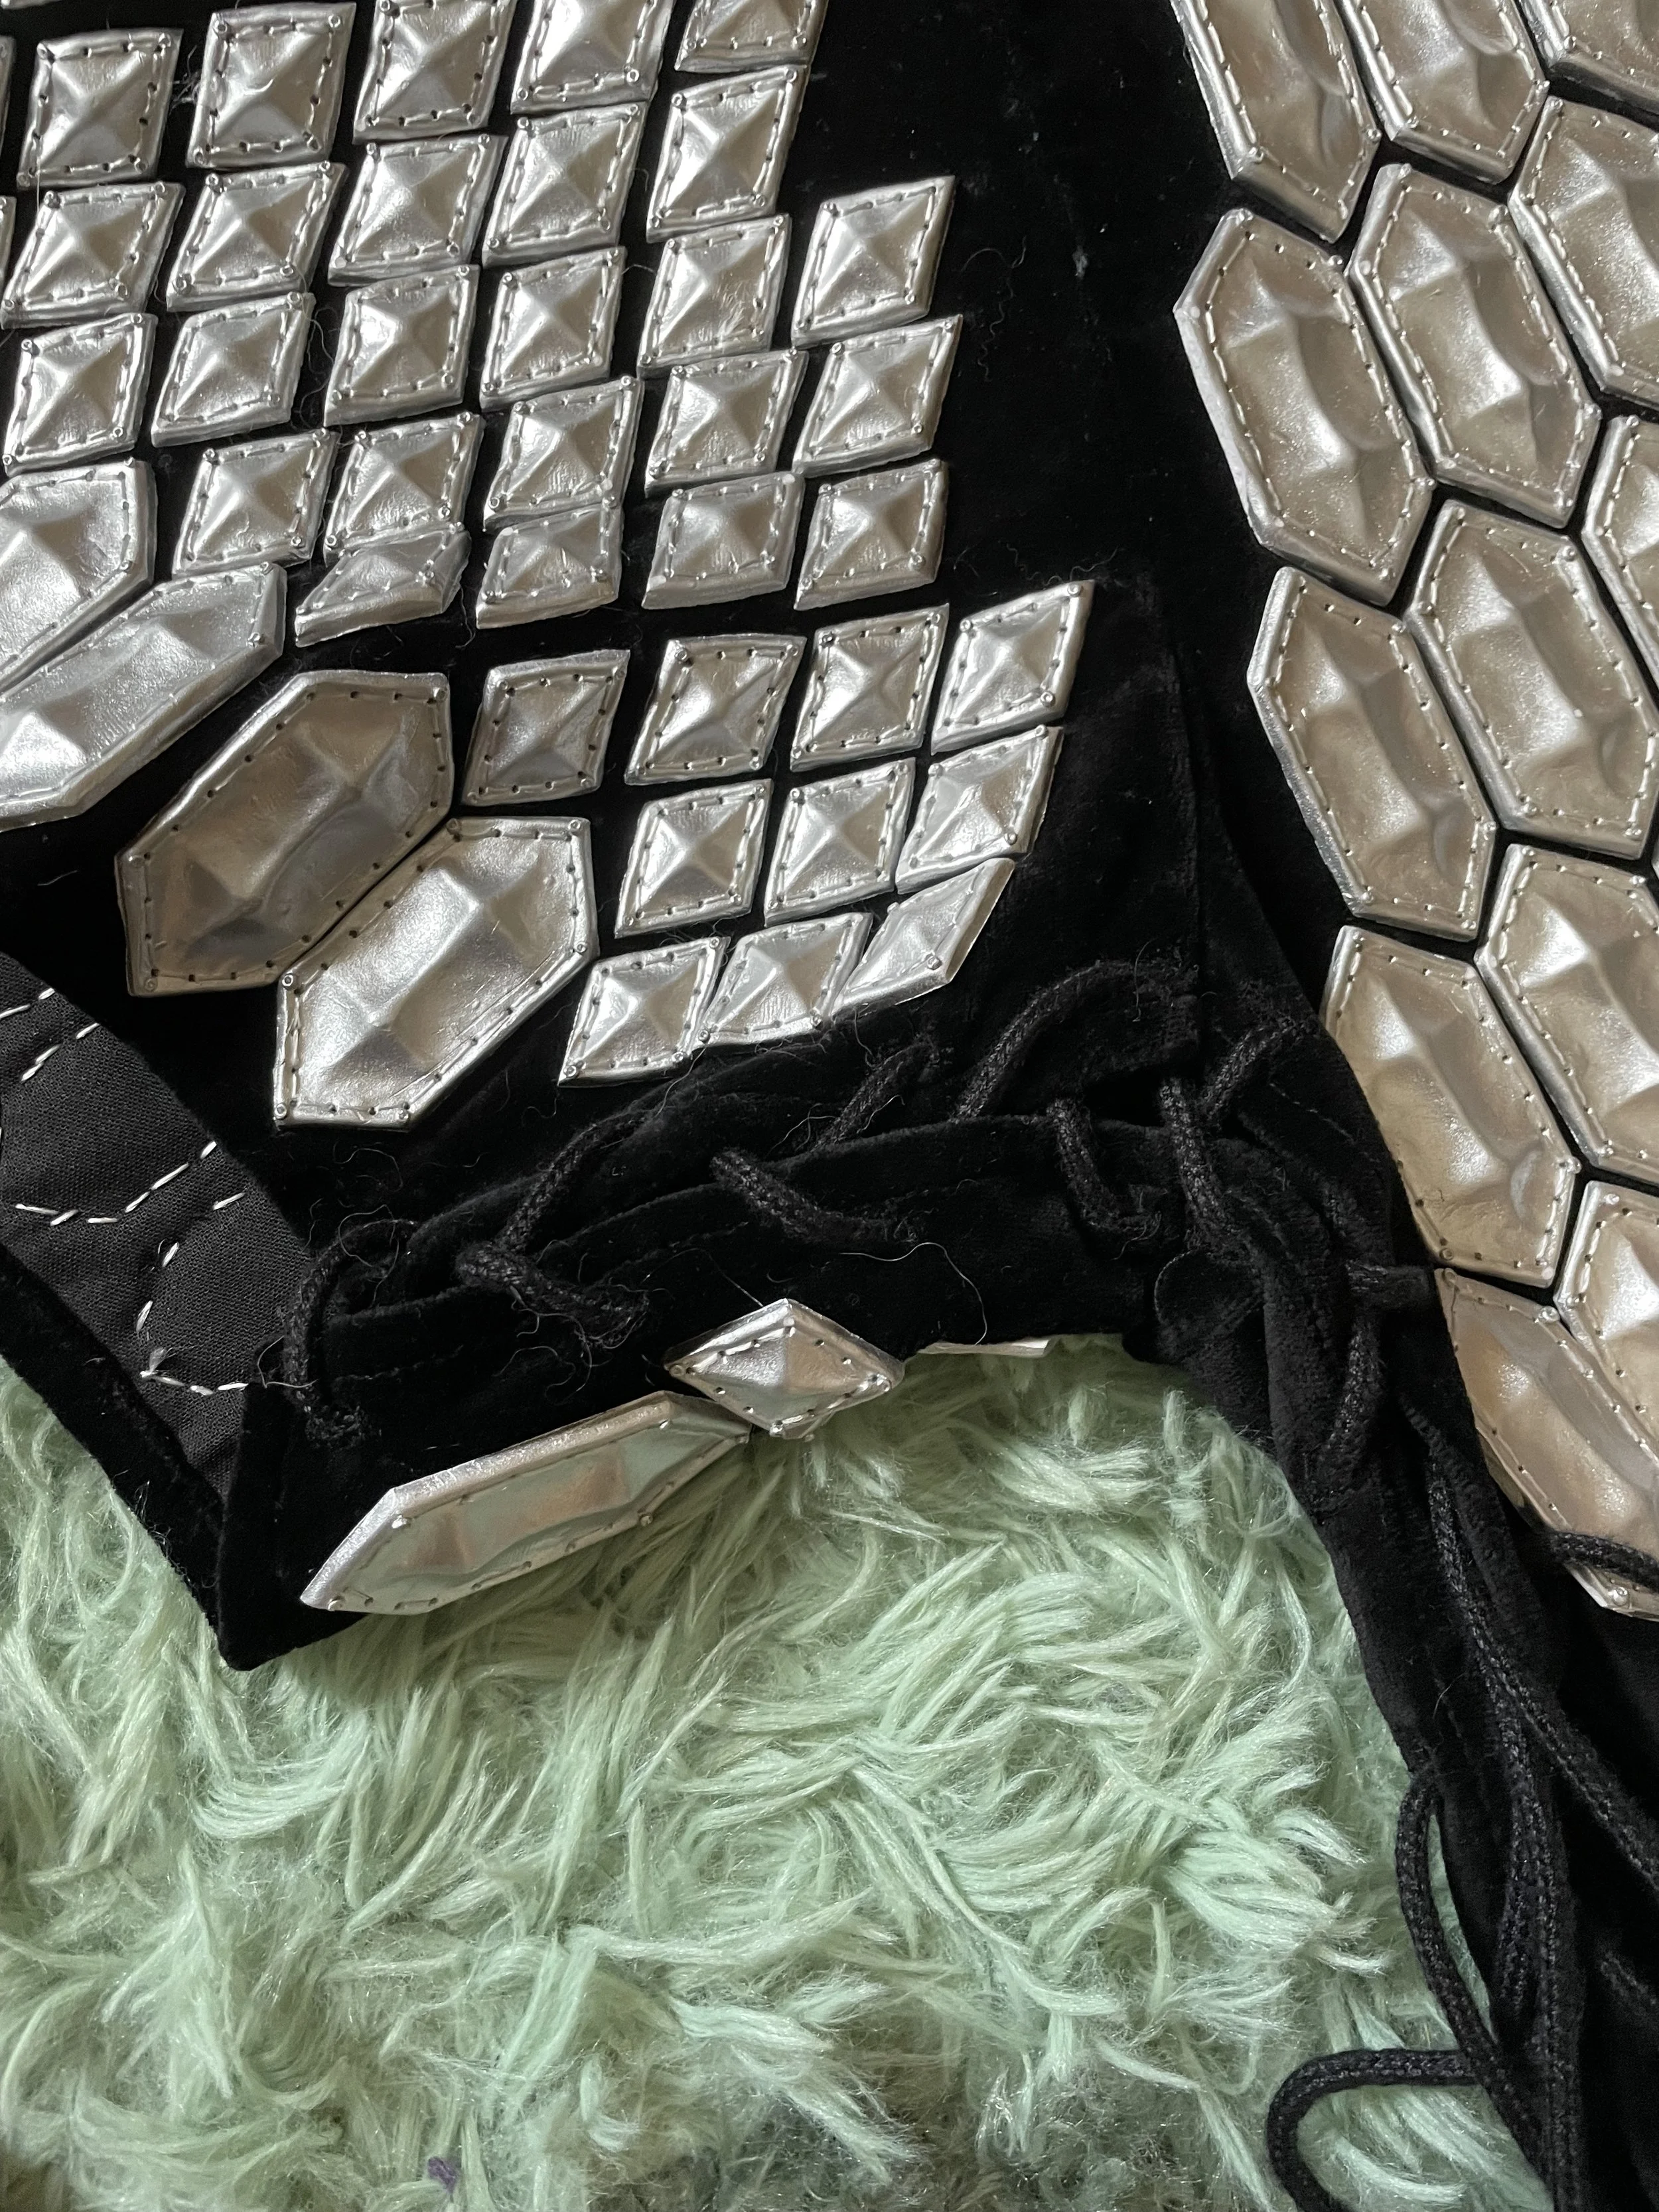
Side lacing
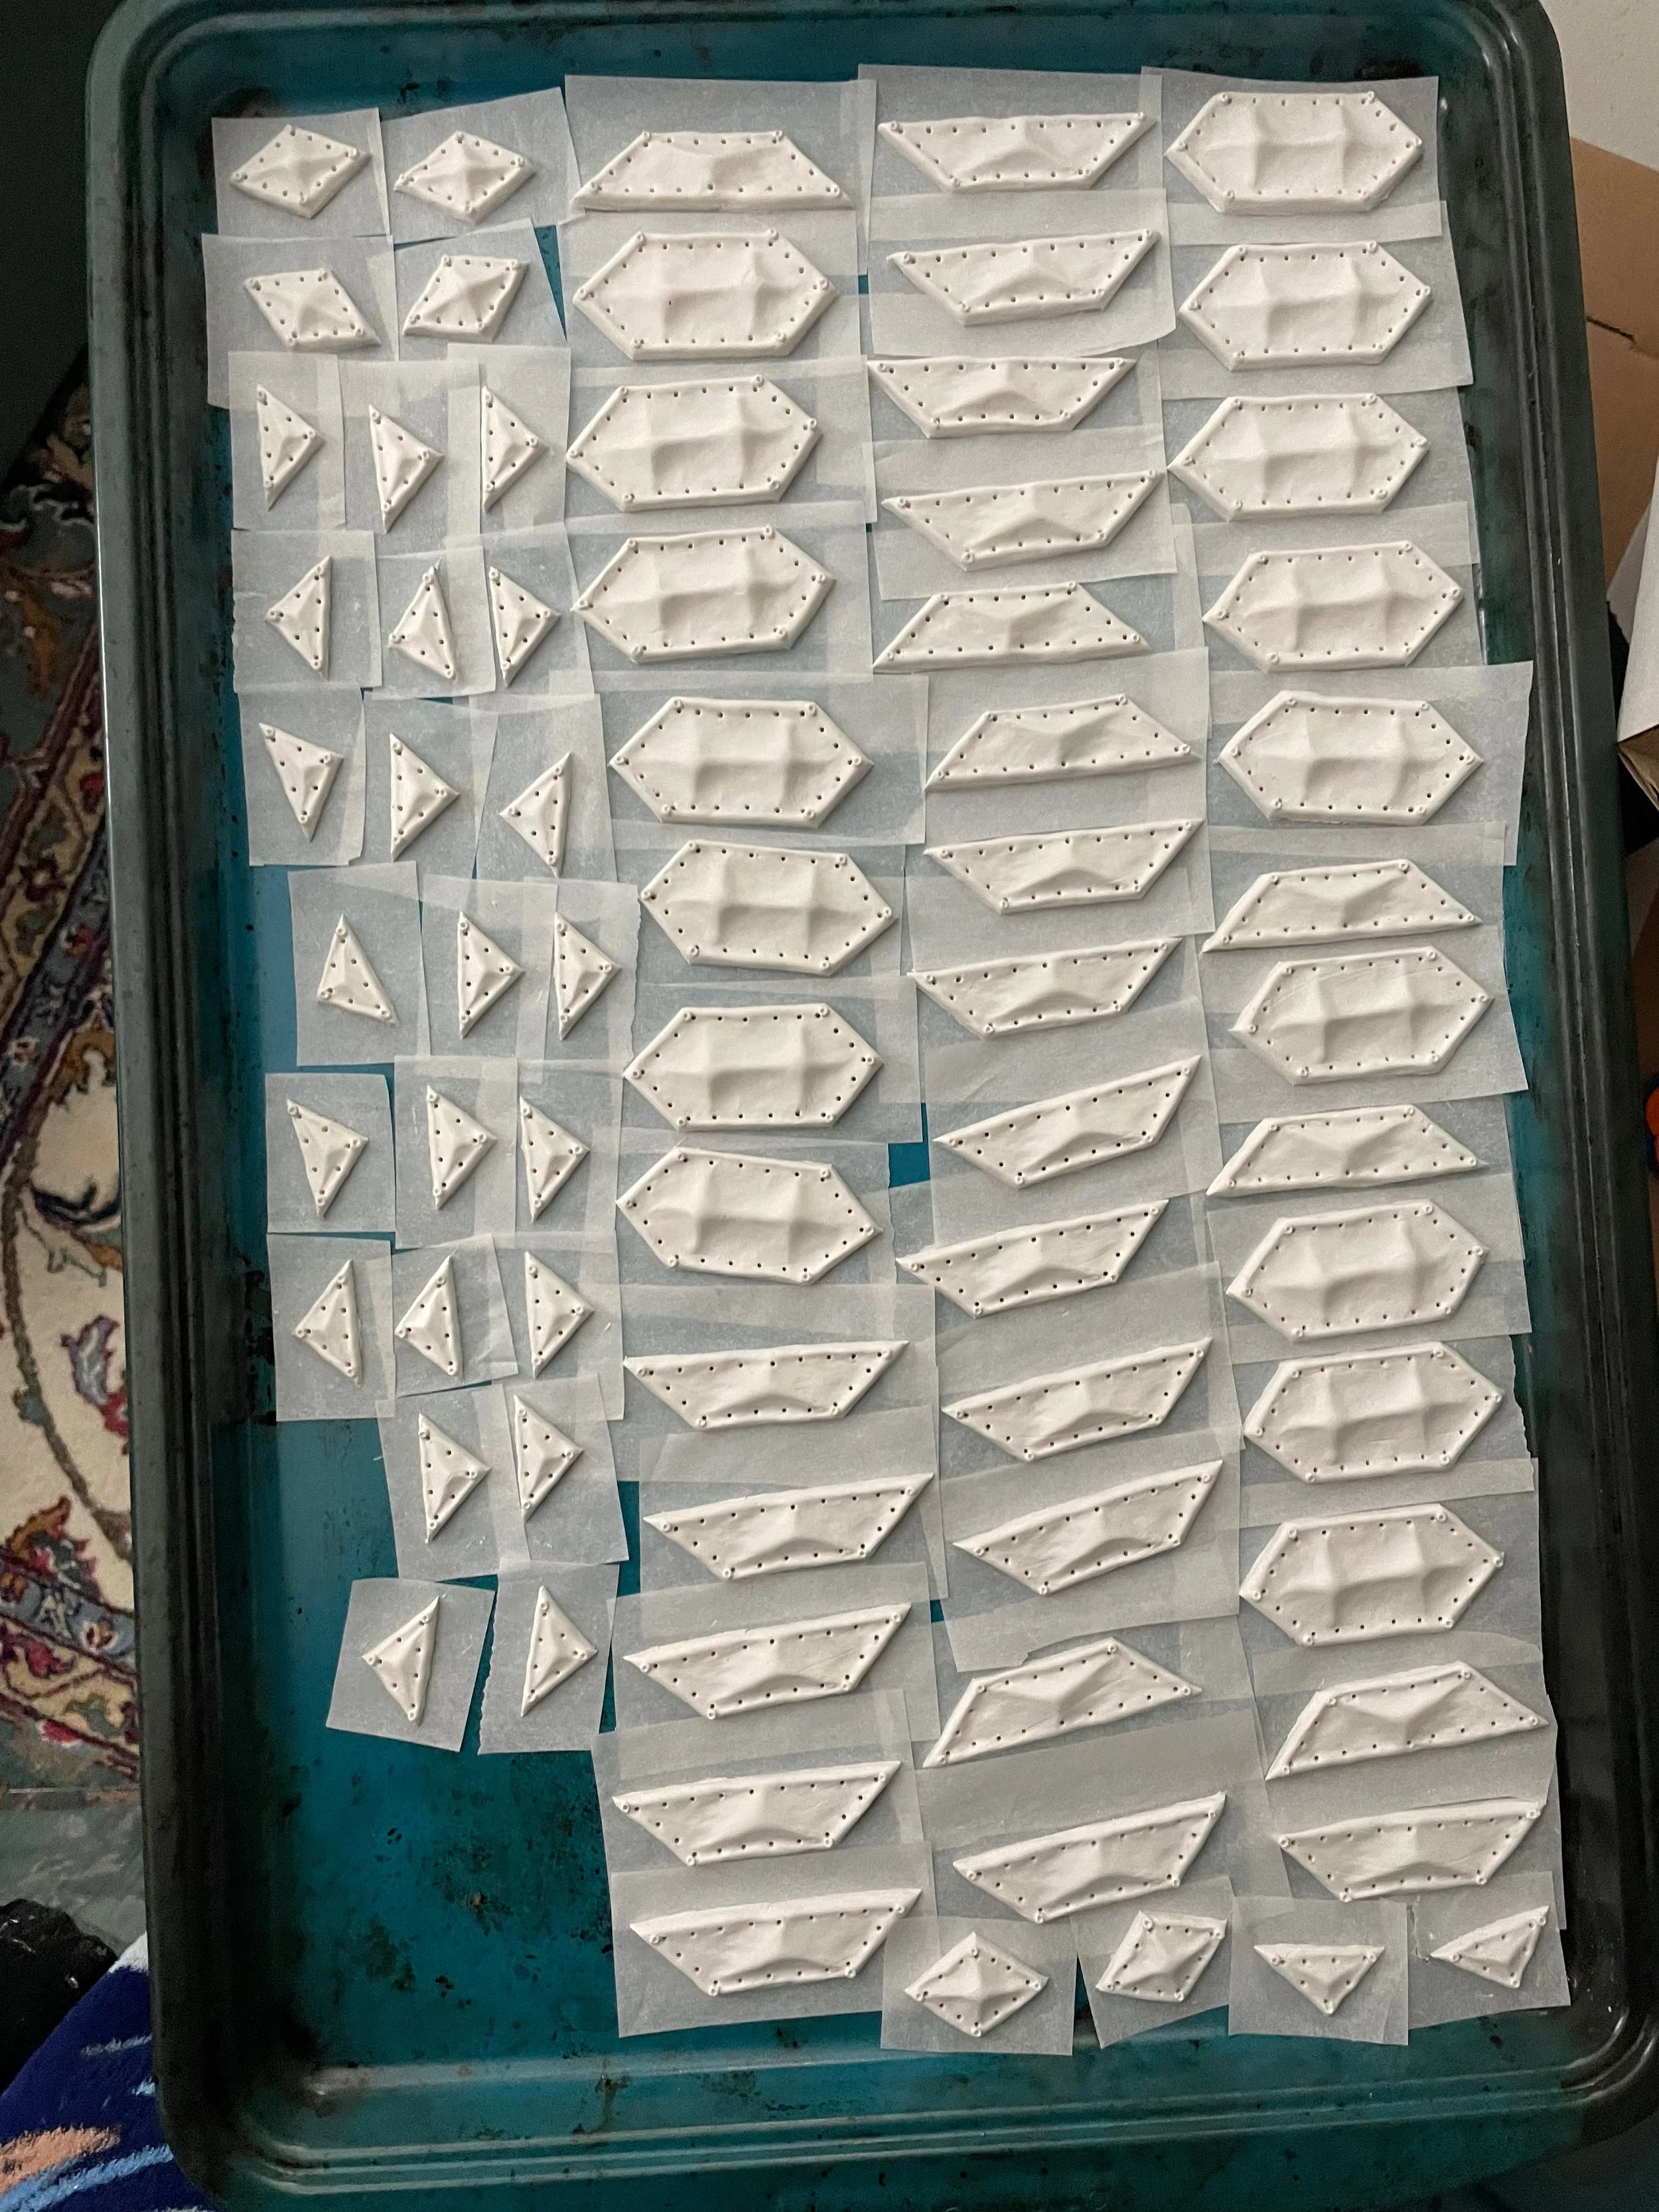
Some of the scales ready to bake!
Surcoat
This is the piece that took the second longest, after the armor, and that’s because of the fabric. The original piece uses velvet that had a design already pressed into it, creating some interesting dimension and texture. Unfortunately, I wasn’t able to find anything even close to that. I thought about a few different ways I could make a similar effect - I could have painted it, maybe, or drawn the design on. But instead, I decided to painstakingly go through with a straight razor and shave the design in. This took a long time - I think the first two weeks of work alone were spent doing this. I do have extra, so if anyone wants to make this costume and needs some fabric scaled to a 5’3 person… Let me know!
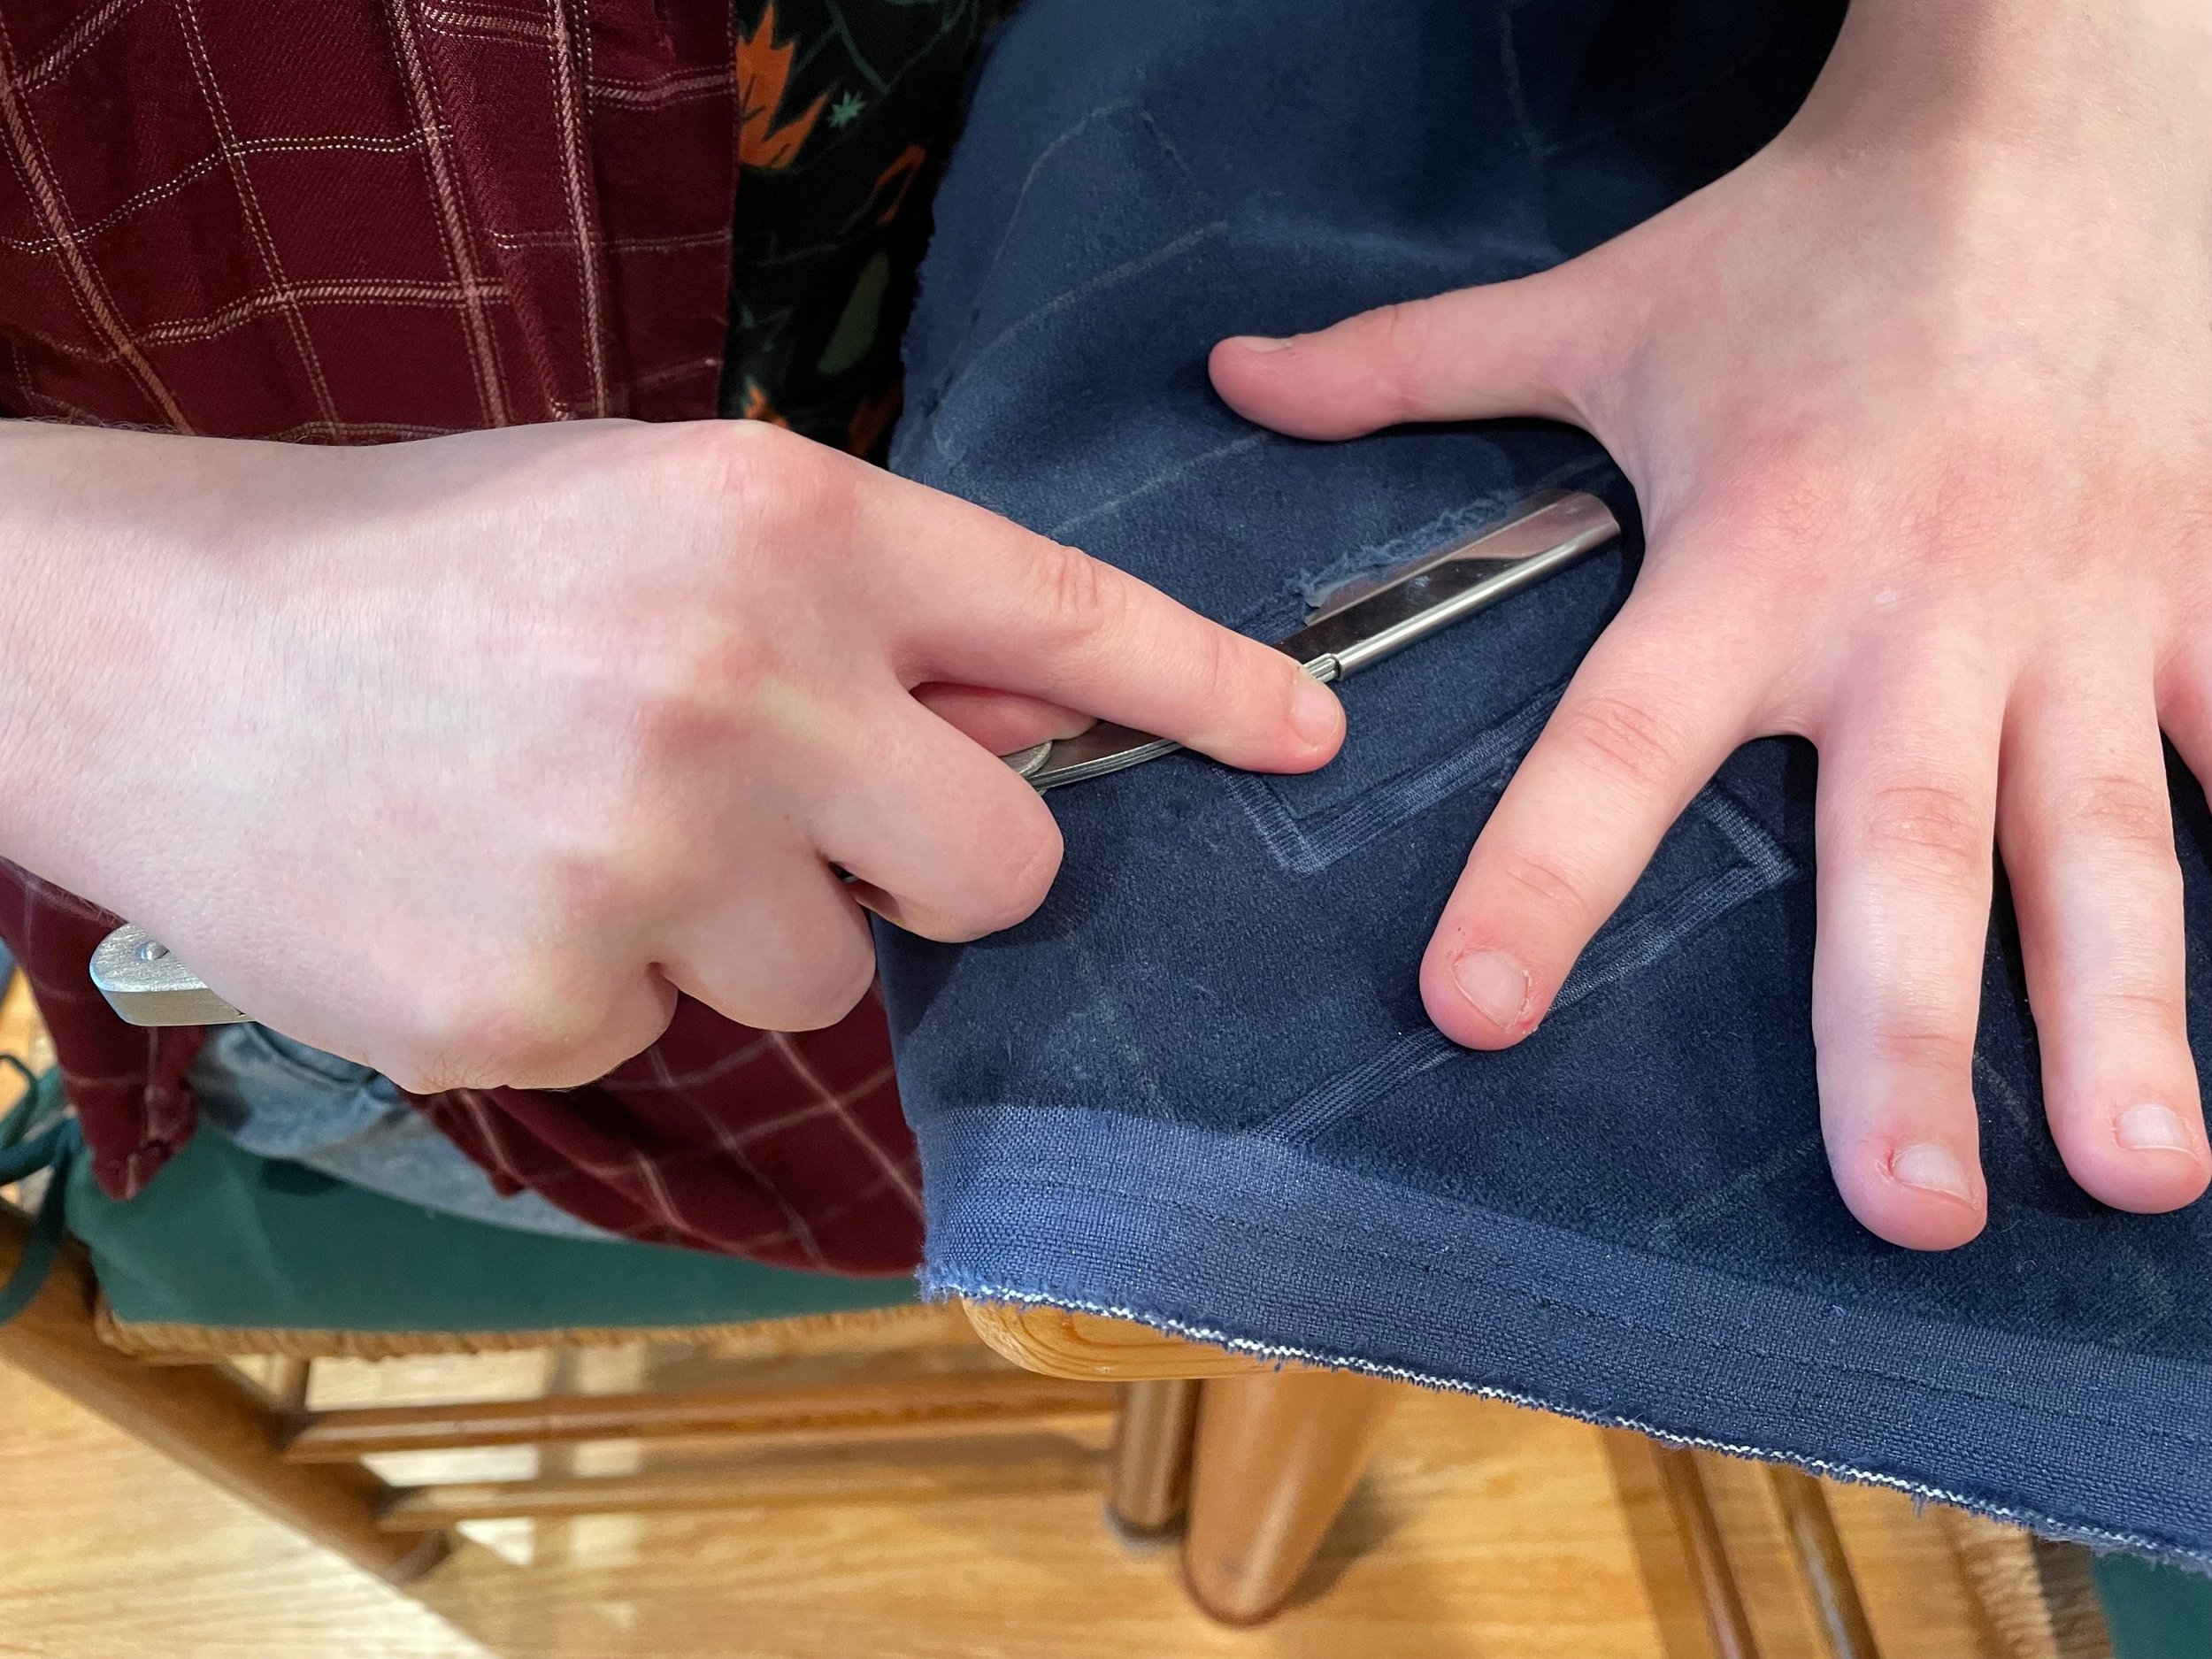
Me, shaving velvet
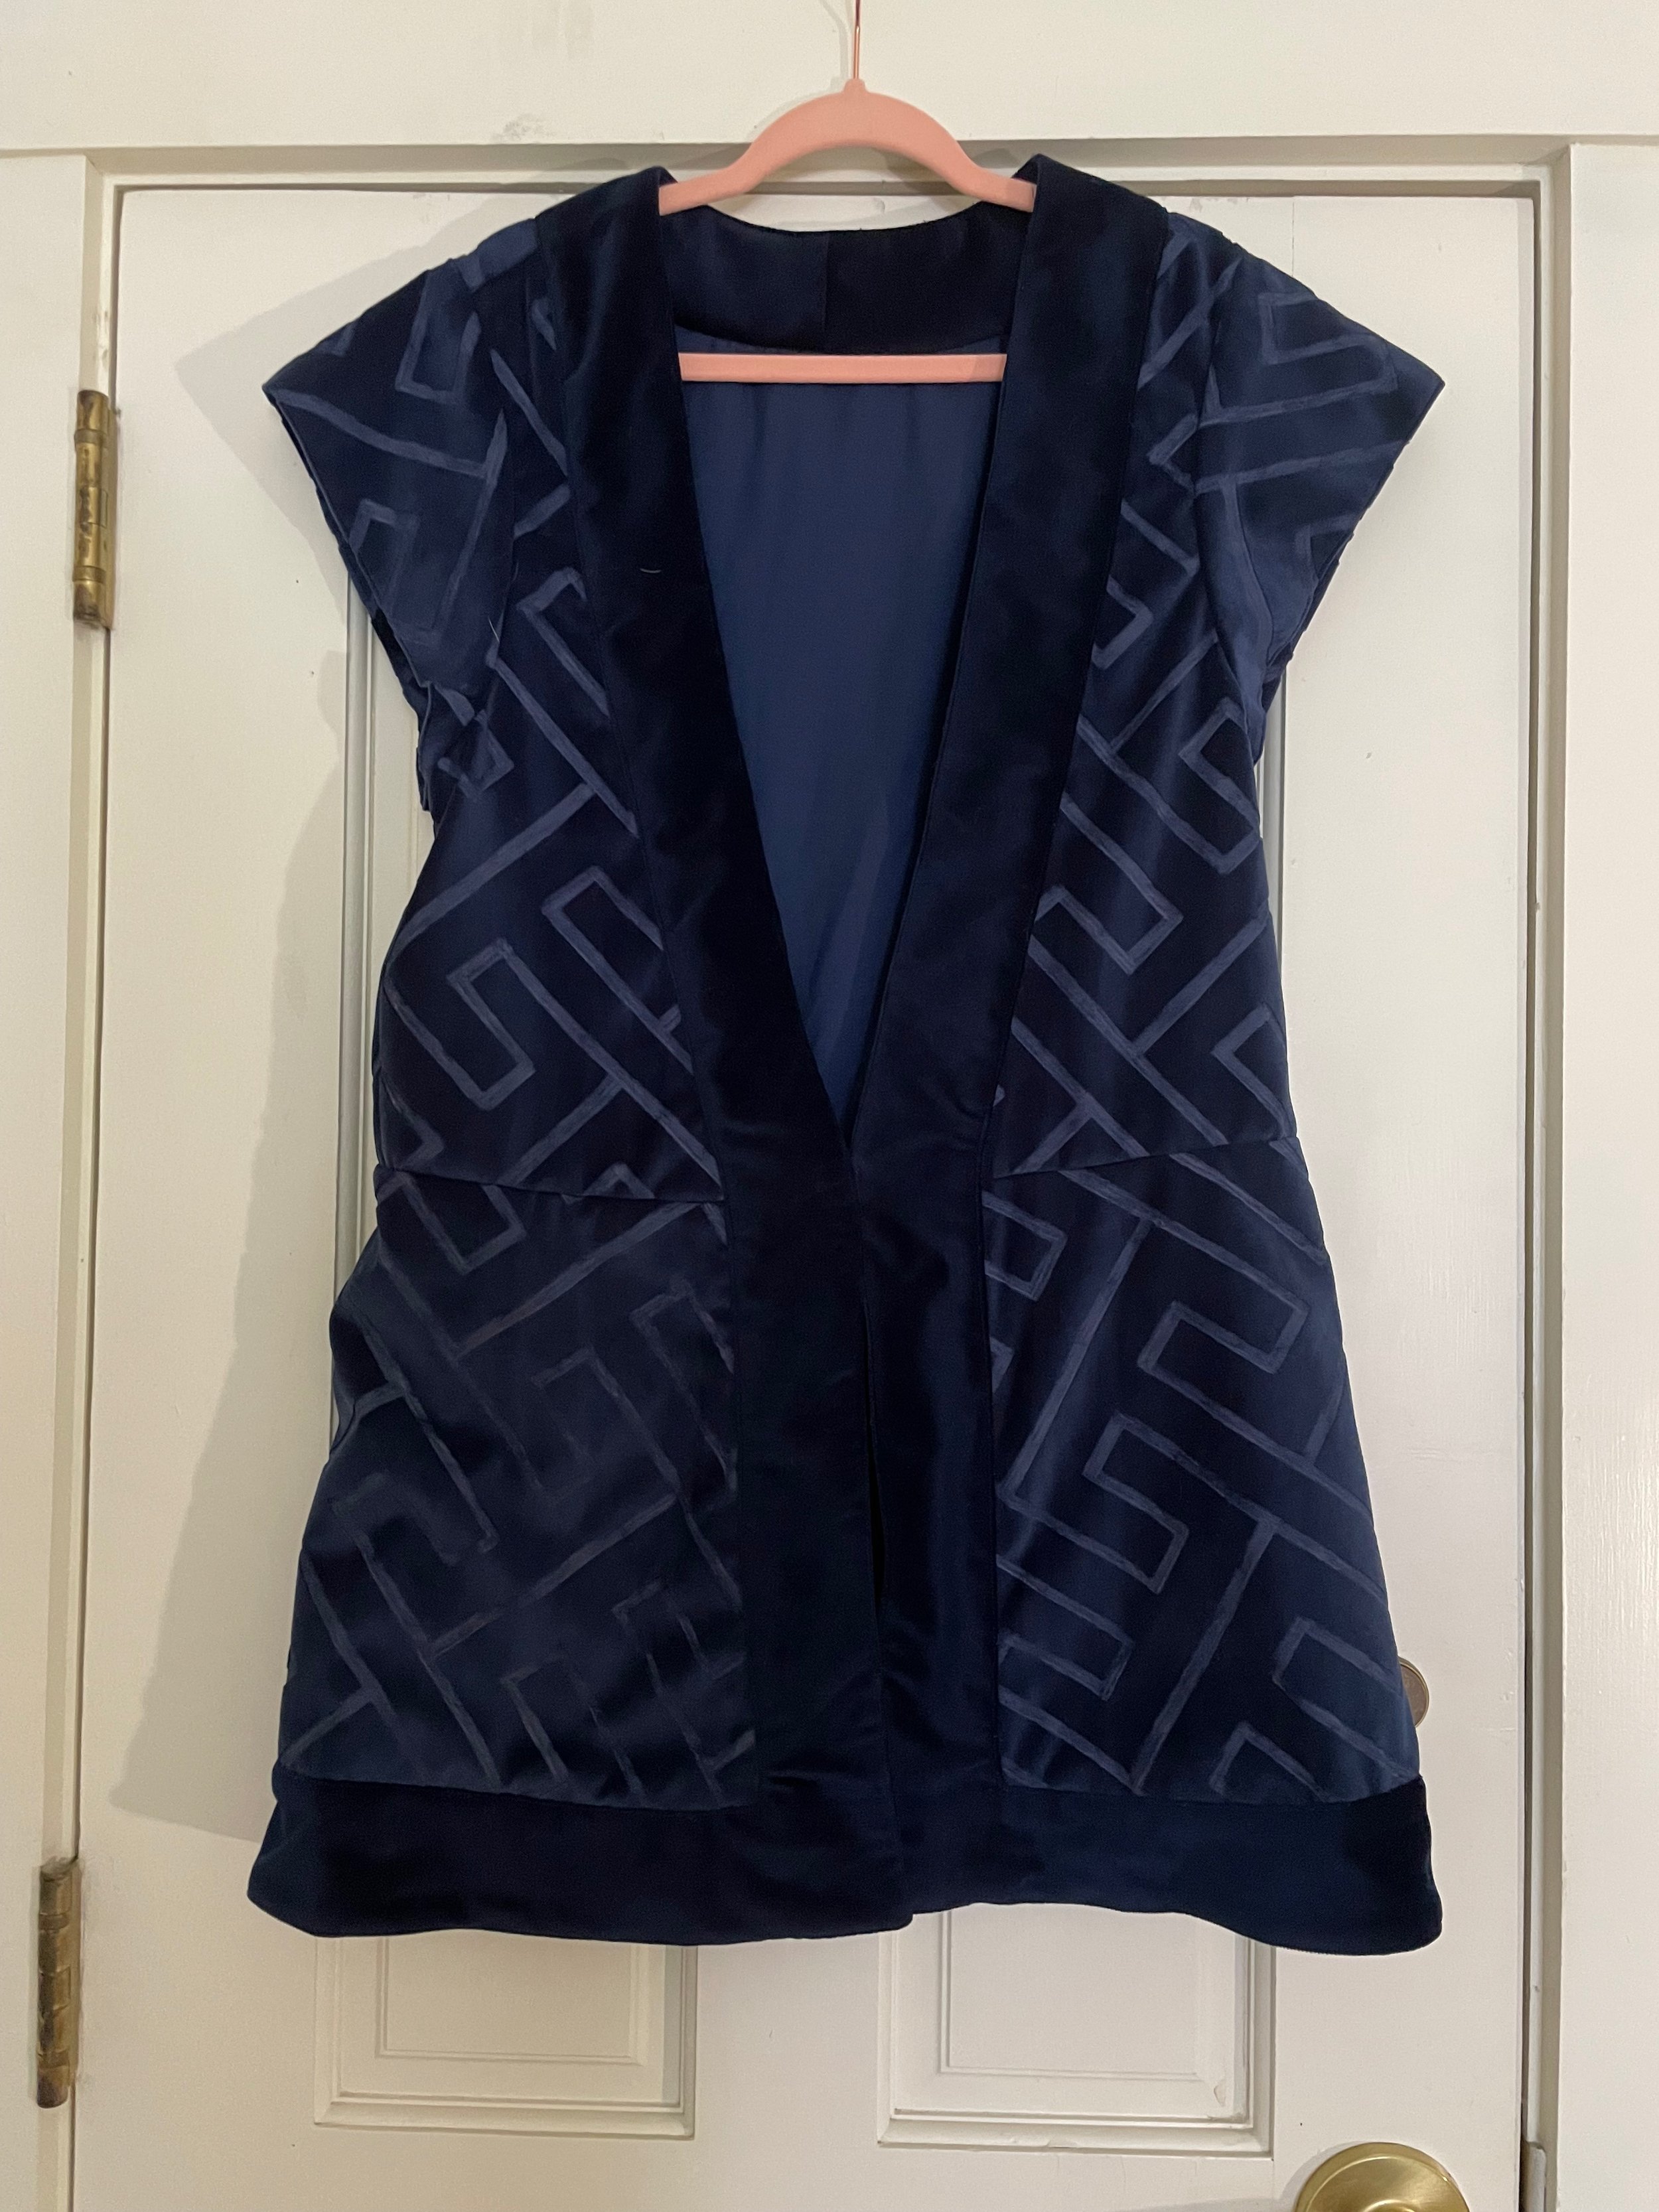
Front of the surcoat

Back of the surcoat
After that, the surcoat wasn’t terribly complicated, just time consuming. The plain edging was the hardest to sew in, since it had to go over some interesting angles. The lining is made out of the same material as the tunic, which is nice and light and won’t add too much heat while wearing this costume. There’s a hook and eye where it meets at the front, to keep it closed under the belt.
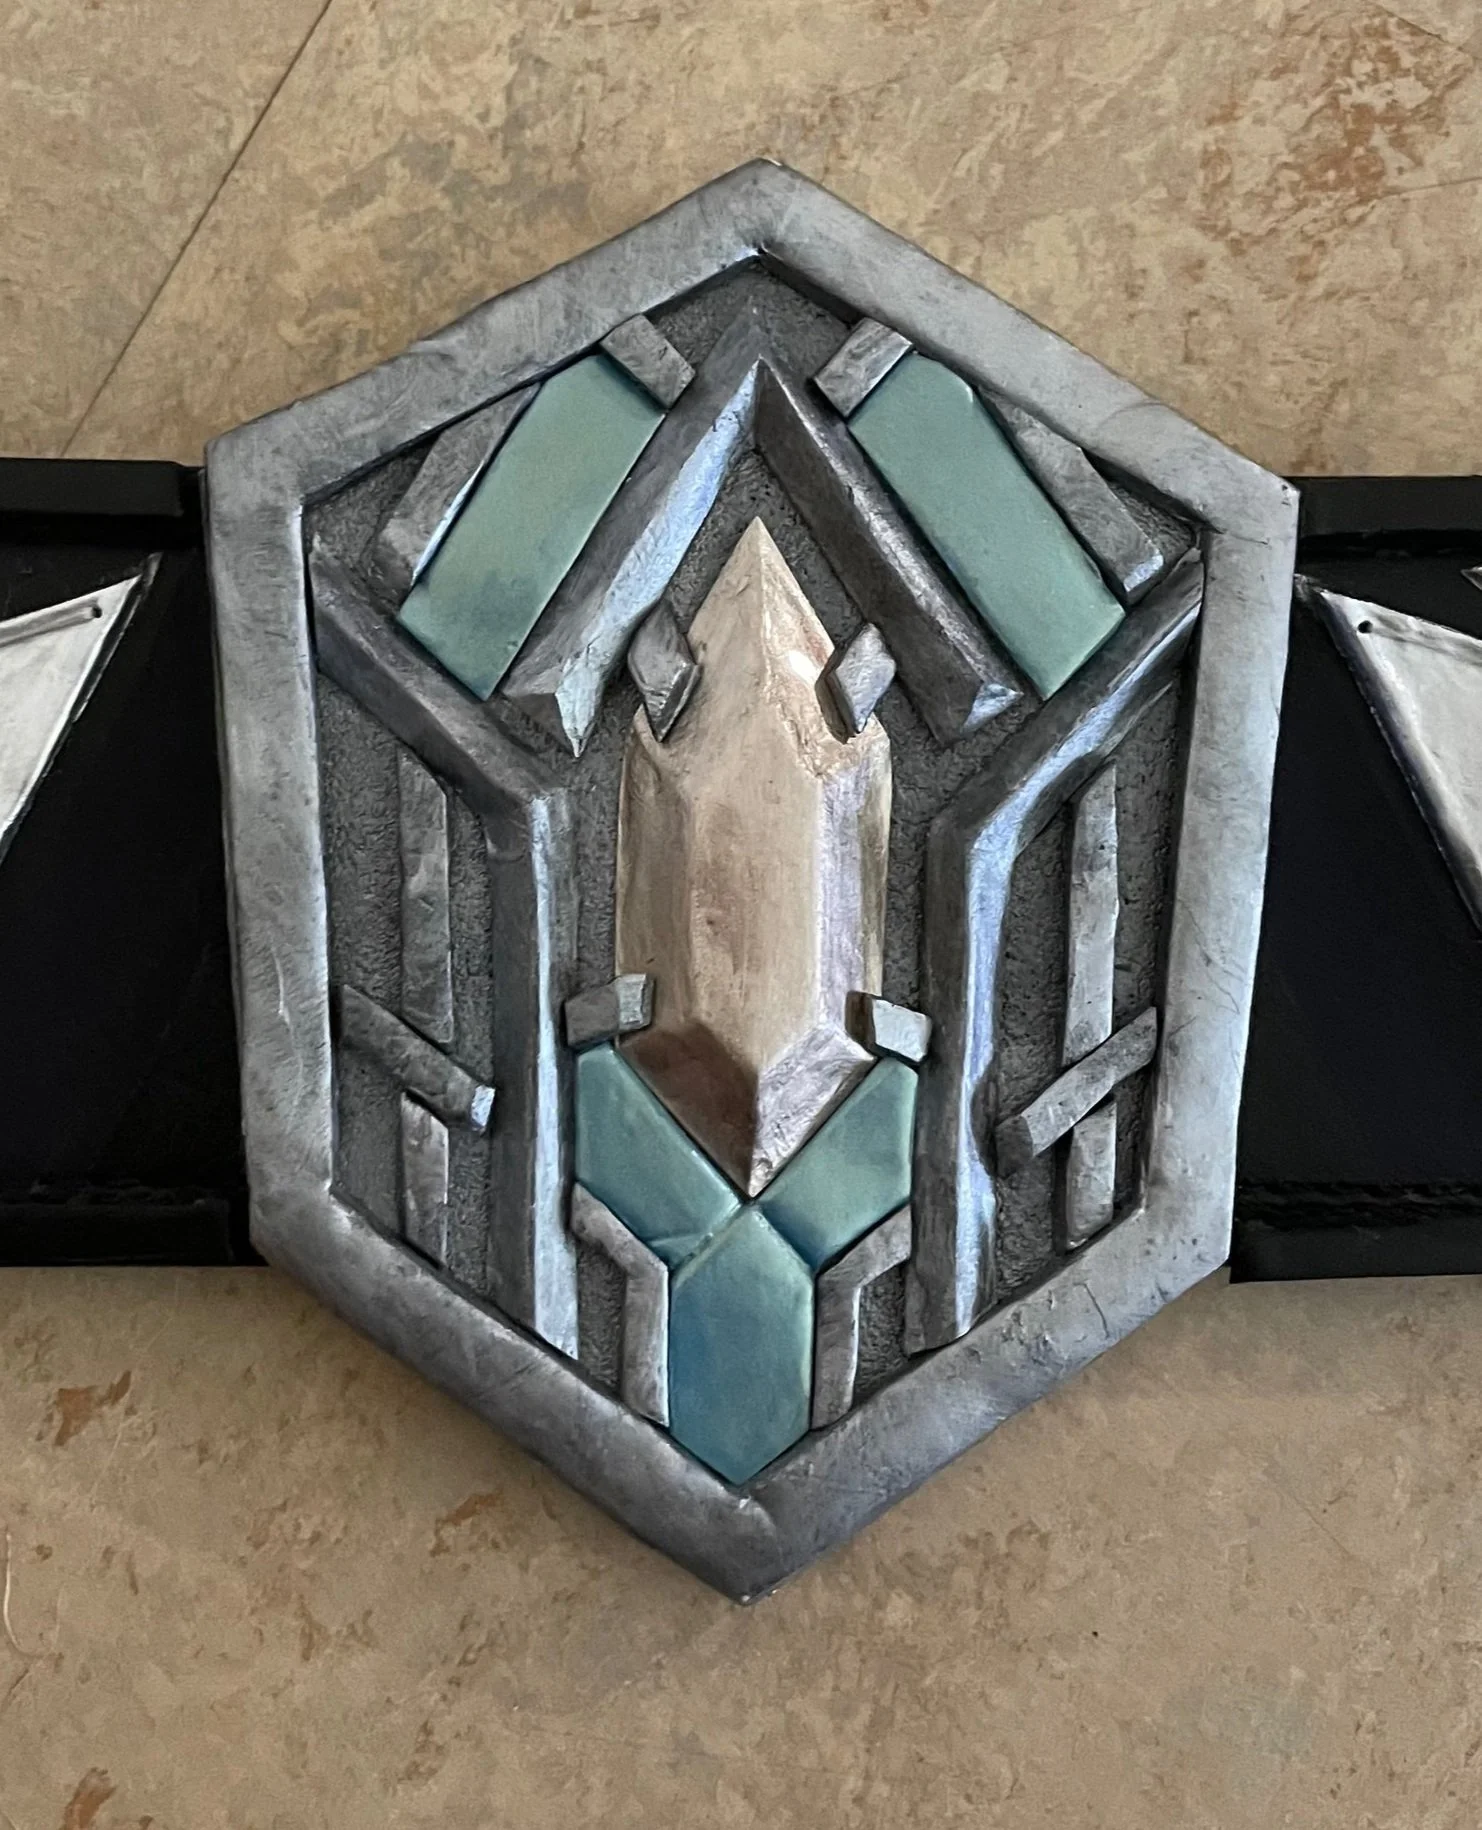
Belt buckle close up
Belt
The belt is a 3” wide leather base with a ridge across the outer edges and more of the armor scales sewn on top, as well as a buckle made out of polymer clay, and painted with acrylic paint and nail polish for the gemstones. The trickiest part of this was sewing the armor scales on; I had to find a family friend who had a really small drill which I could use to punch the holes into the leather. There is also blue painted into the spaces between the scales, but it doesn’t show up well on camera

The whole belt
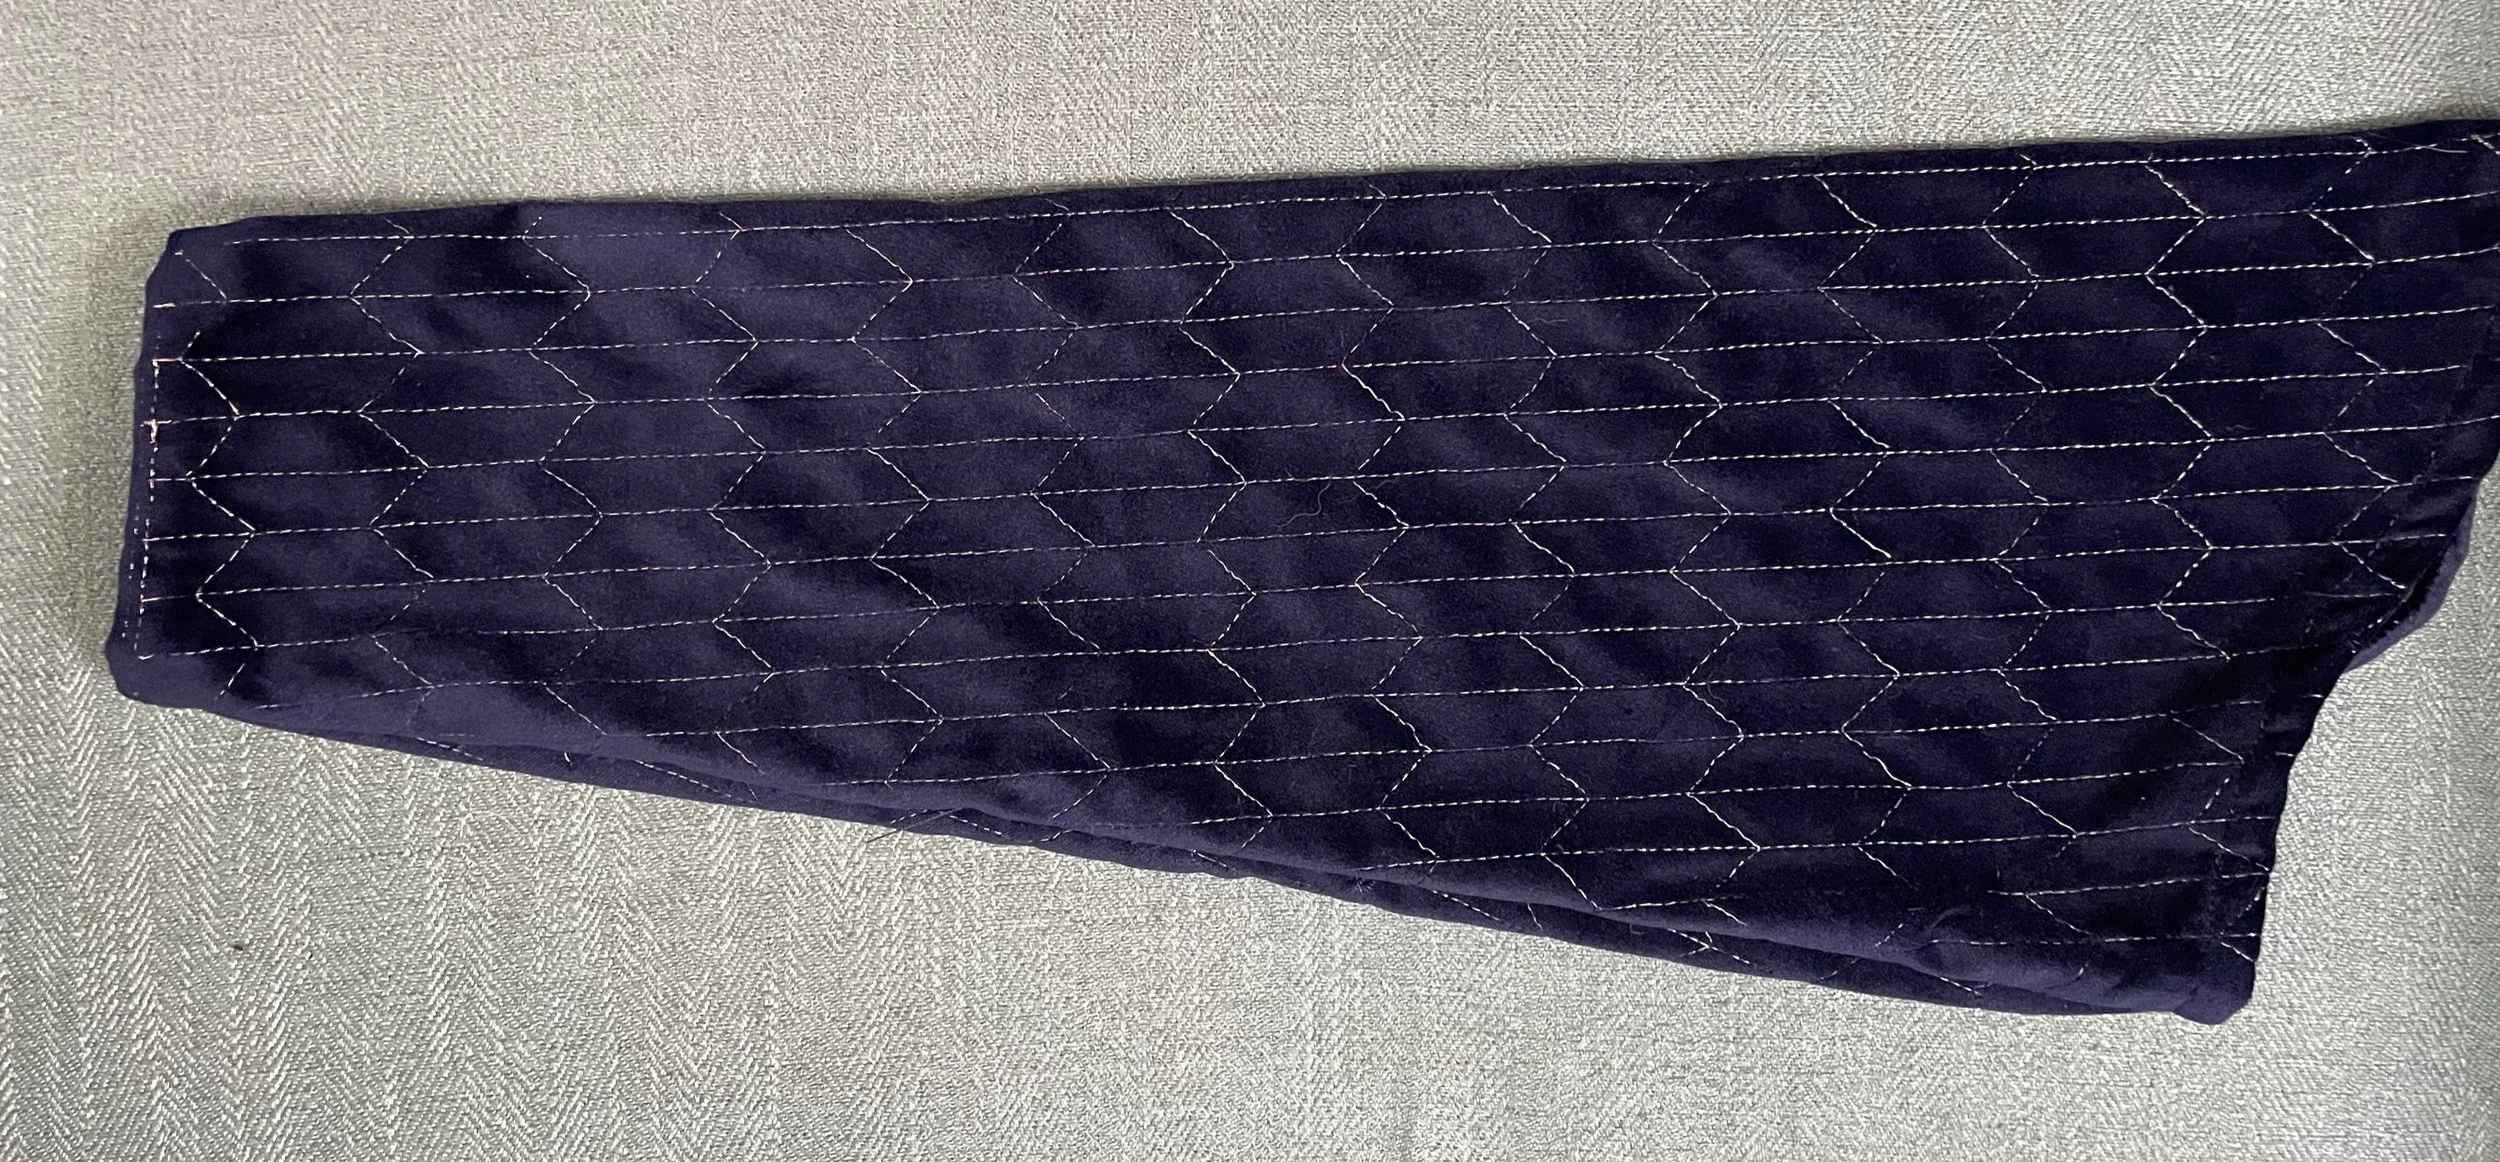
False Sleeves
One thing I noticed after many, many hours staring at this costume is that there are some sort of false sleeves, worn under the armor and bracers. They’re only visible at the elbows, and they don’t get photographed much - here is my best reference for them. Still, they’re pretty, made out of dark blue velvet and stitched with silver thread in a geometric pattern. I wasn’t originally sure if I was going to make them, but I had some extra velvet from the surcoat, so I went ahead and whipped these guys up at the end of the project!
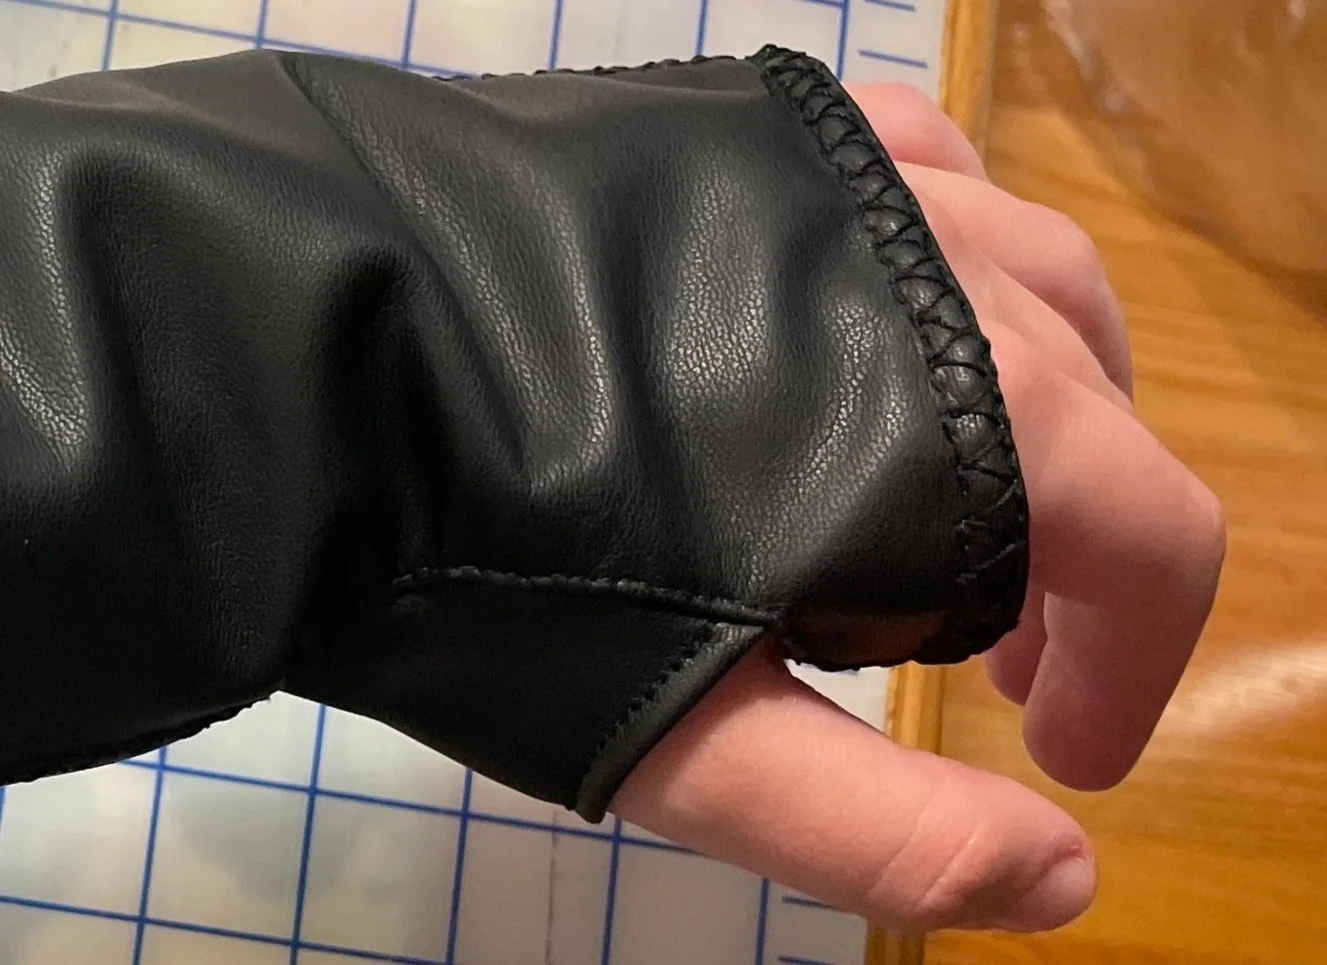
Glove stitching details
Gloves and Bracers
Over the false sleeves go the gloves and bracers. The gloves are pretty simple - they’re made out of some cheap fake leather, and are mostly fingerless, other than the thumb. Following the few references I could find for them, they do have some stitching details, similar to what is on the coat (in the next section).
The bracers (see below) are a lot more interesting. I made a second, more successful attempt at leather tooling, and then painted over the top with blue, following what I saw in references like this. I then stitched along the outside edge, and glued all the pieces together. The piece that goes over the hand was then attached to the main forearm section with two rivets. It straps on with two buckles that go under the arm.
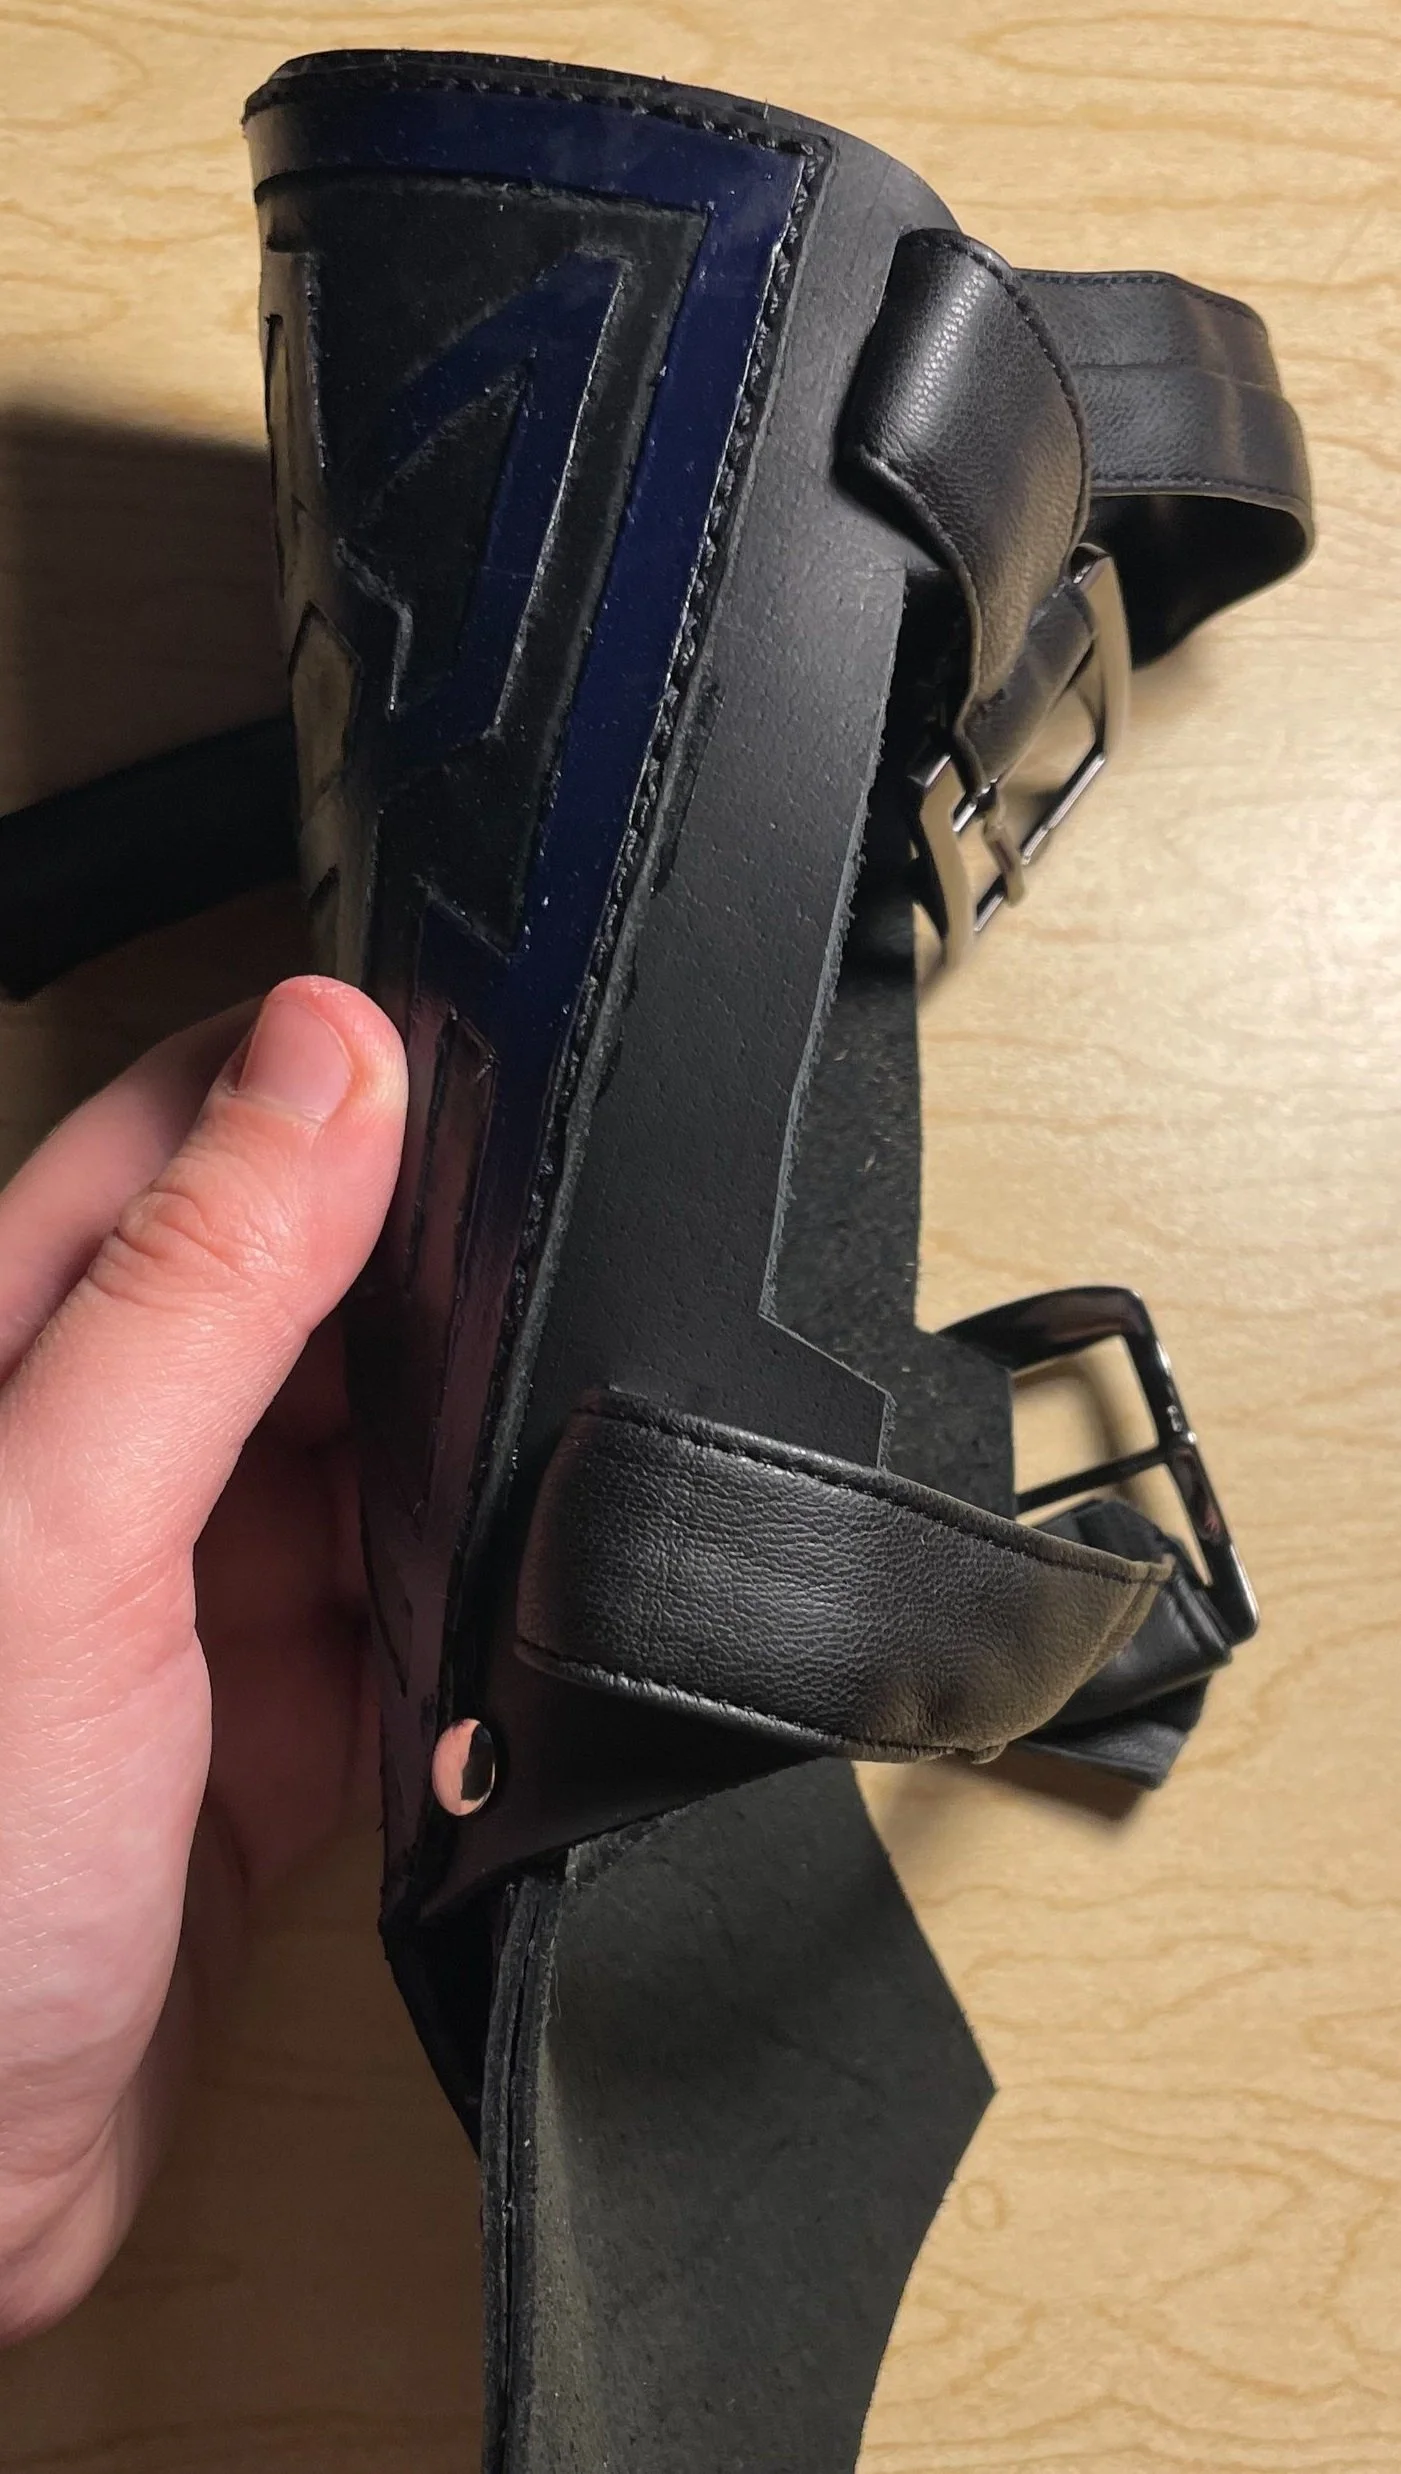
Bracer fasceners and stitching detail
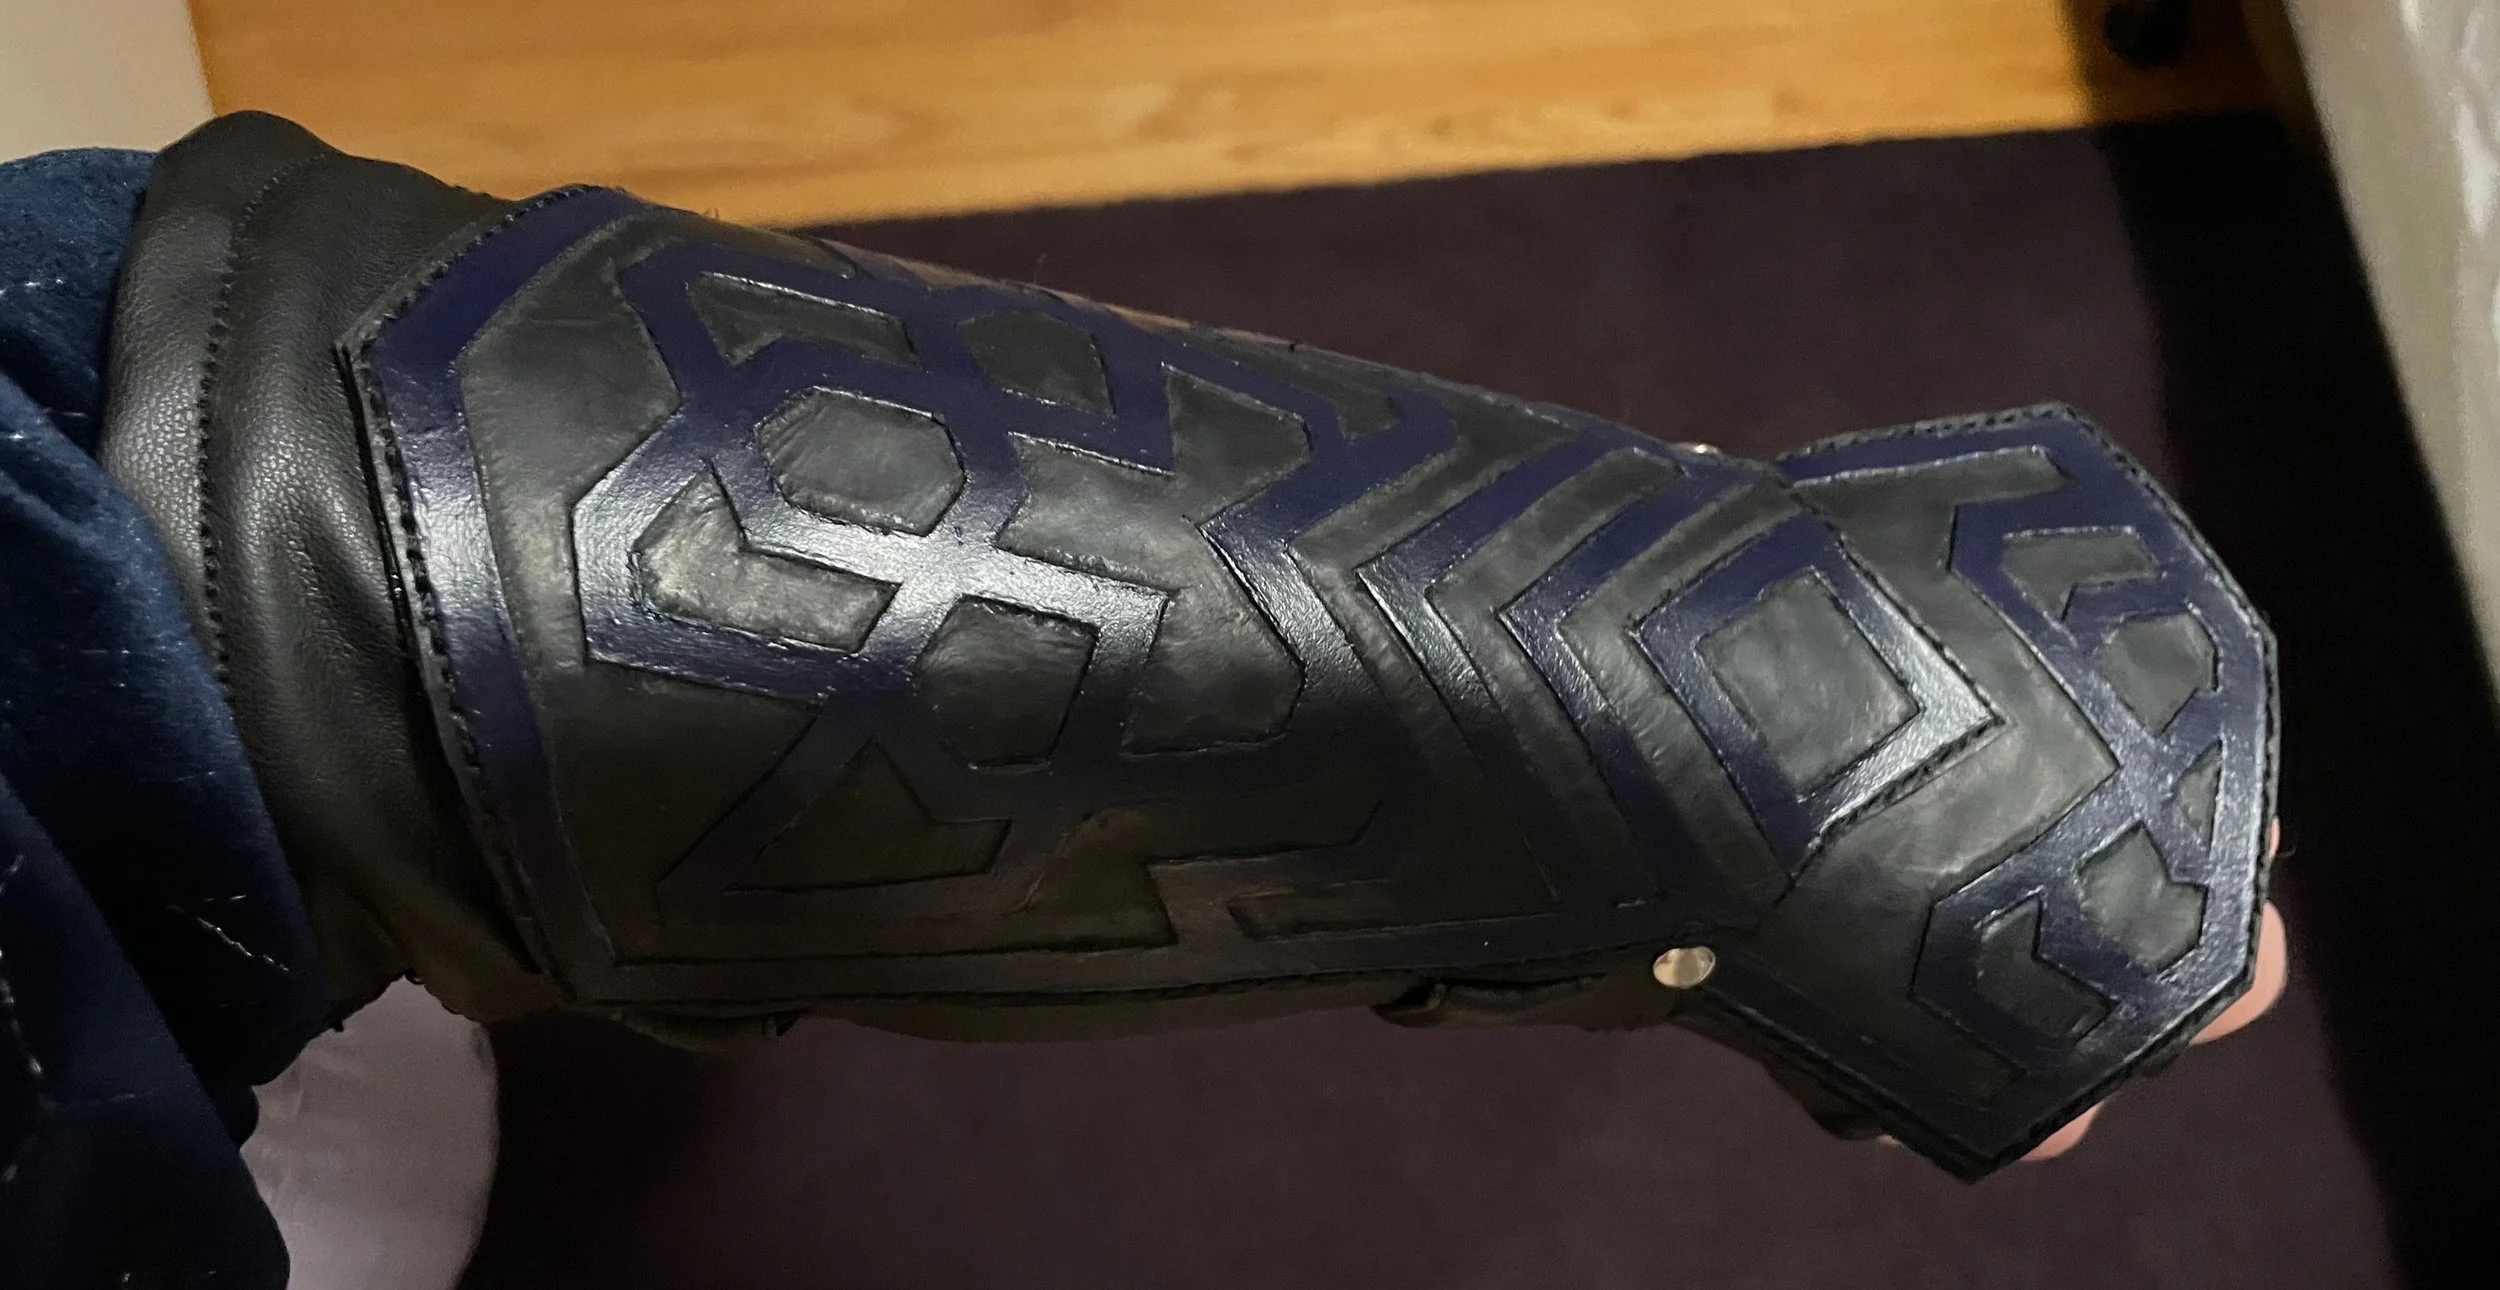
Worn bracer with glove
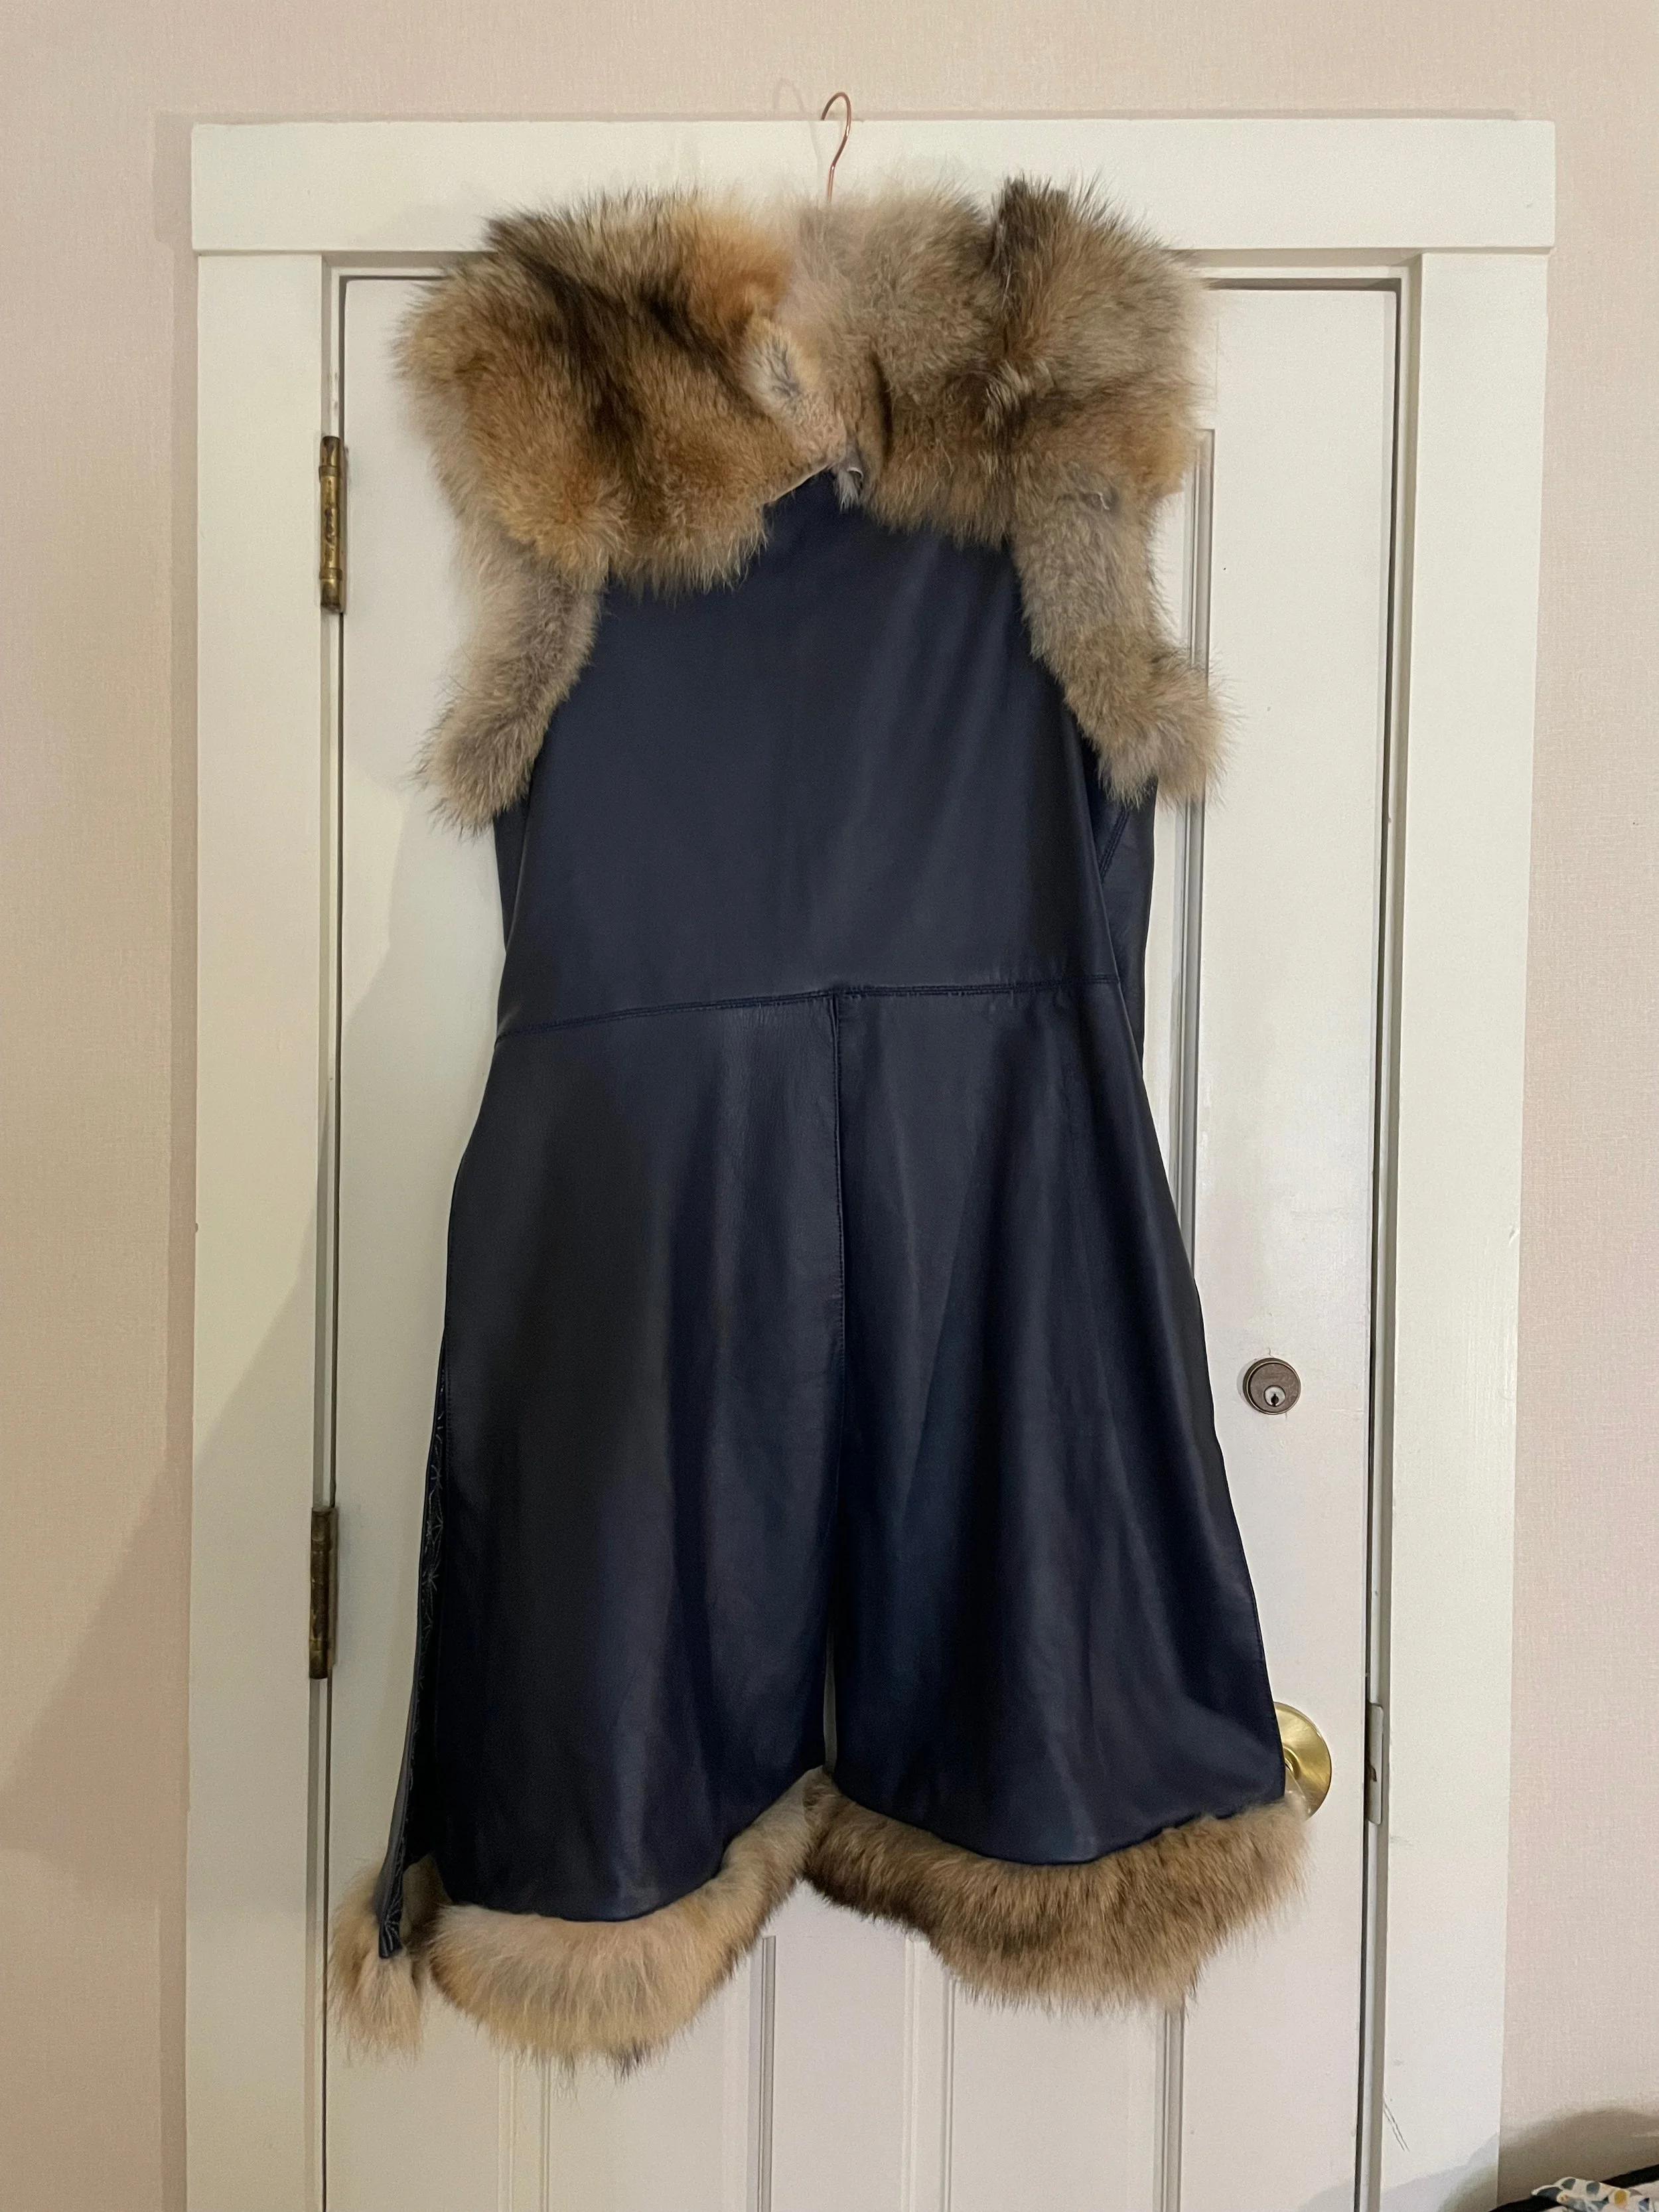
Coat
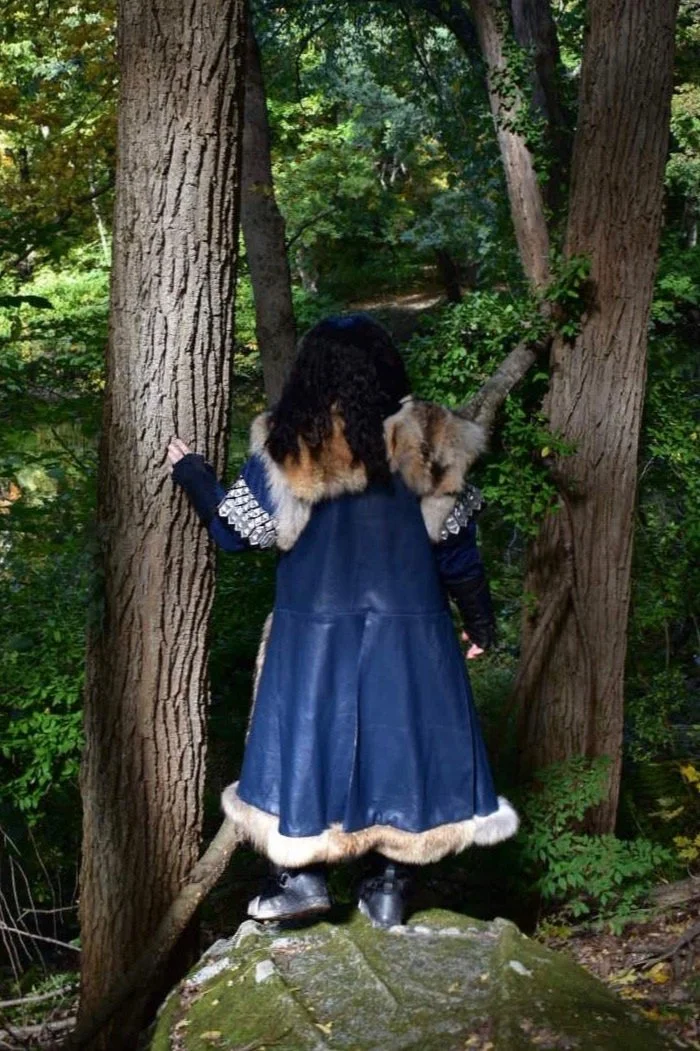
The last, and to me most exciting, piece of clothing in this costume is Thorin’s coat. This was the part I was most excited (and most nervous) to make. I used ethically sourced navy leather and coyote pelts for the outside. The lining of the original is, I think, some kind of dark blue silk; there are very few photos that even hint at it, and none that I could find in my research that showed it off well. I did, however, find this gorgeous printed cotton, which reminded me strongly of the stars seen over the door of Moria in The Fellowship of the Ring, and decided to use that for the lining. The coat has four lower panels, each of which has fur at the bottom, and is also fur lined along the armholes. The mantle part of the fur was especially fun to position, as I had to work carefully to get the shape I wanted. There is also decorative stitching along each of the main seams, which has the added benefit of helping to keep the seam allowances down, since you can’t press a leather seam flat.
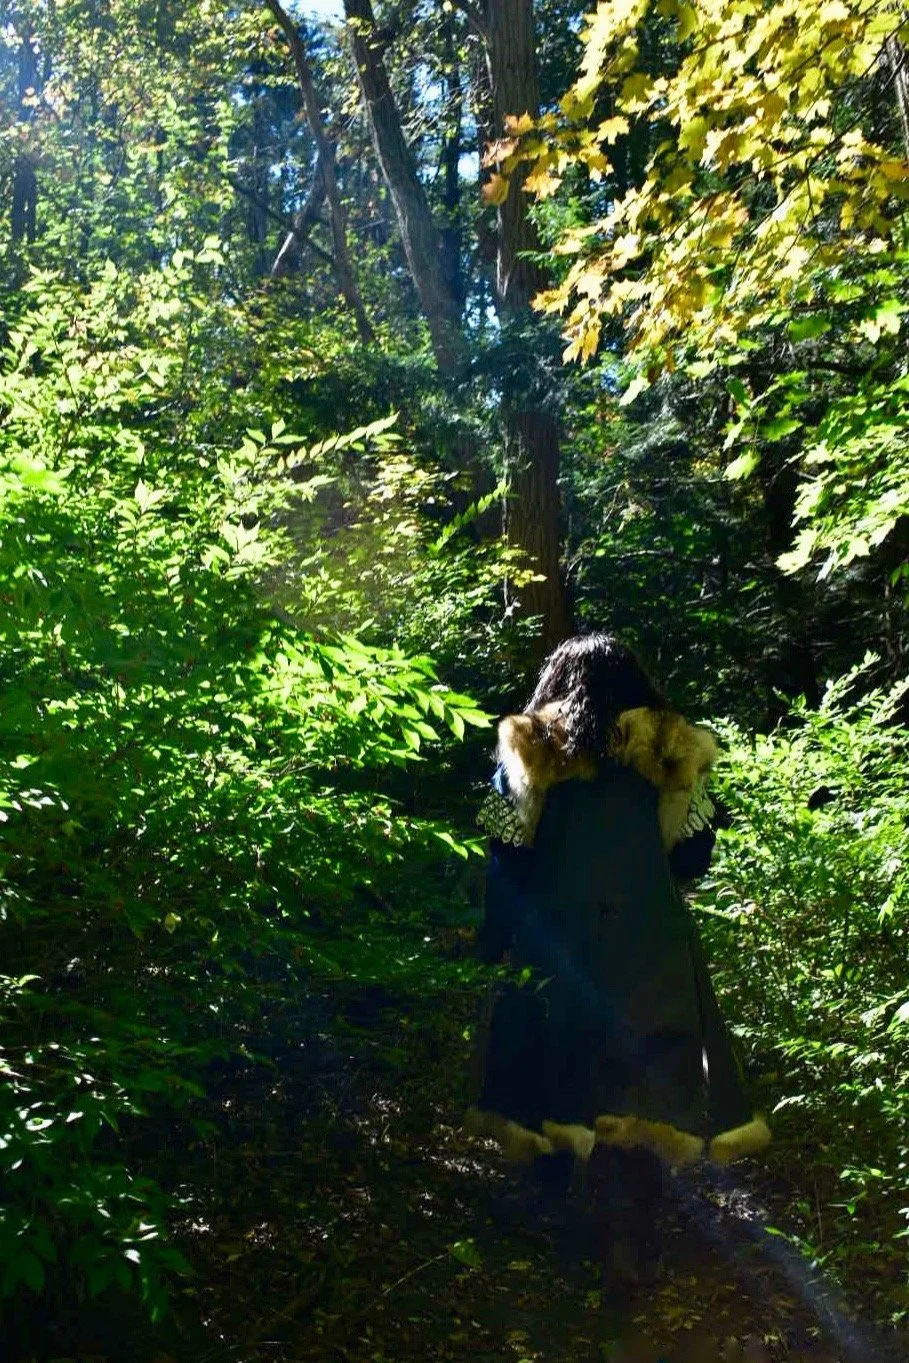
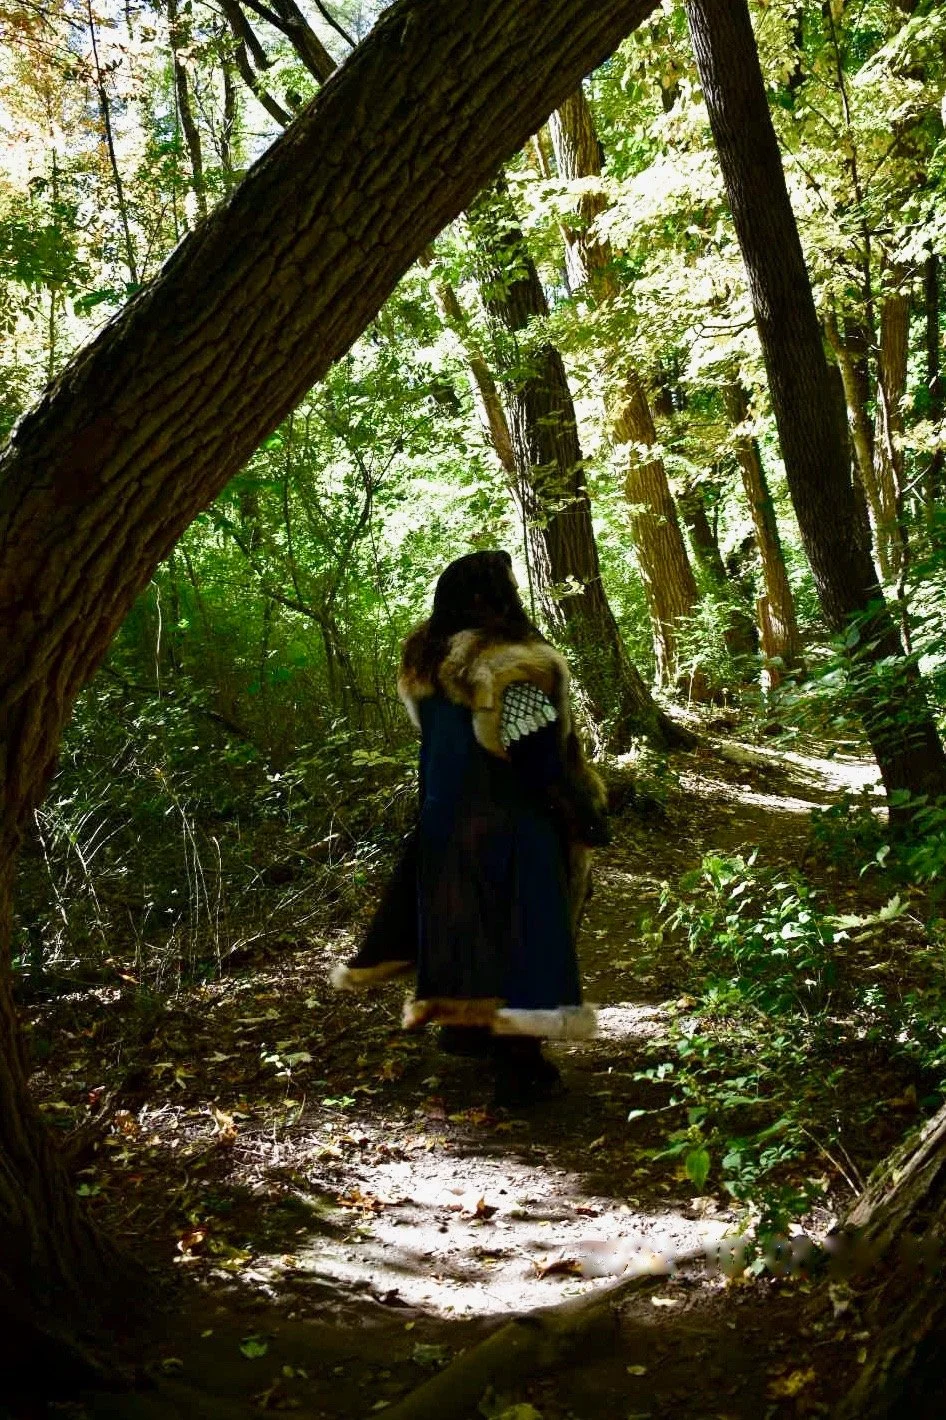
From the back
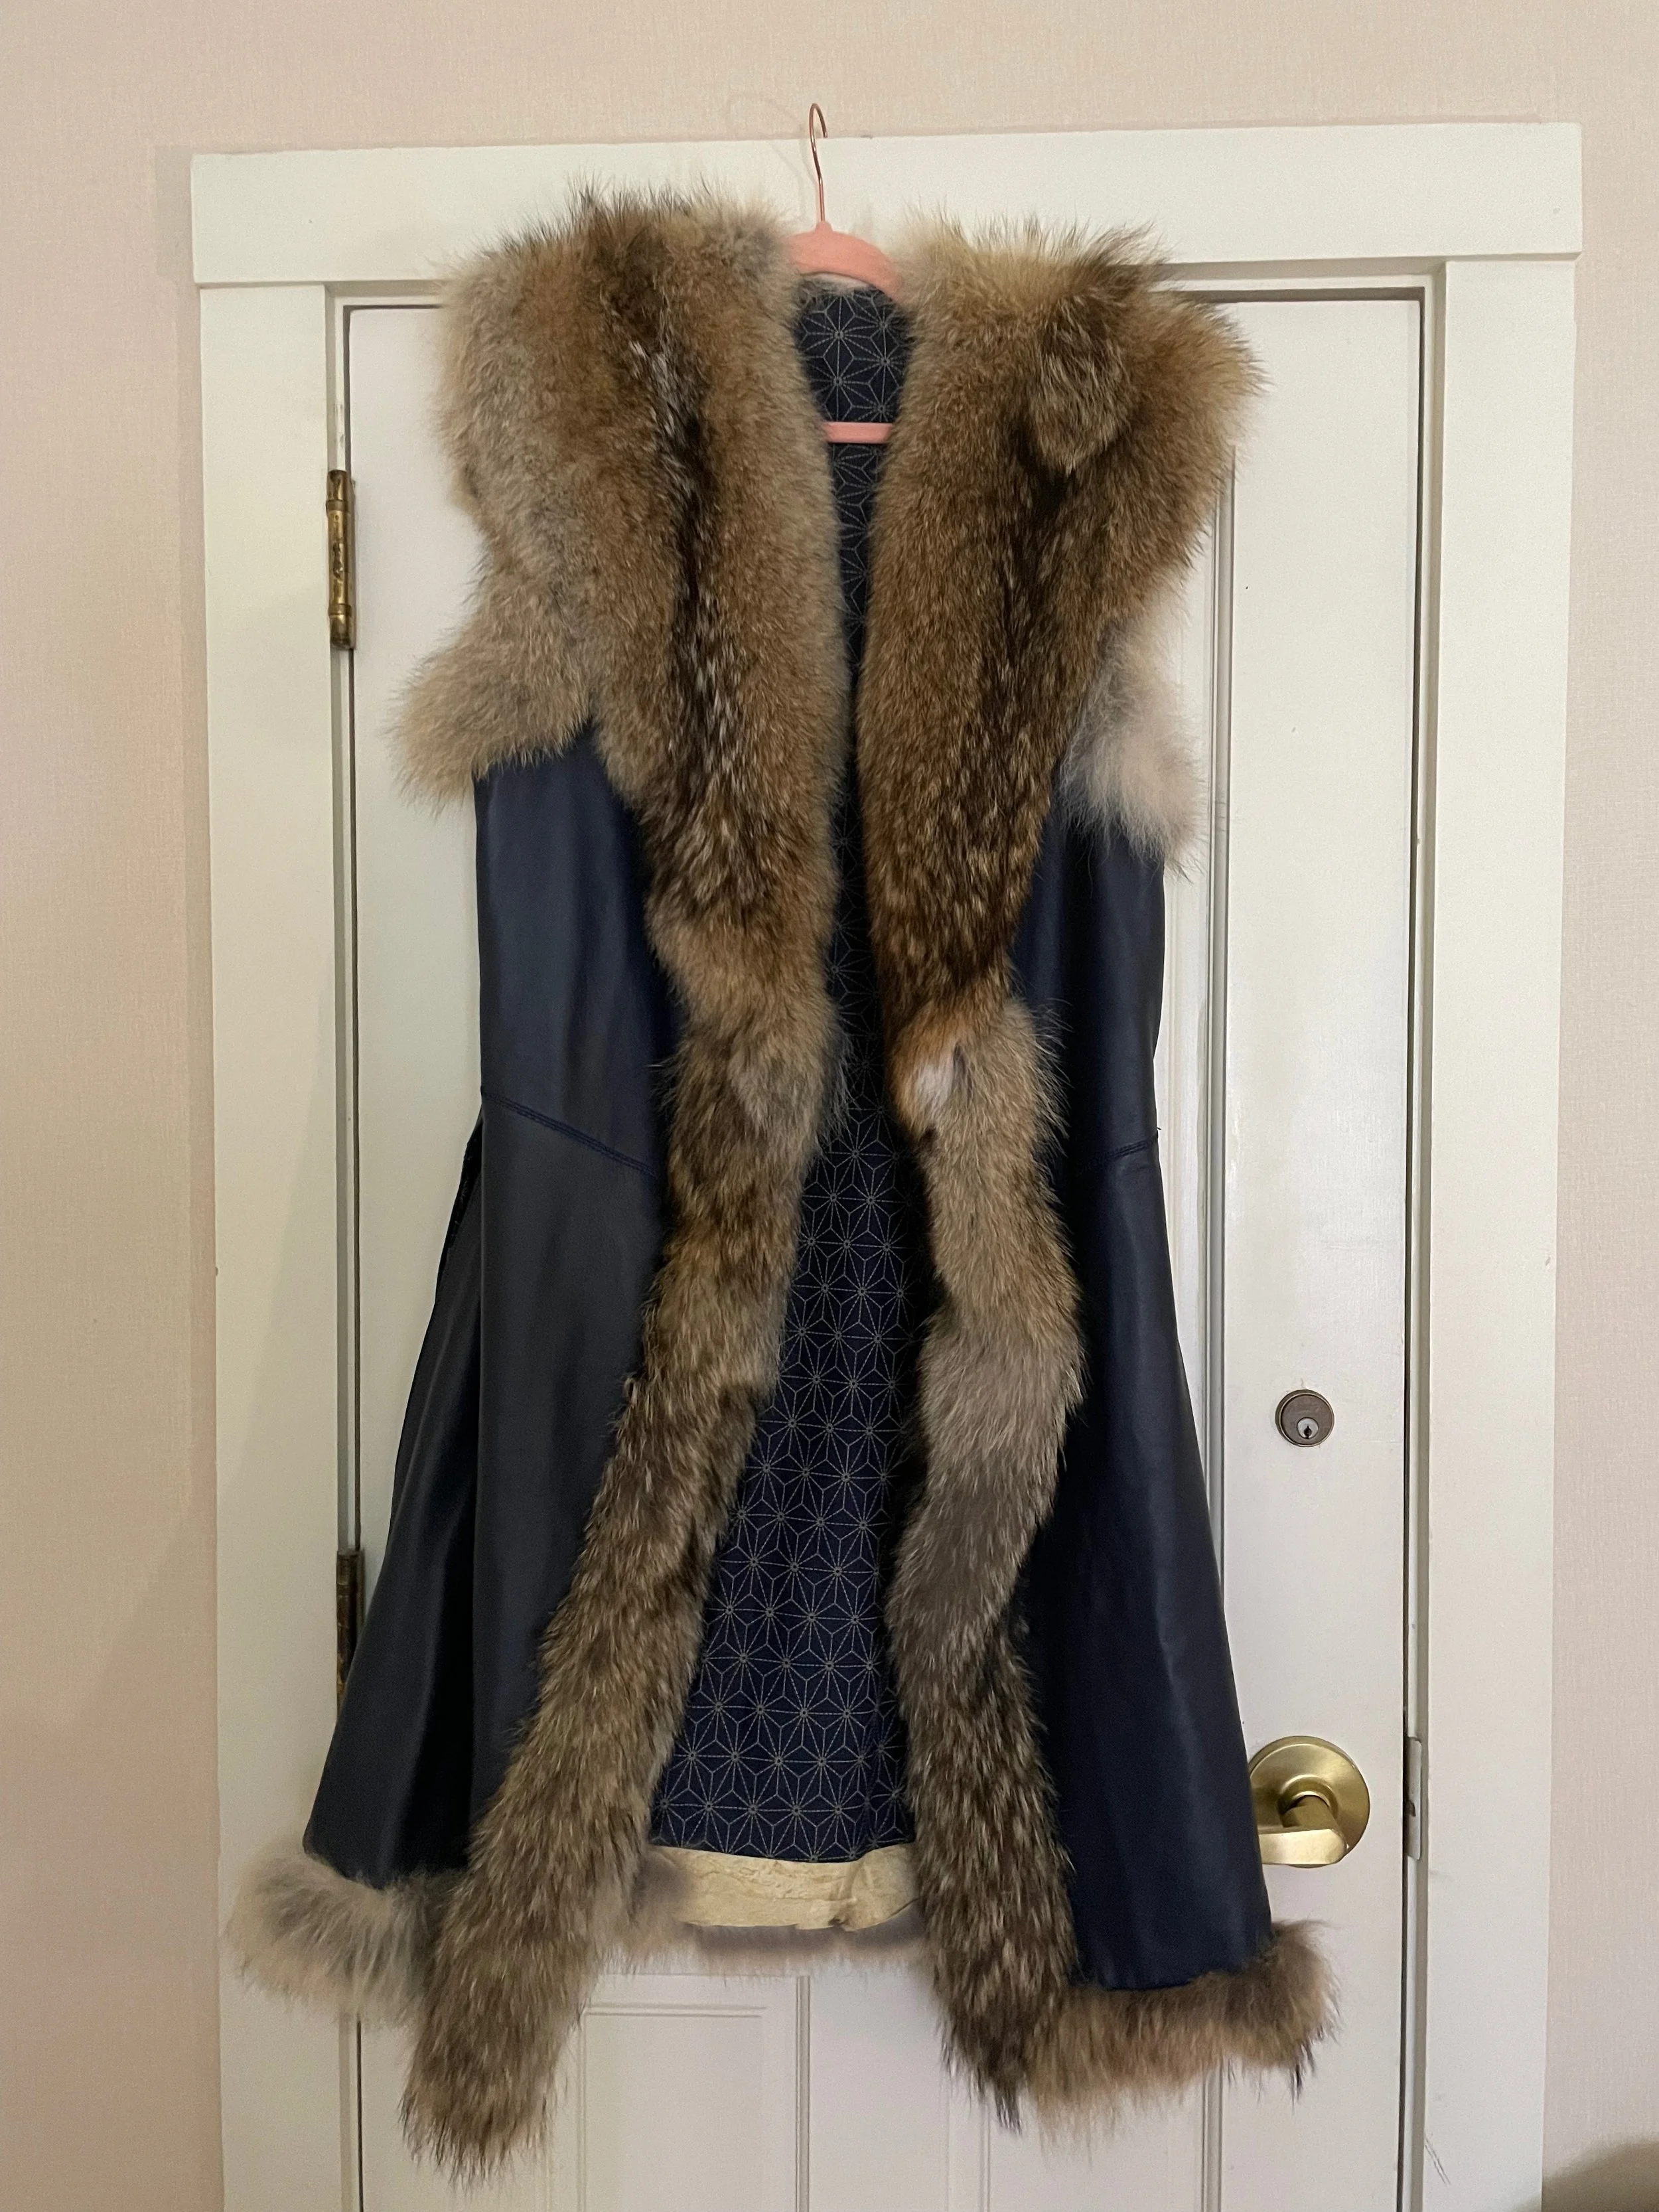
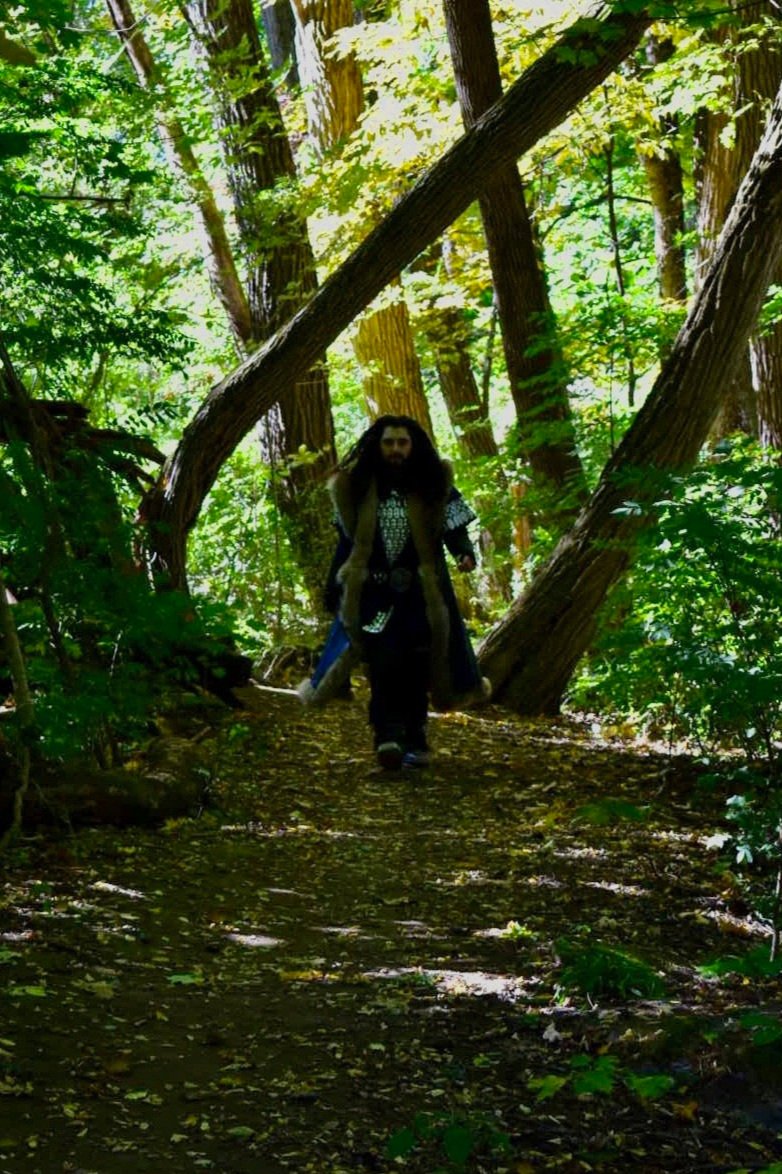
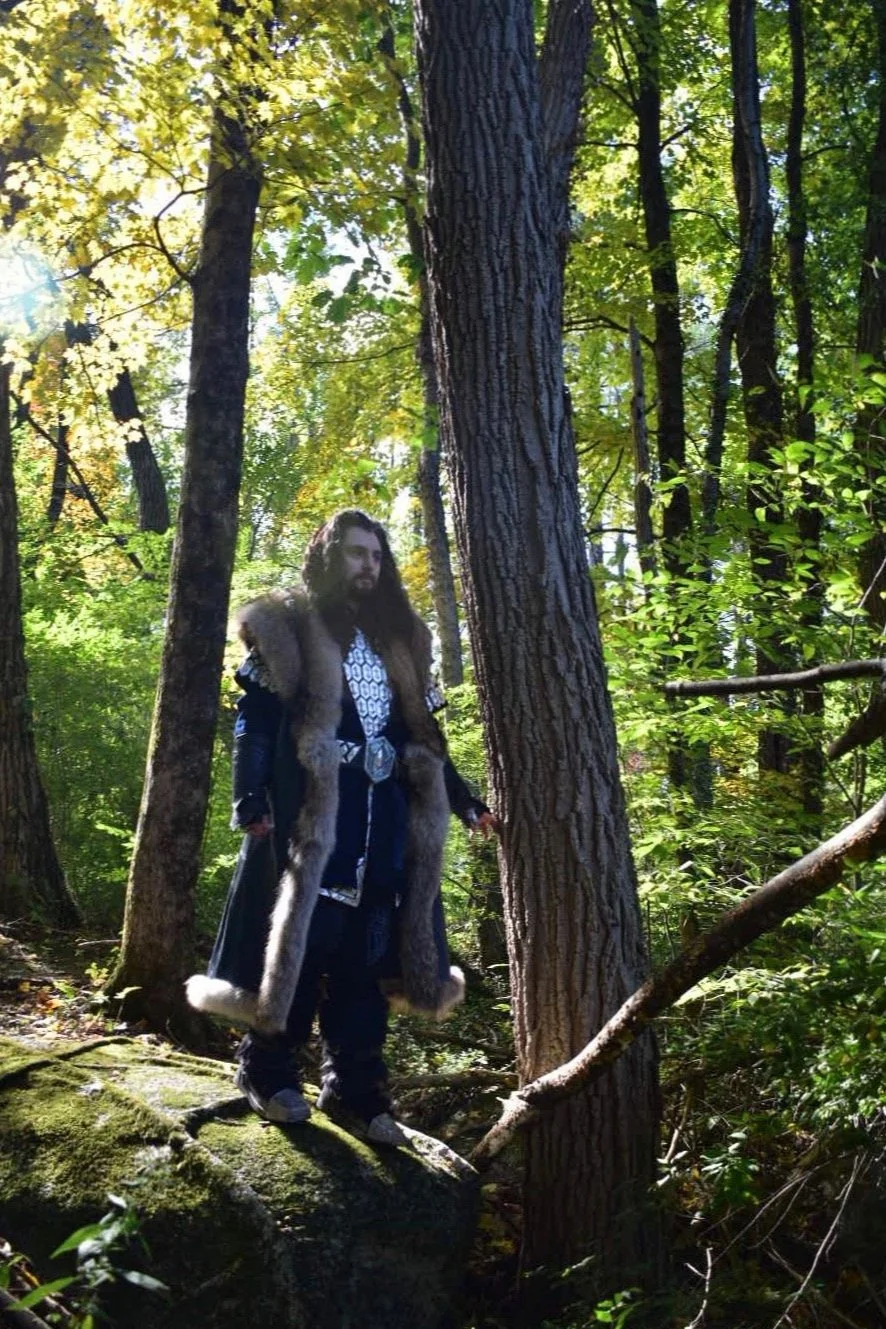
Coat in its full glory!
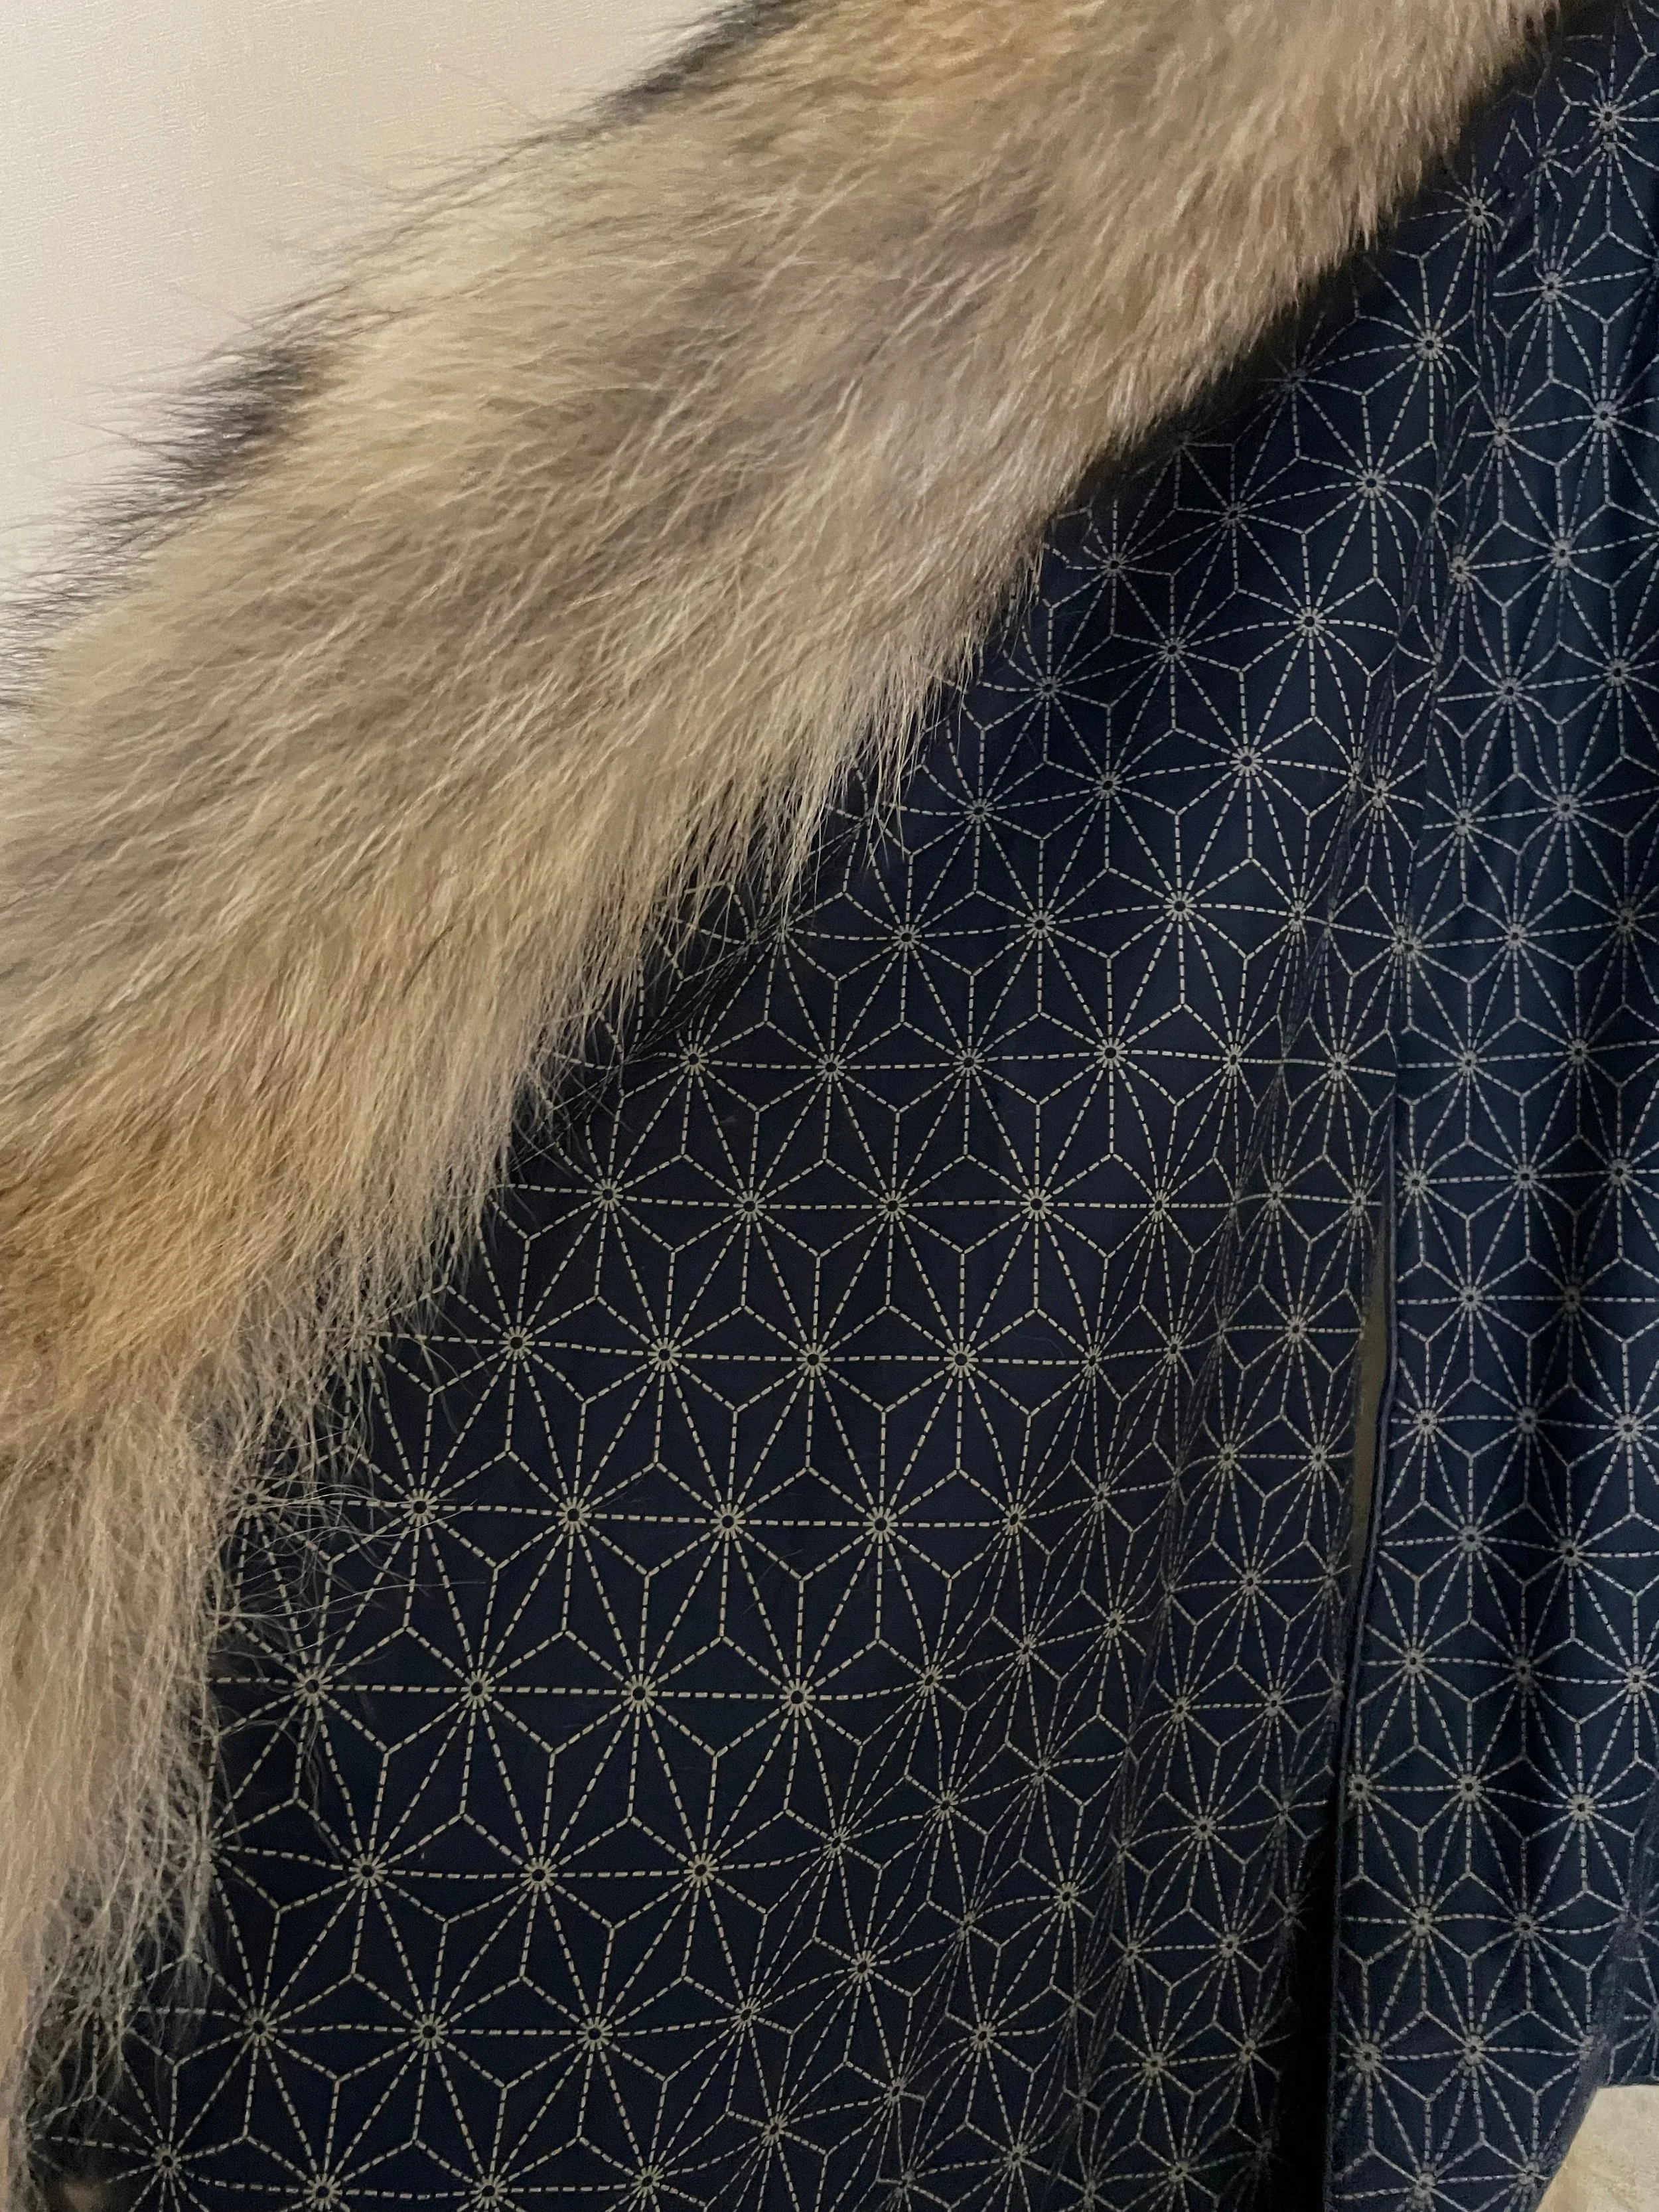
Lining fabric

Stitching along the seams - this also helps push the seam allowance flat
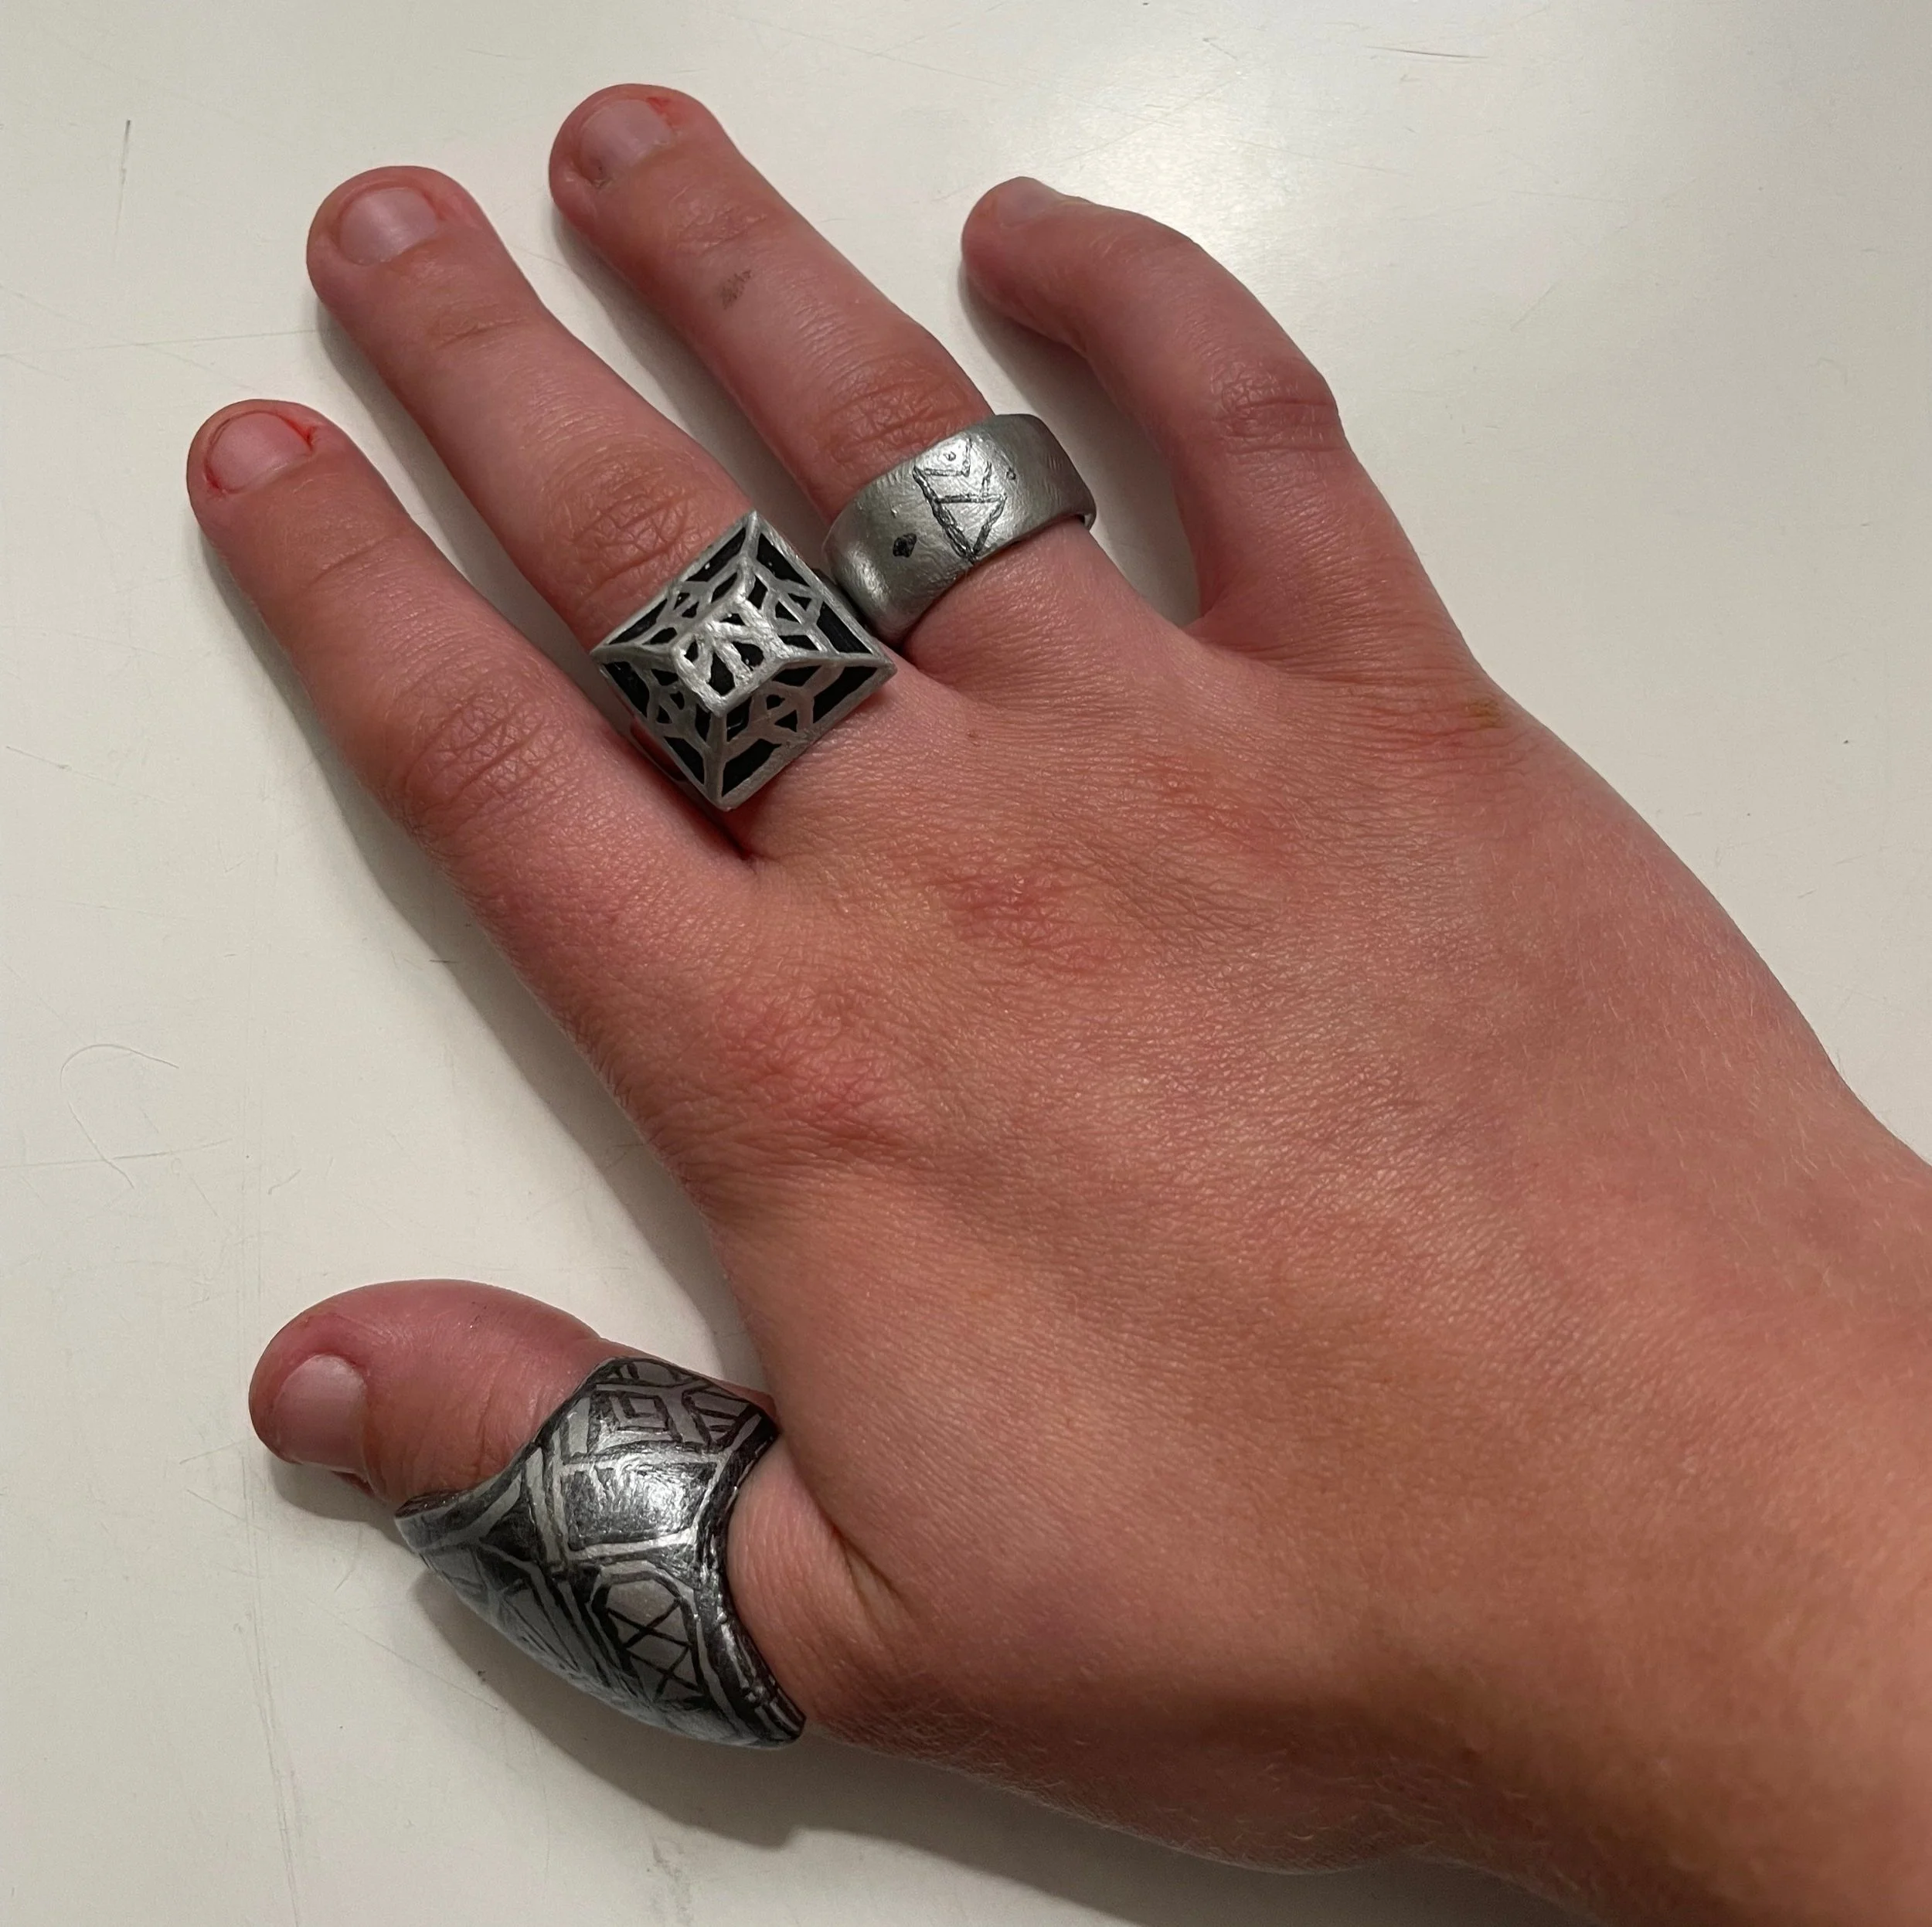
All three rings - the signet and rune rings are replicas, the thumb ring is an original design
Jewelry
Thorin wears a number of pieces of jewelry in the movies, including several rings, two beads that tie off the braids at his temples, and an ear cuff. I recreated all of these carefully using polymer clay, which I then painted to get the designs. Two of the rings, the beads, and the cuff are as close to exact copies as I could get them; the thumb ring had very few references, and wasn’t even reliably in every shot, so I mostly had fun with the design for that. It would have been nice to actually make them out of metal and acid etch them, which is what seems to have been done for the originals (or at least for some of them), but I unfortunately don’t have the resources to do any proper metalworking. While I like what I have now, it would be nice to remake them in real metal at some point!
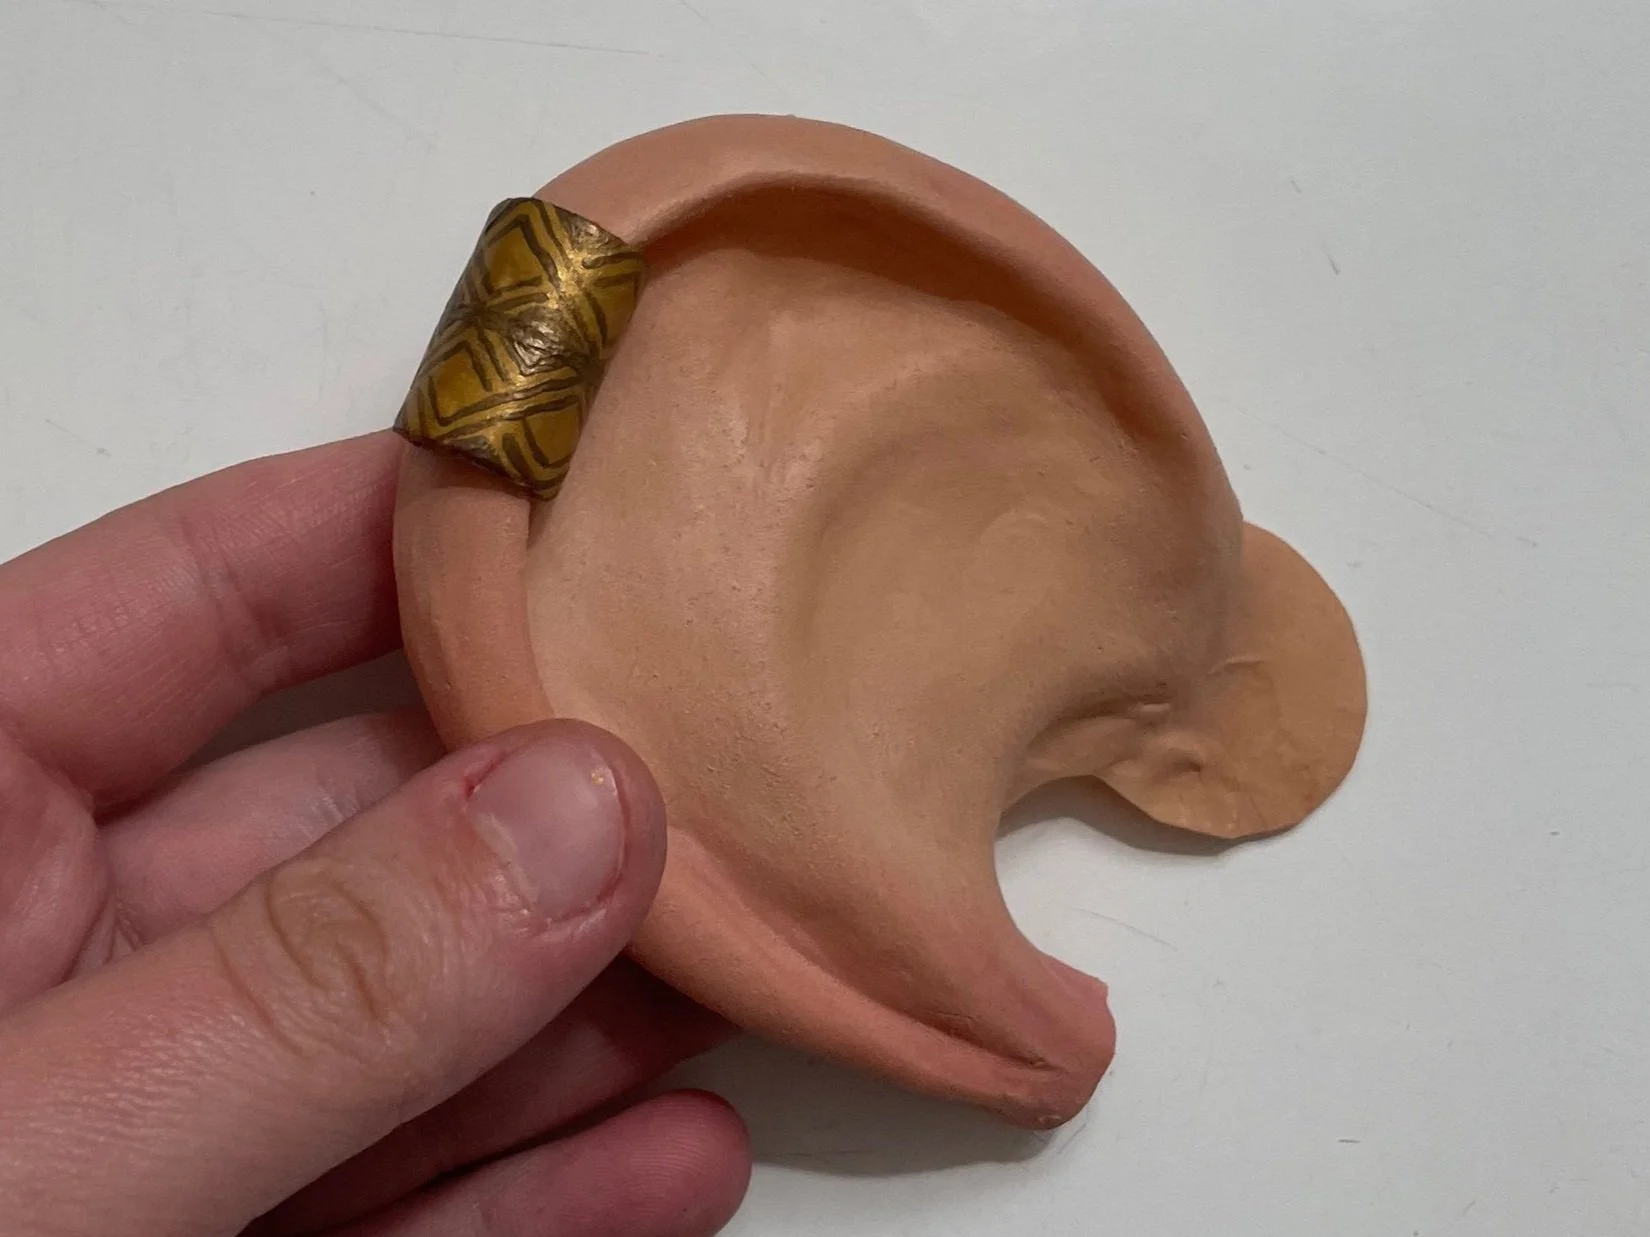
Cuff on the prosthetic ear I use for this costume

One braid bead on the wig
Hair and Makeup
The wig was actually the first part of this costume I worked on. I spent about a month very carefully altering the hairline of a lace front wig, then went through and tied in white hairs to get the graying effect seen in the movies. The braids at the temples came out too thin with just the hair from the wig, so I ended up using some old hair extensions I had left over from the Persephone costume, and wove those in to help thicken those braids up.
The makeup for this is a lot of fun. I briefly experimented with prosthetics - the makeup team for the movies made extensive use of facial prosthetics for the dwarves, and that’s something I’m very interested in trying. Unfortunately, it quickly because clear that this was going to be both too expensive and too time consuming for me to really practice, so while it’s something I intend to learn more about later, I ended up not going with that for this costume, other than for the ears (seen in the jewelry section). Most of the makeup is, therefore, just basic aging makeup, done relatively subtly so as to not look like stage makeup.
The beard was a little more complicated. I can’t personally grow a beard, so I had to learn how to make one. I looked briefly at lace pieces, but realized that while reusable, they just don’t stay on well enough. Instead, I watched this fantastic tutorial on applying a realistic fake beard, using cut pieces of hair. I played around with that a bit, and came out with something I’m pretty happy with. It takes about half an hour to apply, and gets hair everywhere, but it’s 100% worth it for a more realistic look.
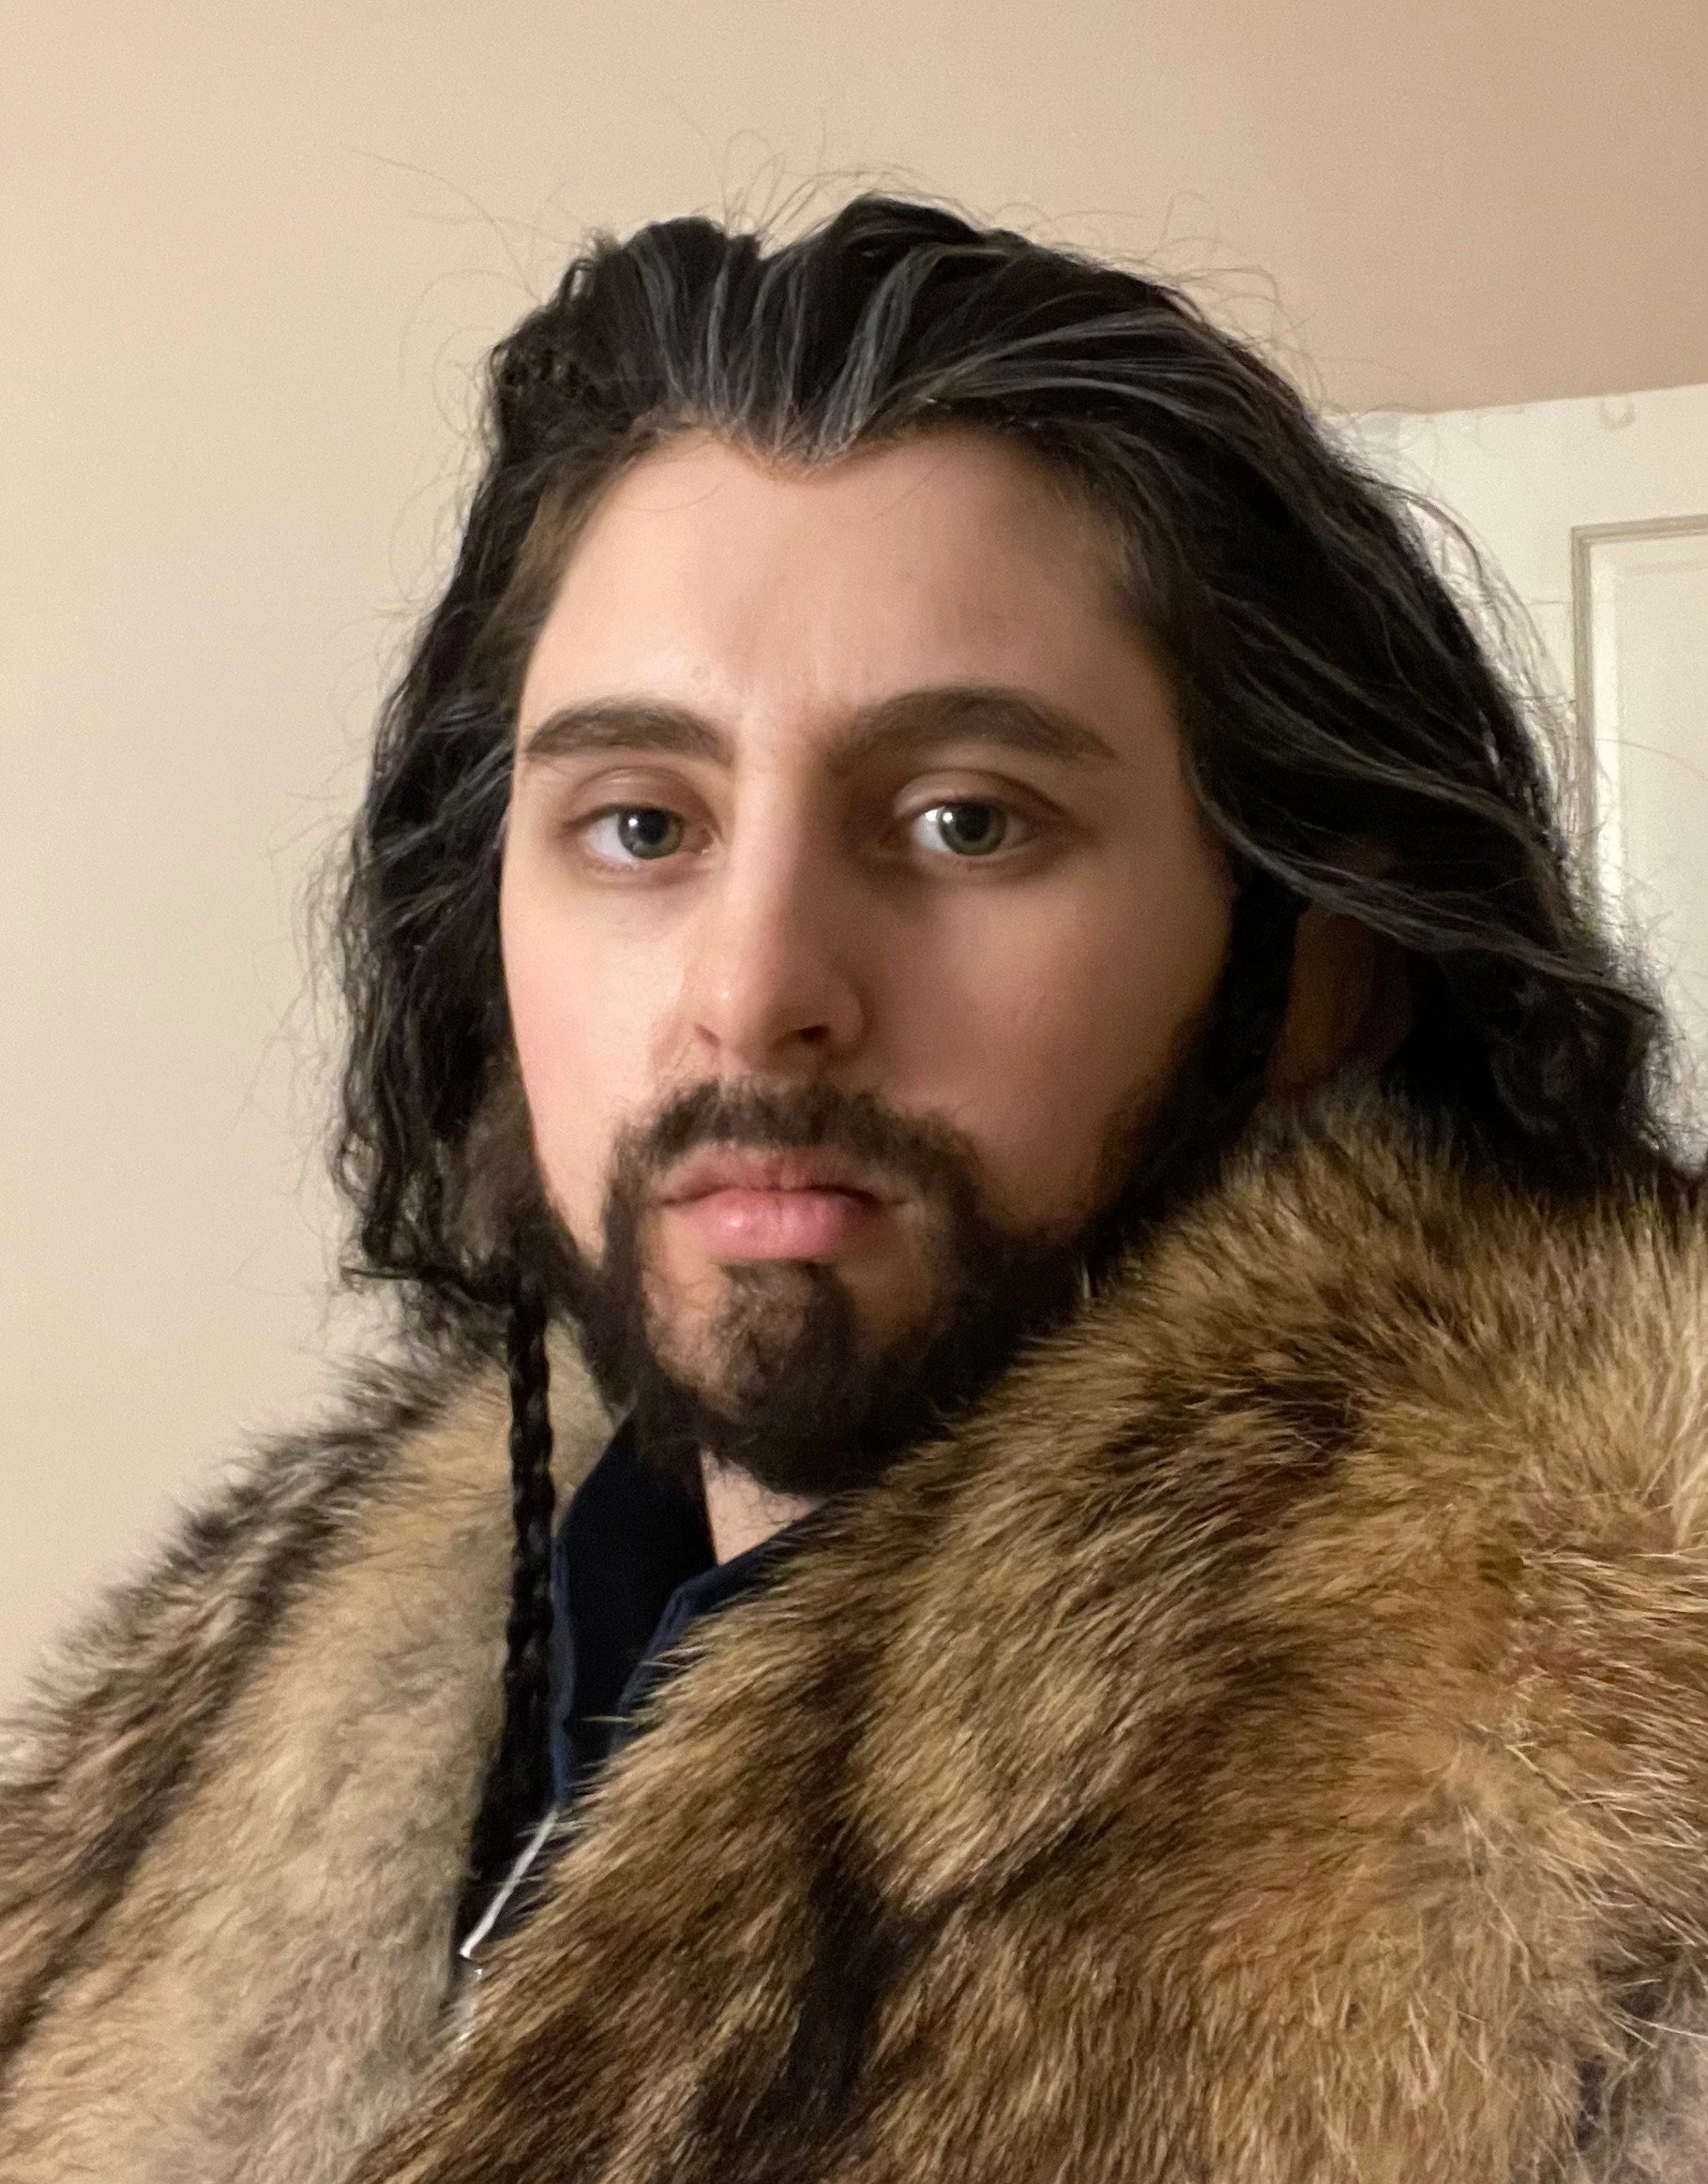
From the day of Halloween
Additional Photos

Acknowledegments
I’d like to thank my mom for all of her help sewing on the armor scales, and Tom Colson for consulting on the armor and helping me drill holes in the belt. A very special thank you to Izzy Fivel, who trekked out into the woods with me and took the amazing dramatic photos seen above.