
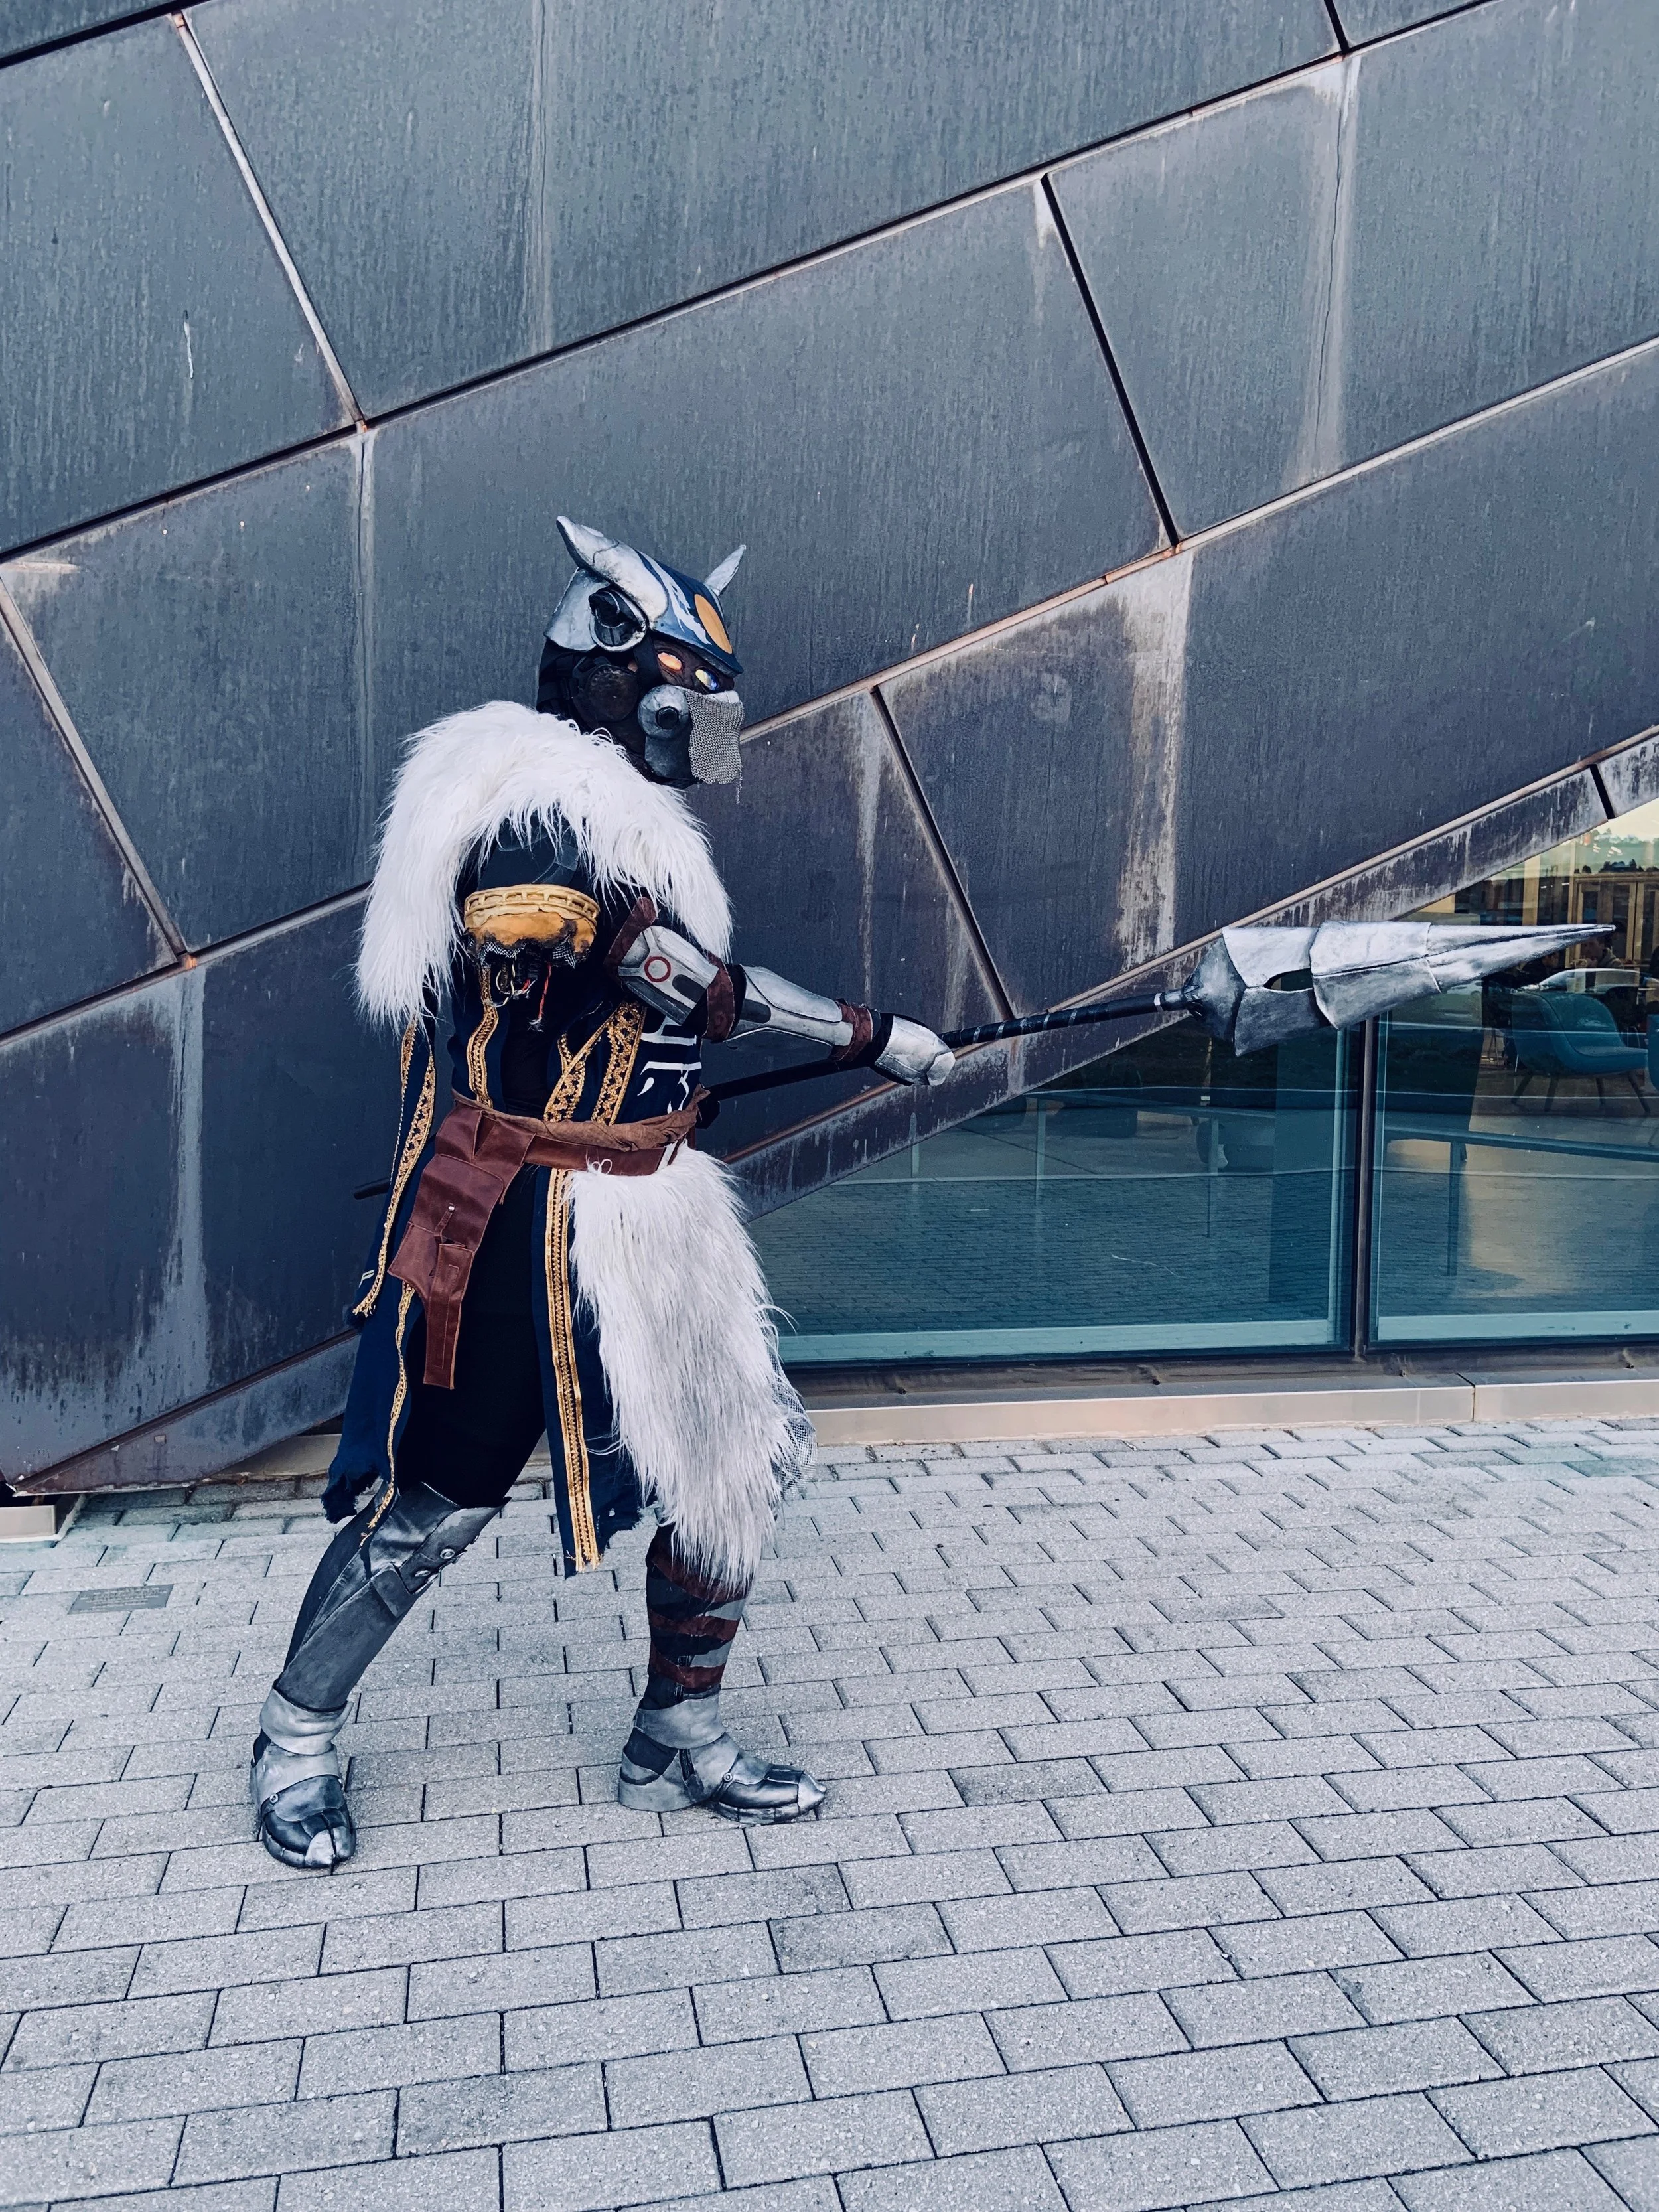
Variks the Loyal
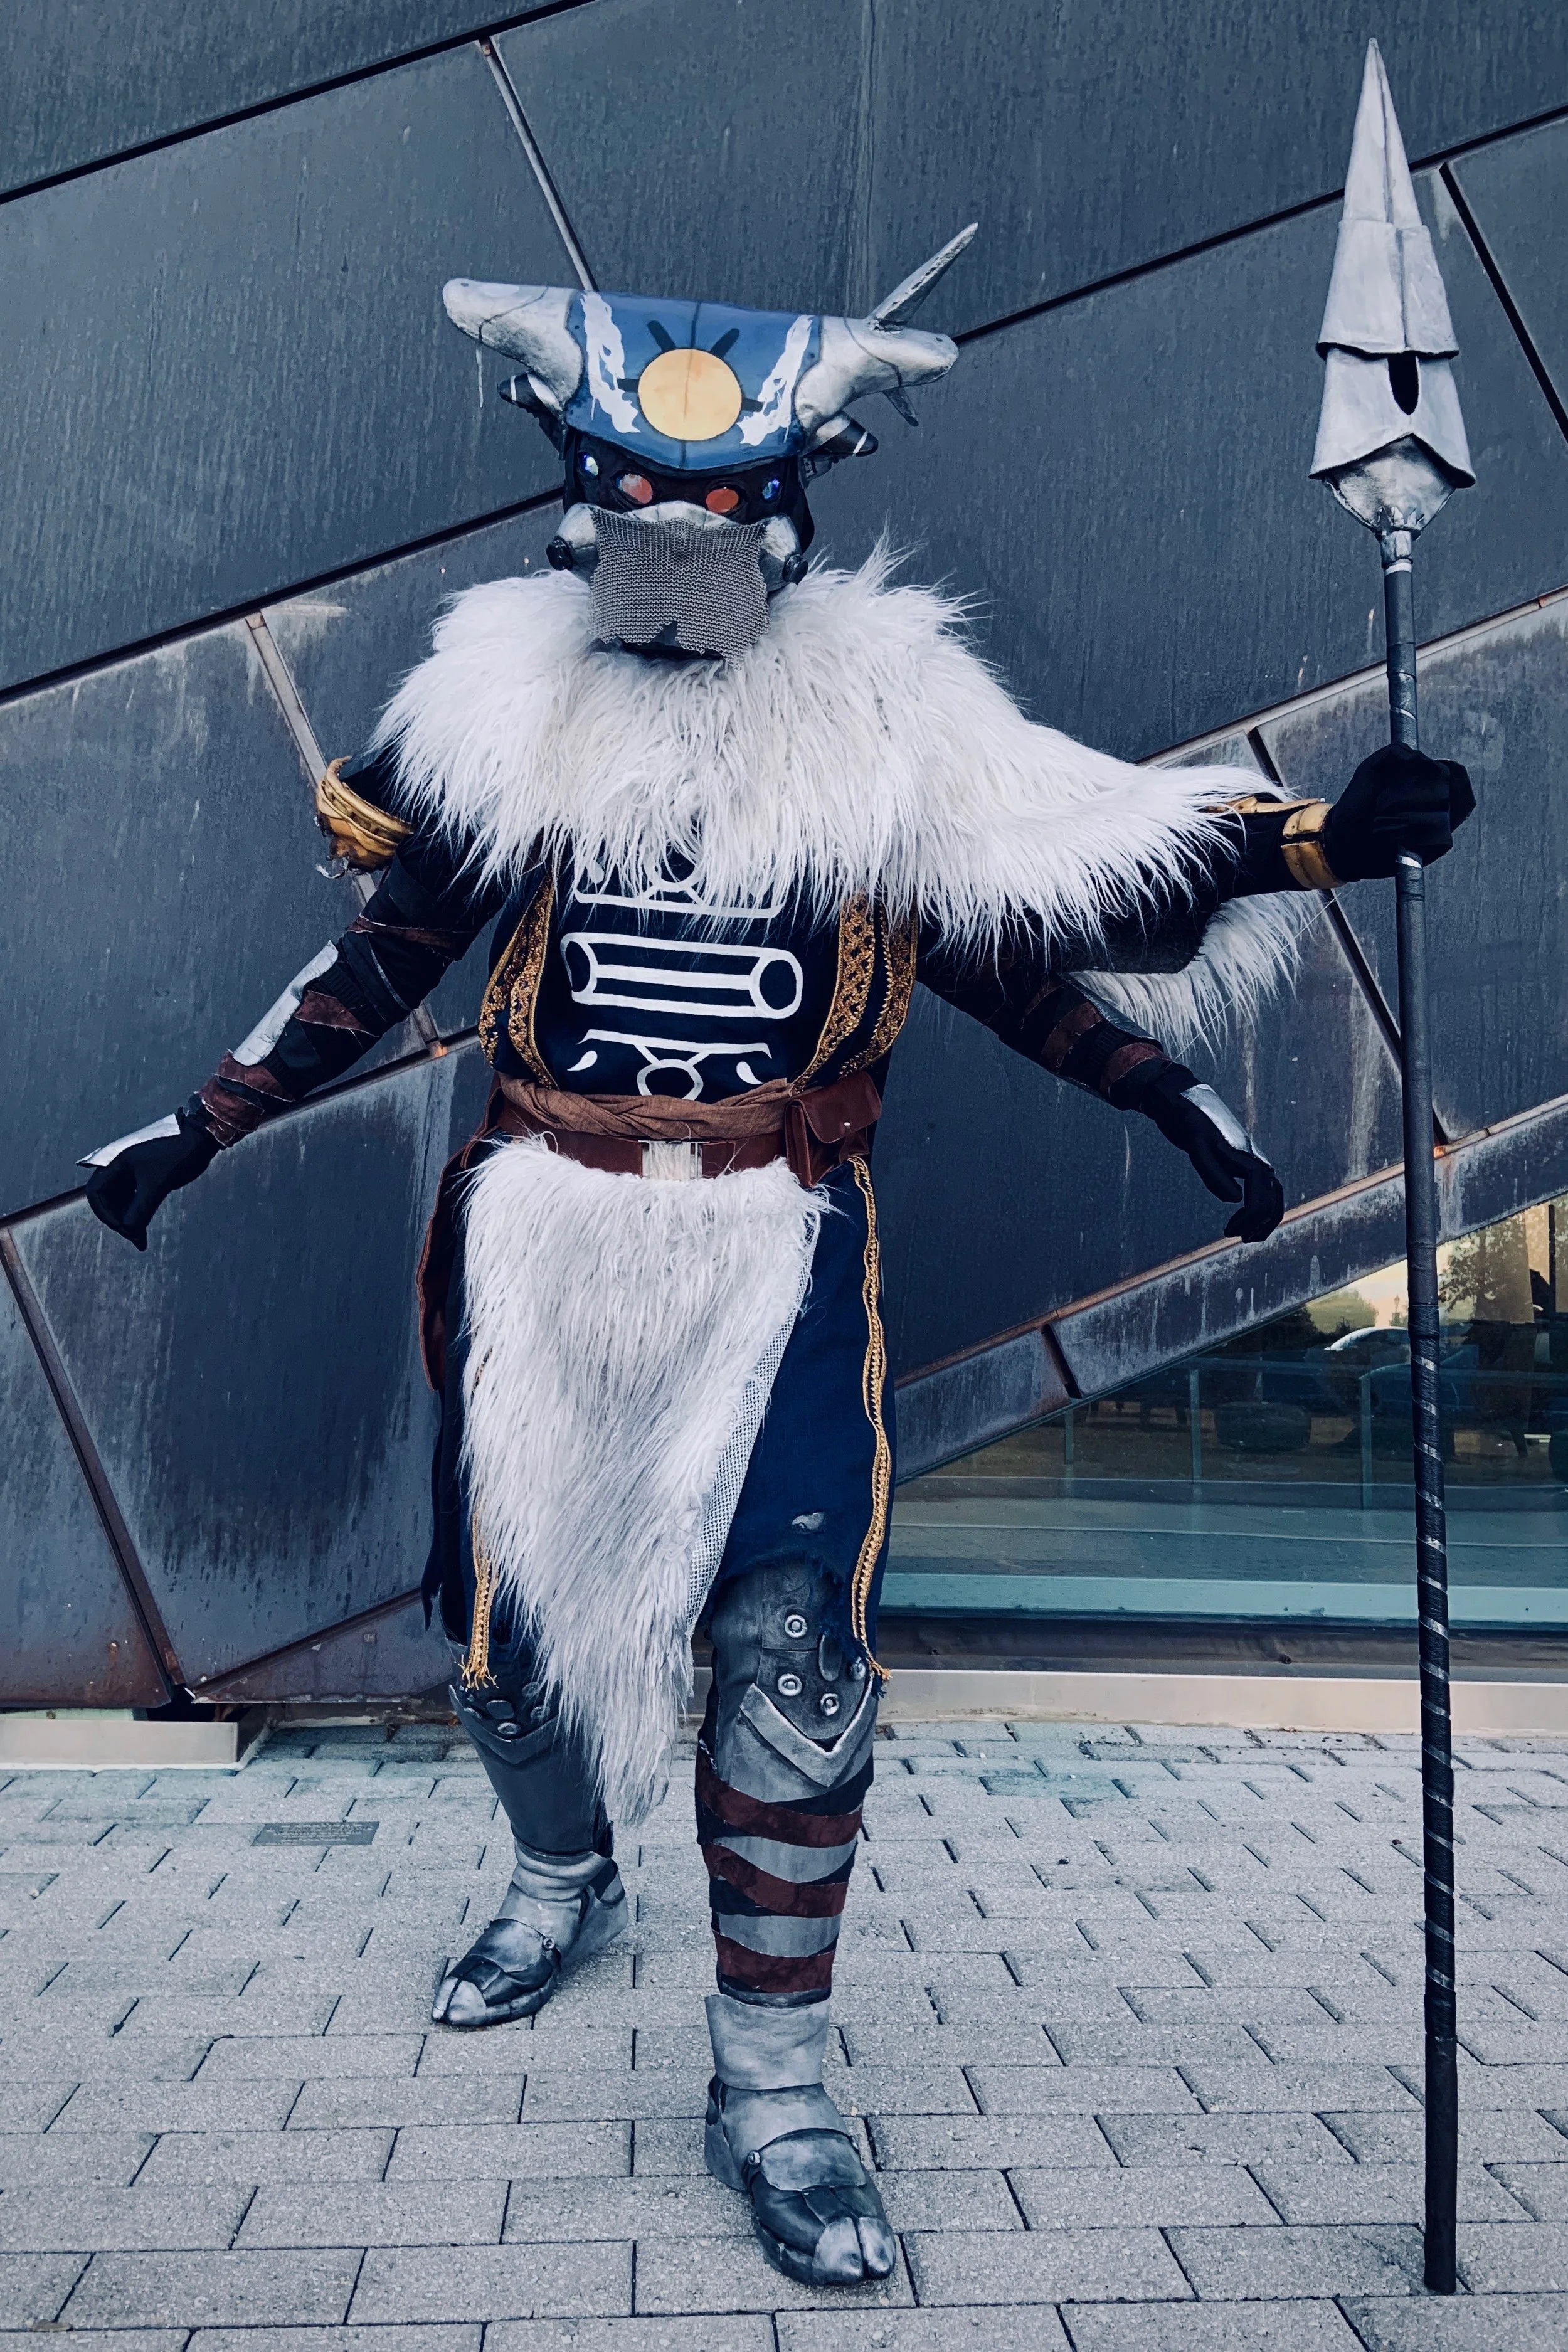
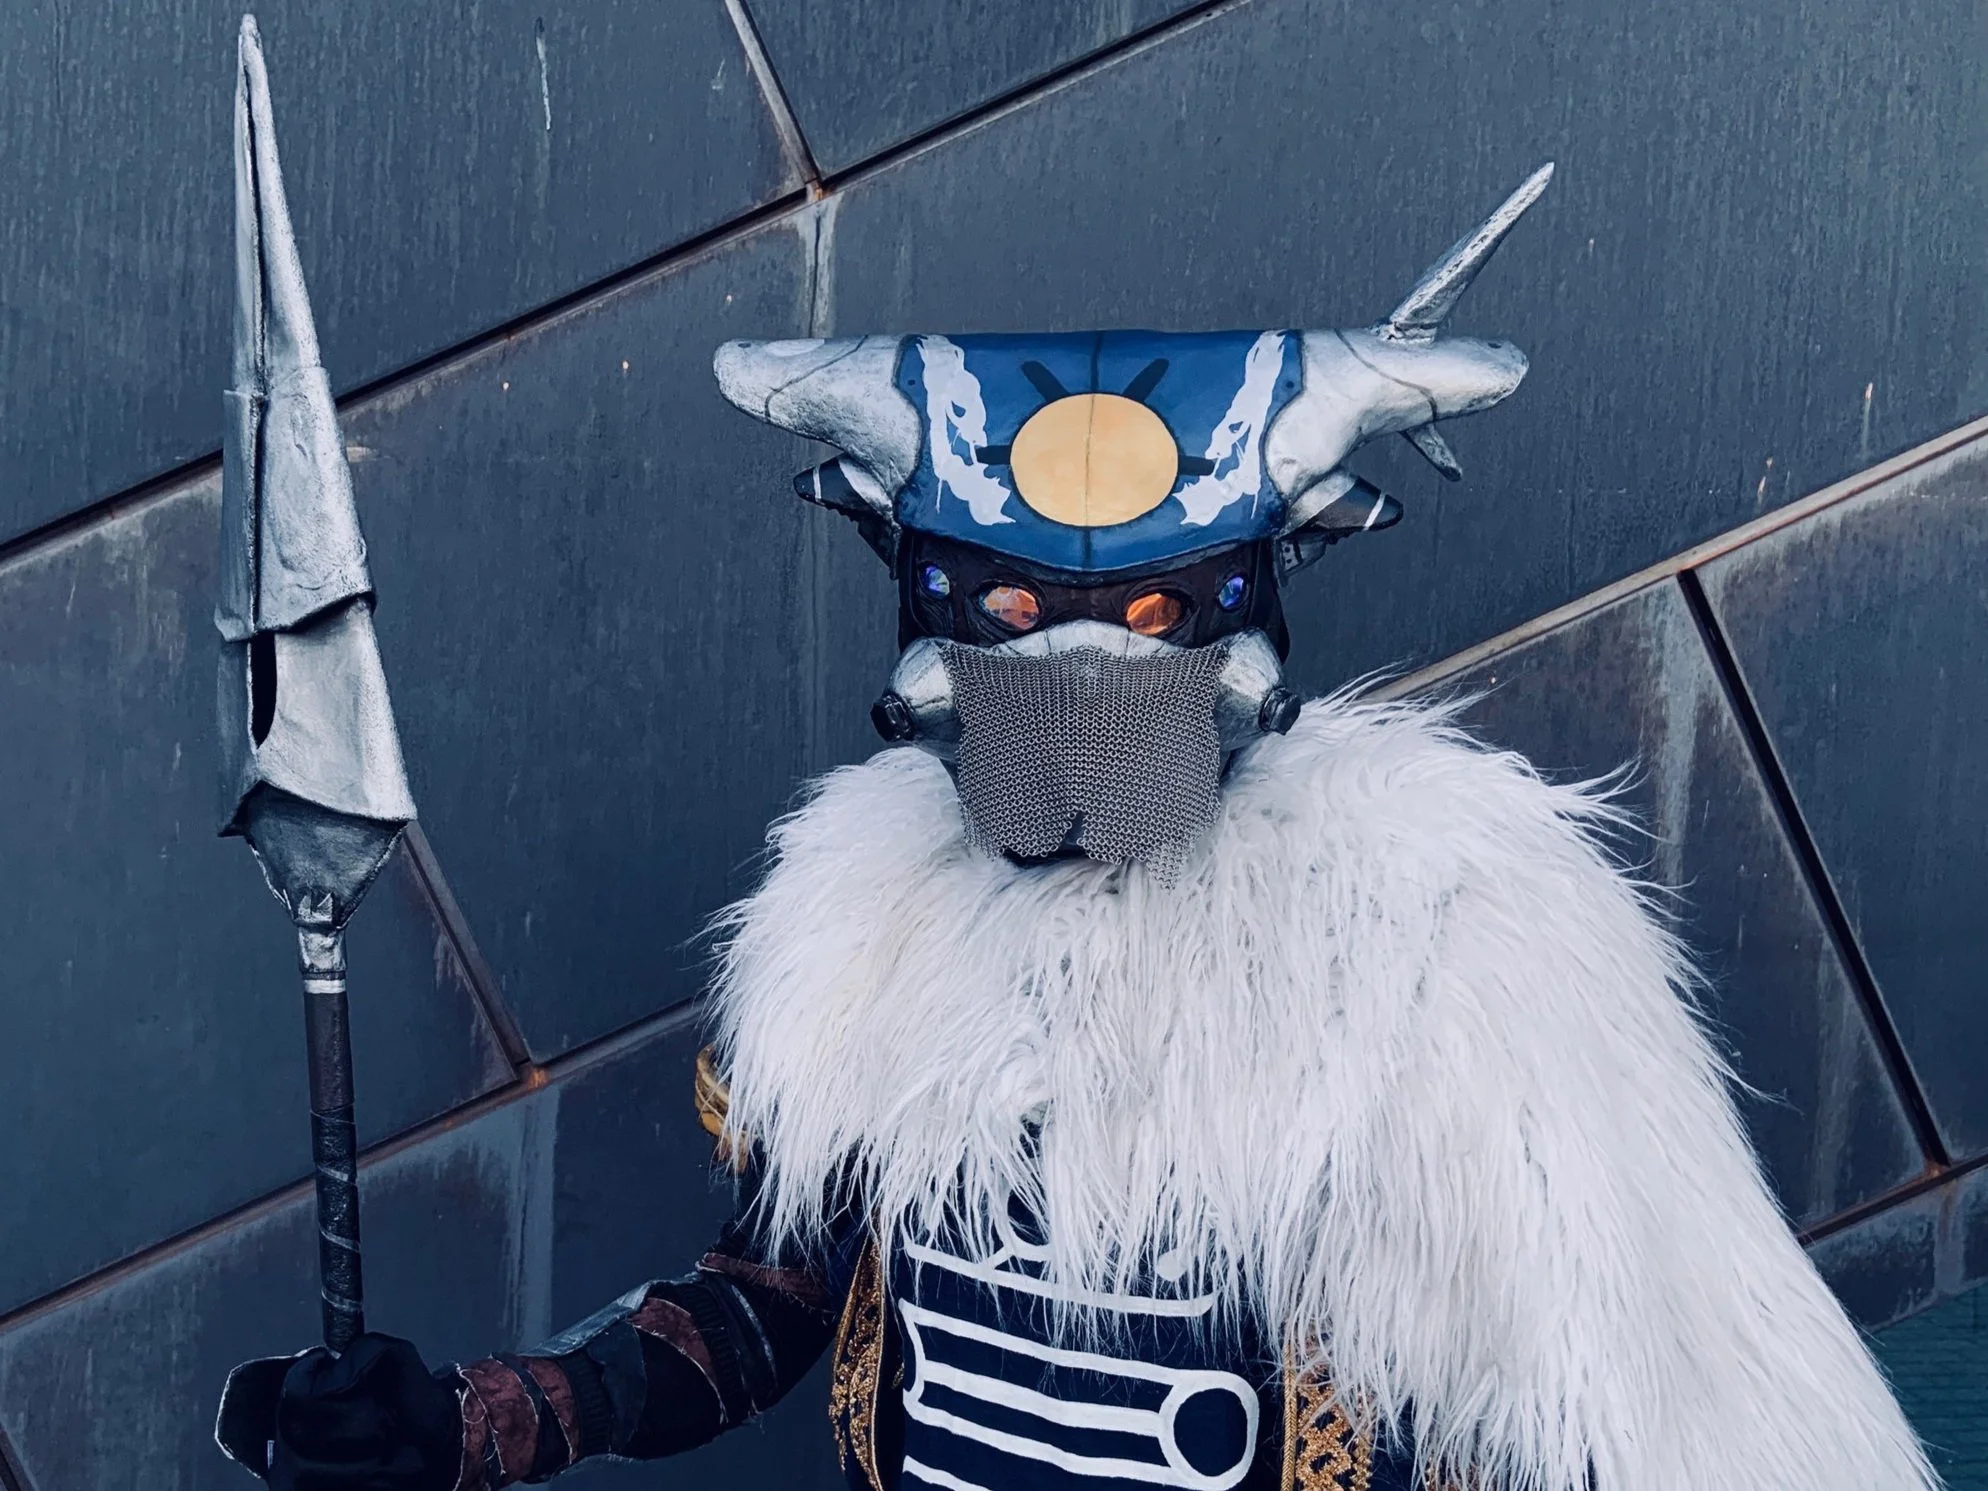
This is my Halloween costume for 2024, based on the character Variks from the video game Destiny 2.
I started playing the game about a year and a half before making this costume, and Variks was immediately one of my favorite characters. Originally, though, I wasn’t going to make a costume for this character. I had another costume planned for this year, and ended up changing the plan to this at the last minute.
That caused some interesting issues; it was a much tighter time scale than I usually make my personal costumes in, and that combined with working with some new materials made it especially challenging. I learned a lot while making this, and details of my process are below! I referenced back to the actual character model in the game many times during this process; because I don’t own the model, I haven’t included any of those screenshots here.
If you want to see more of the cinematic photographs (and a few bonus videos!), taken by Rex Tans, scroll down to the bottom of the page.
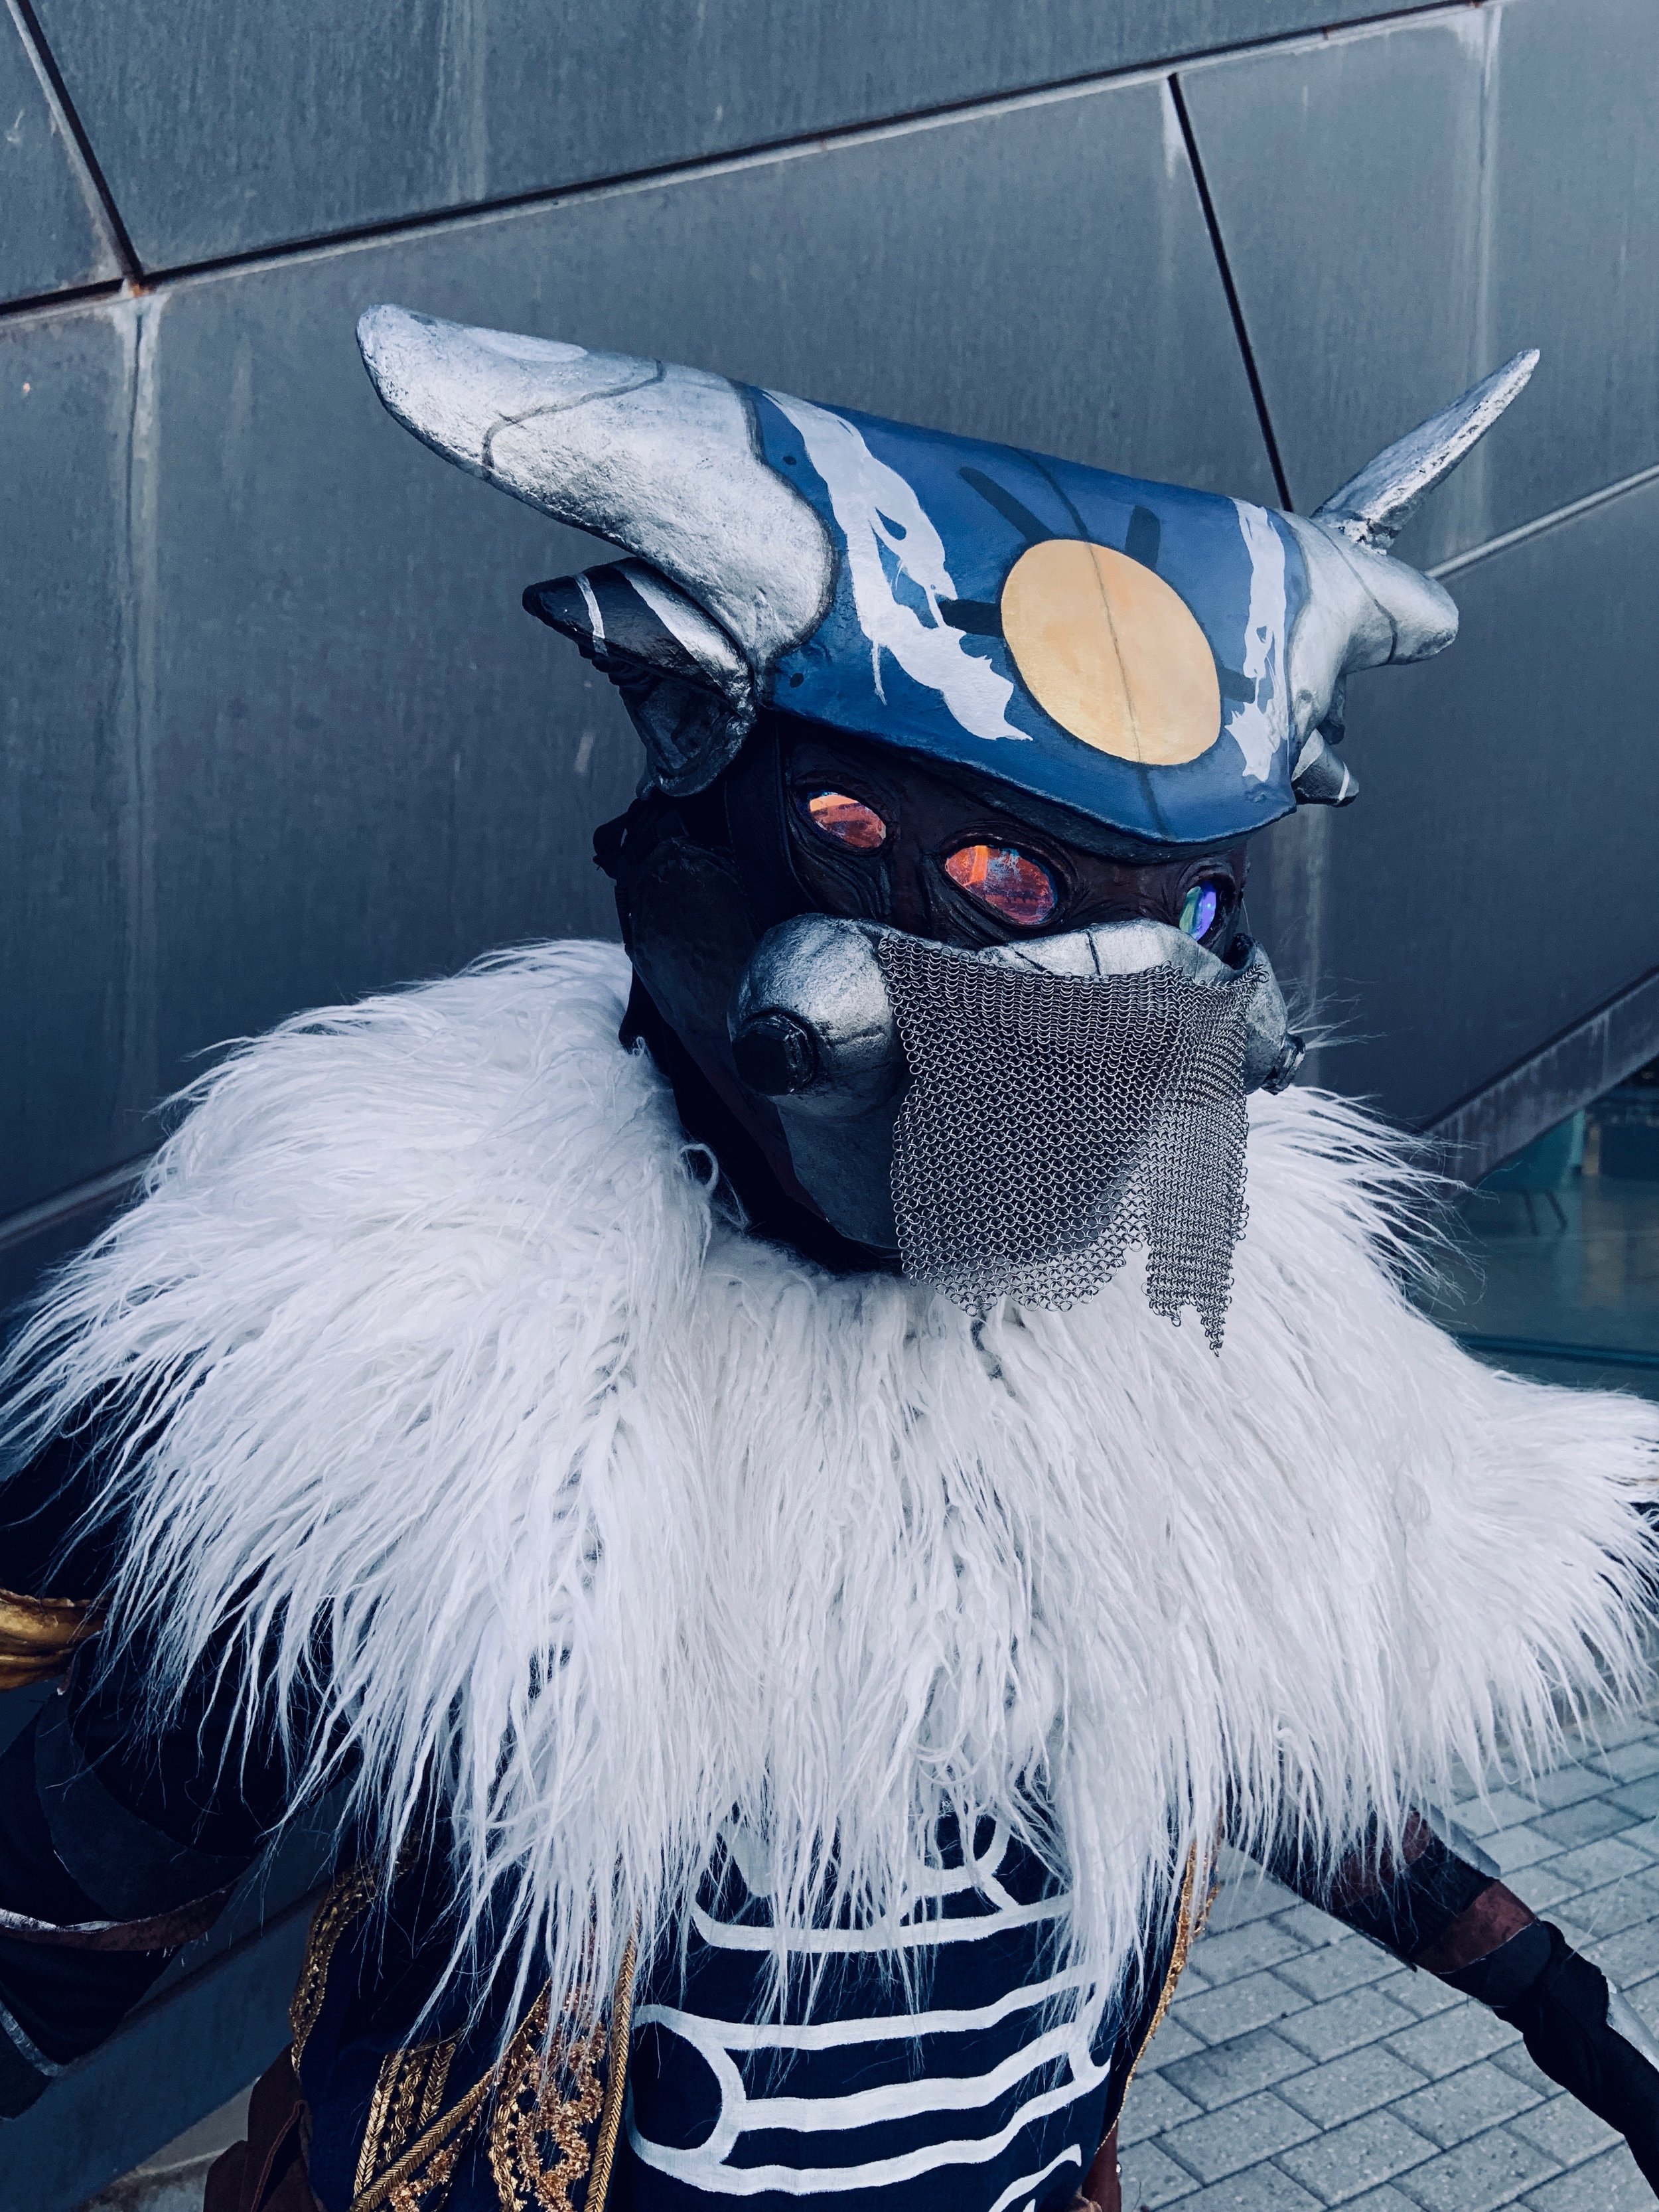
Face and Helmet
The first things I worked on in making this cosplay were the face and helmet. They were some of the most challenging pieces, so I knew I needed to put a lot of extra time in to making them look just right.
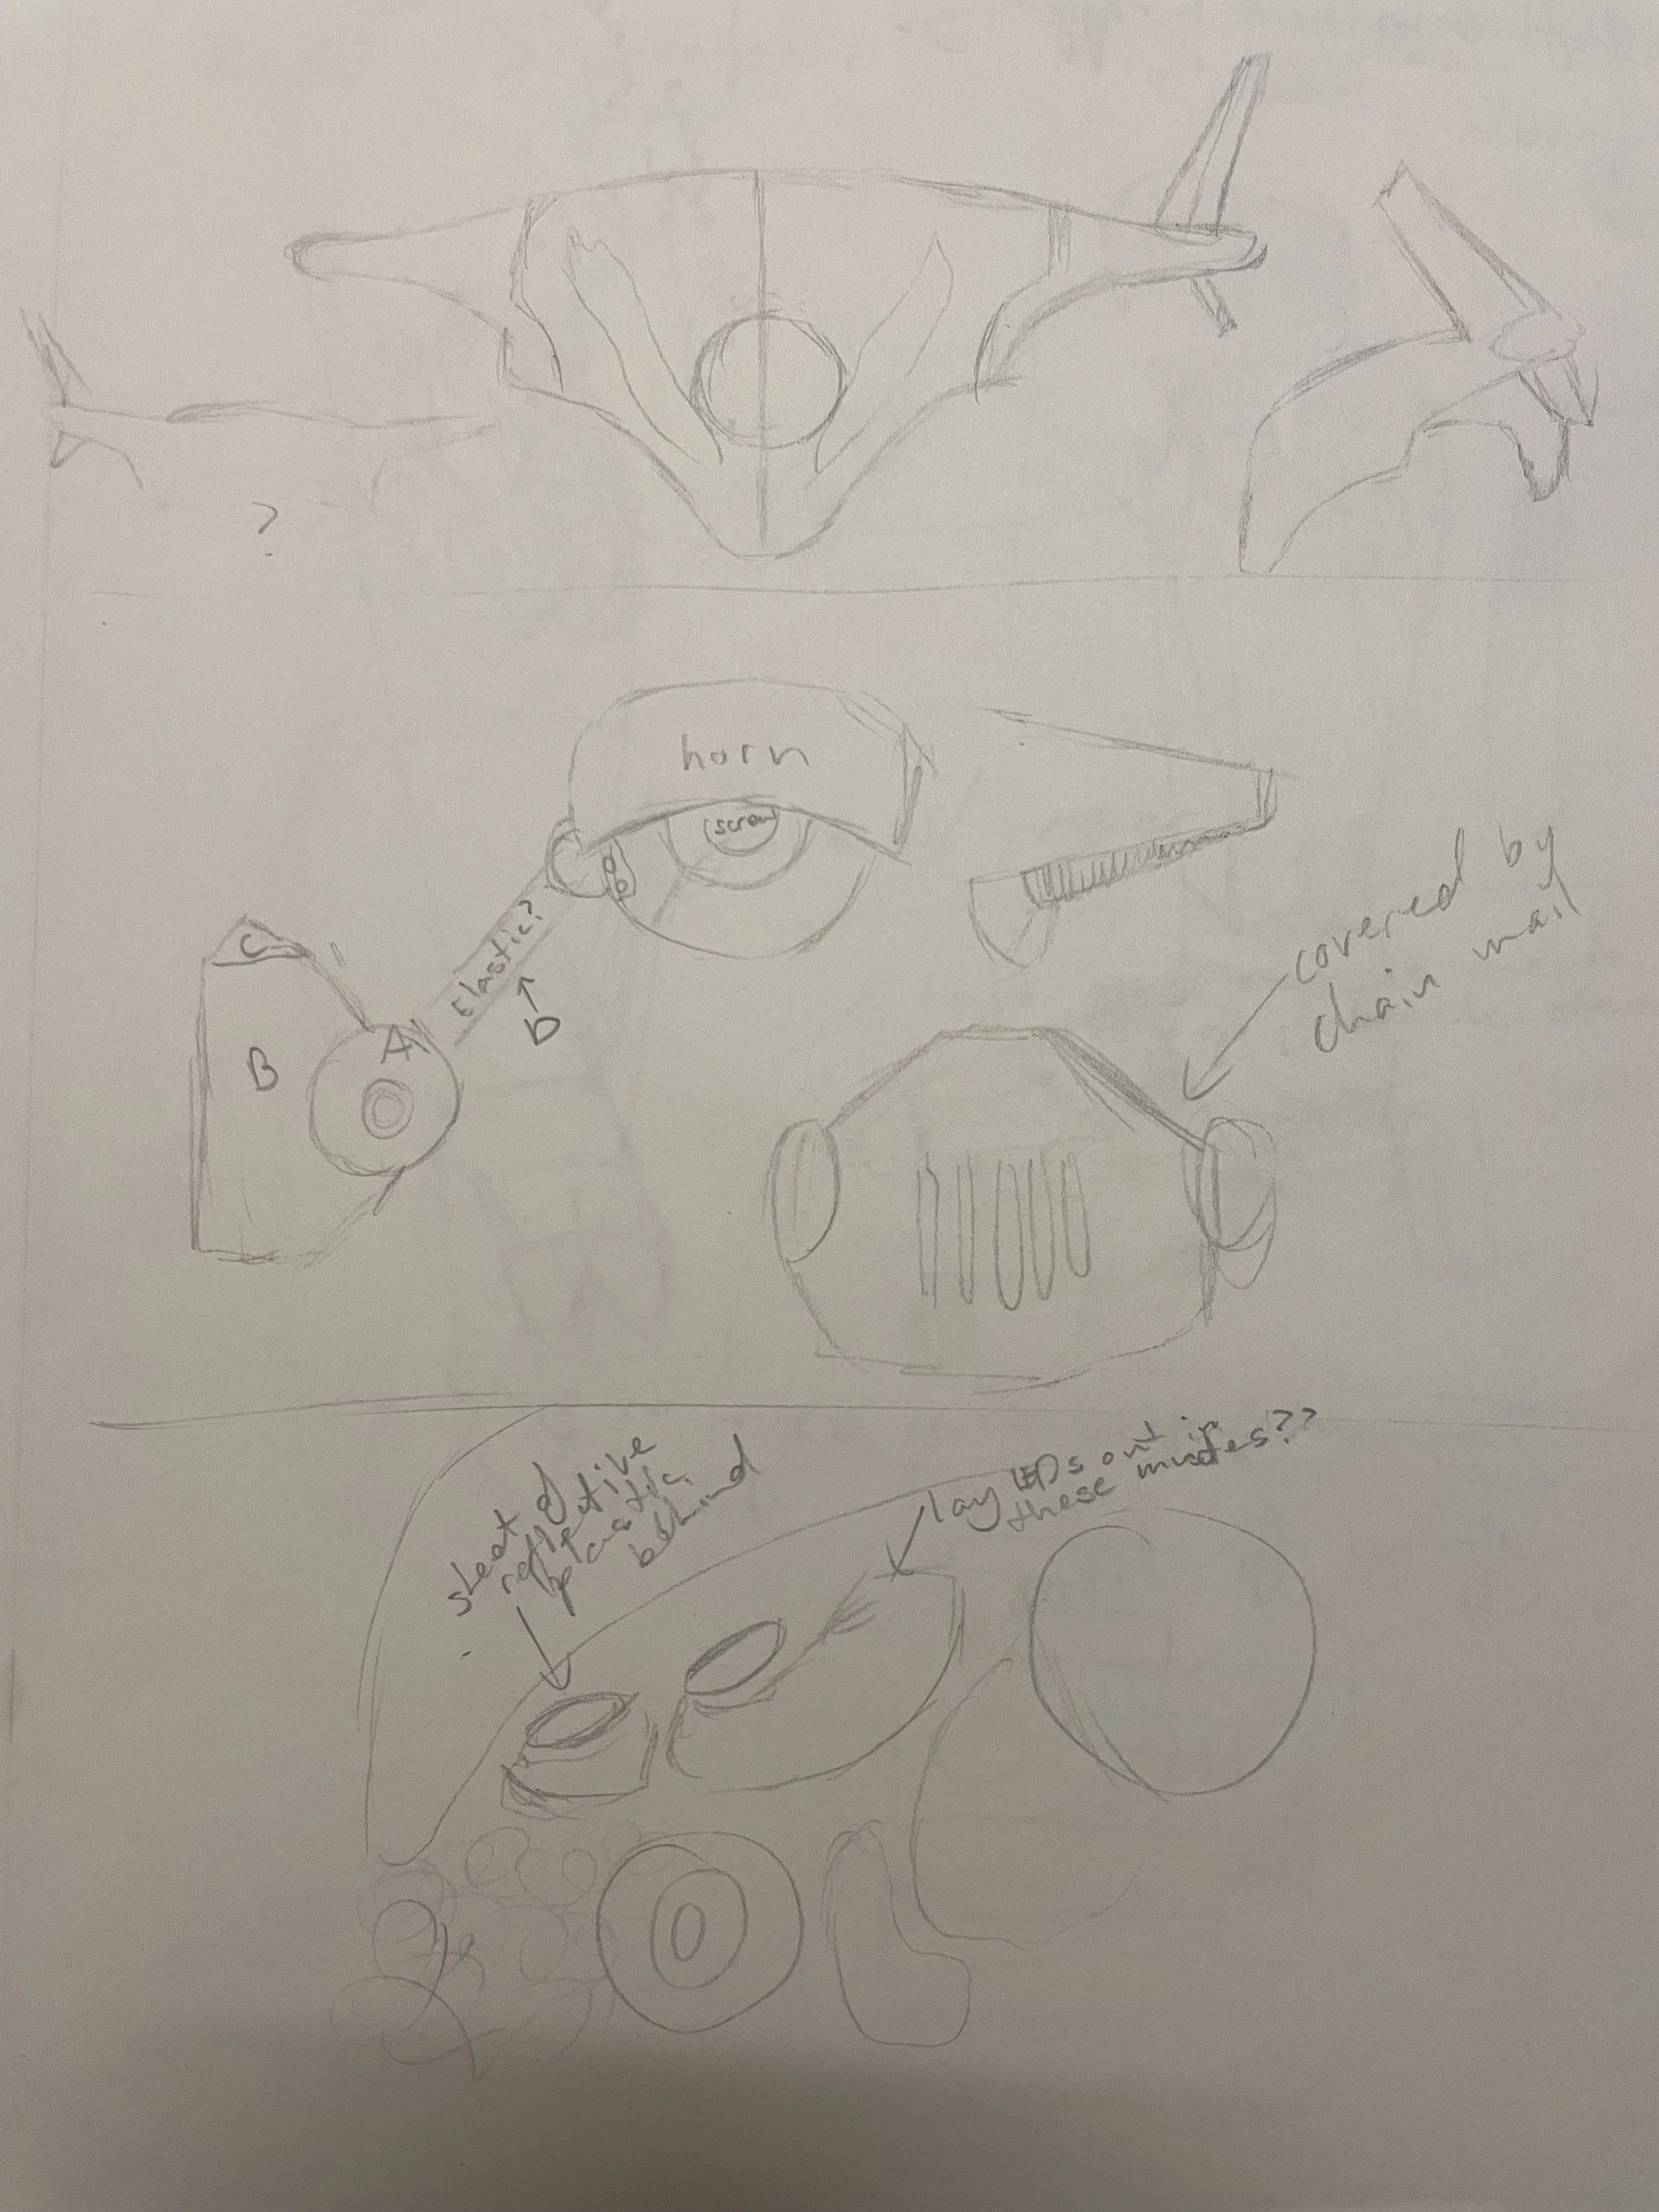
I first sketched everything out, pictured to the right. I find sketching to be the most useful step in starting a challenging cosplay like this; it lets me map out exactly what’s going on in simple black and white, which is a lot less overwhelming to look at than the full reference images. To do this, I separated the helmet and face out into three pieces: the helmet itself (top third of the sketch), the respirator (middle third), and the face (bottom third).
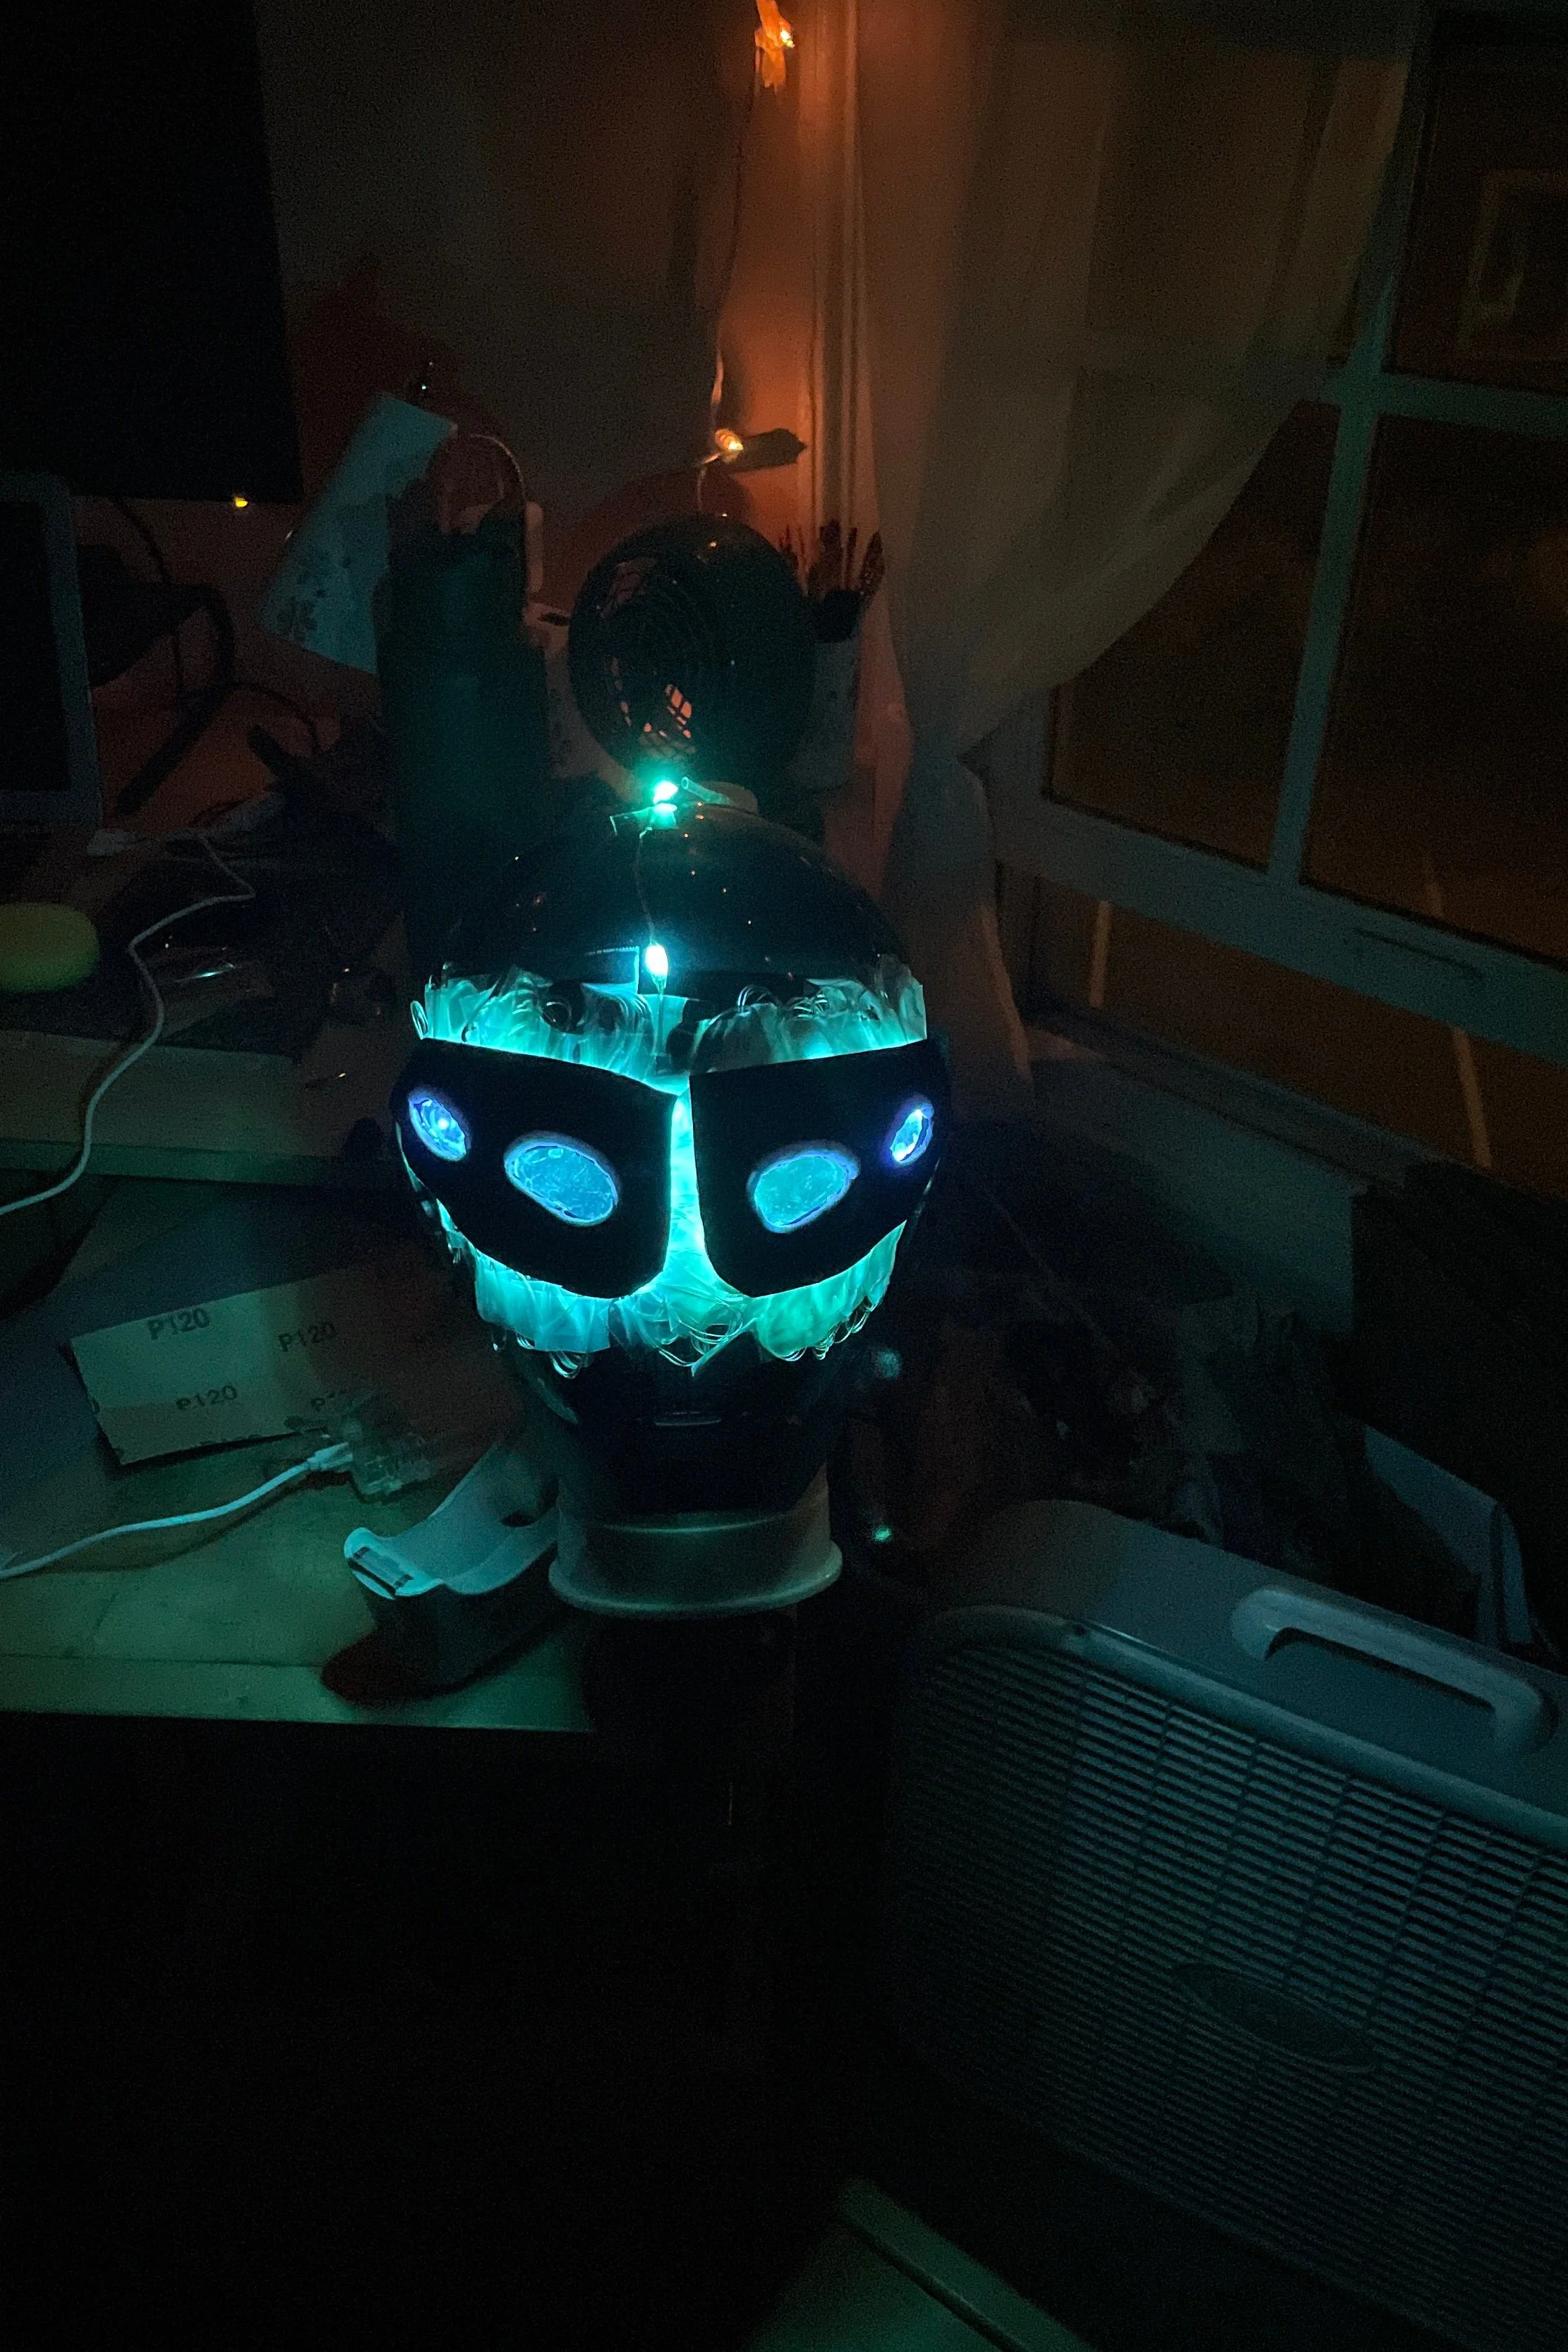
Painted face with eyes lit up
Finished helmet
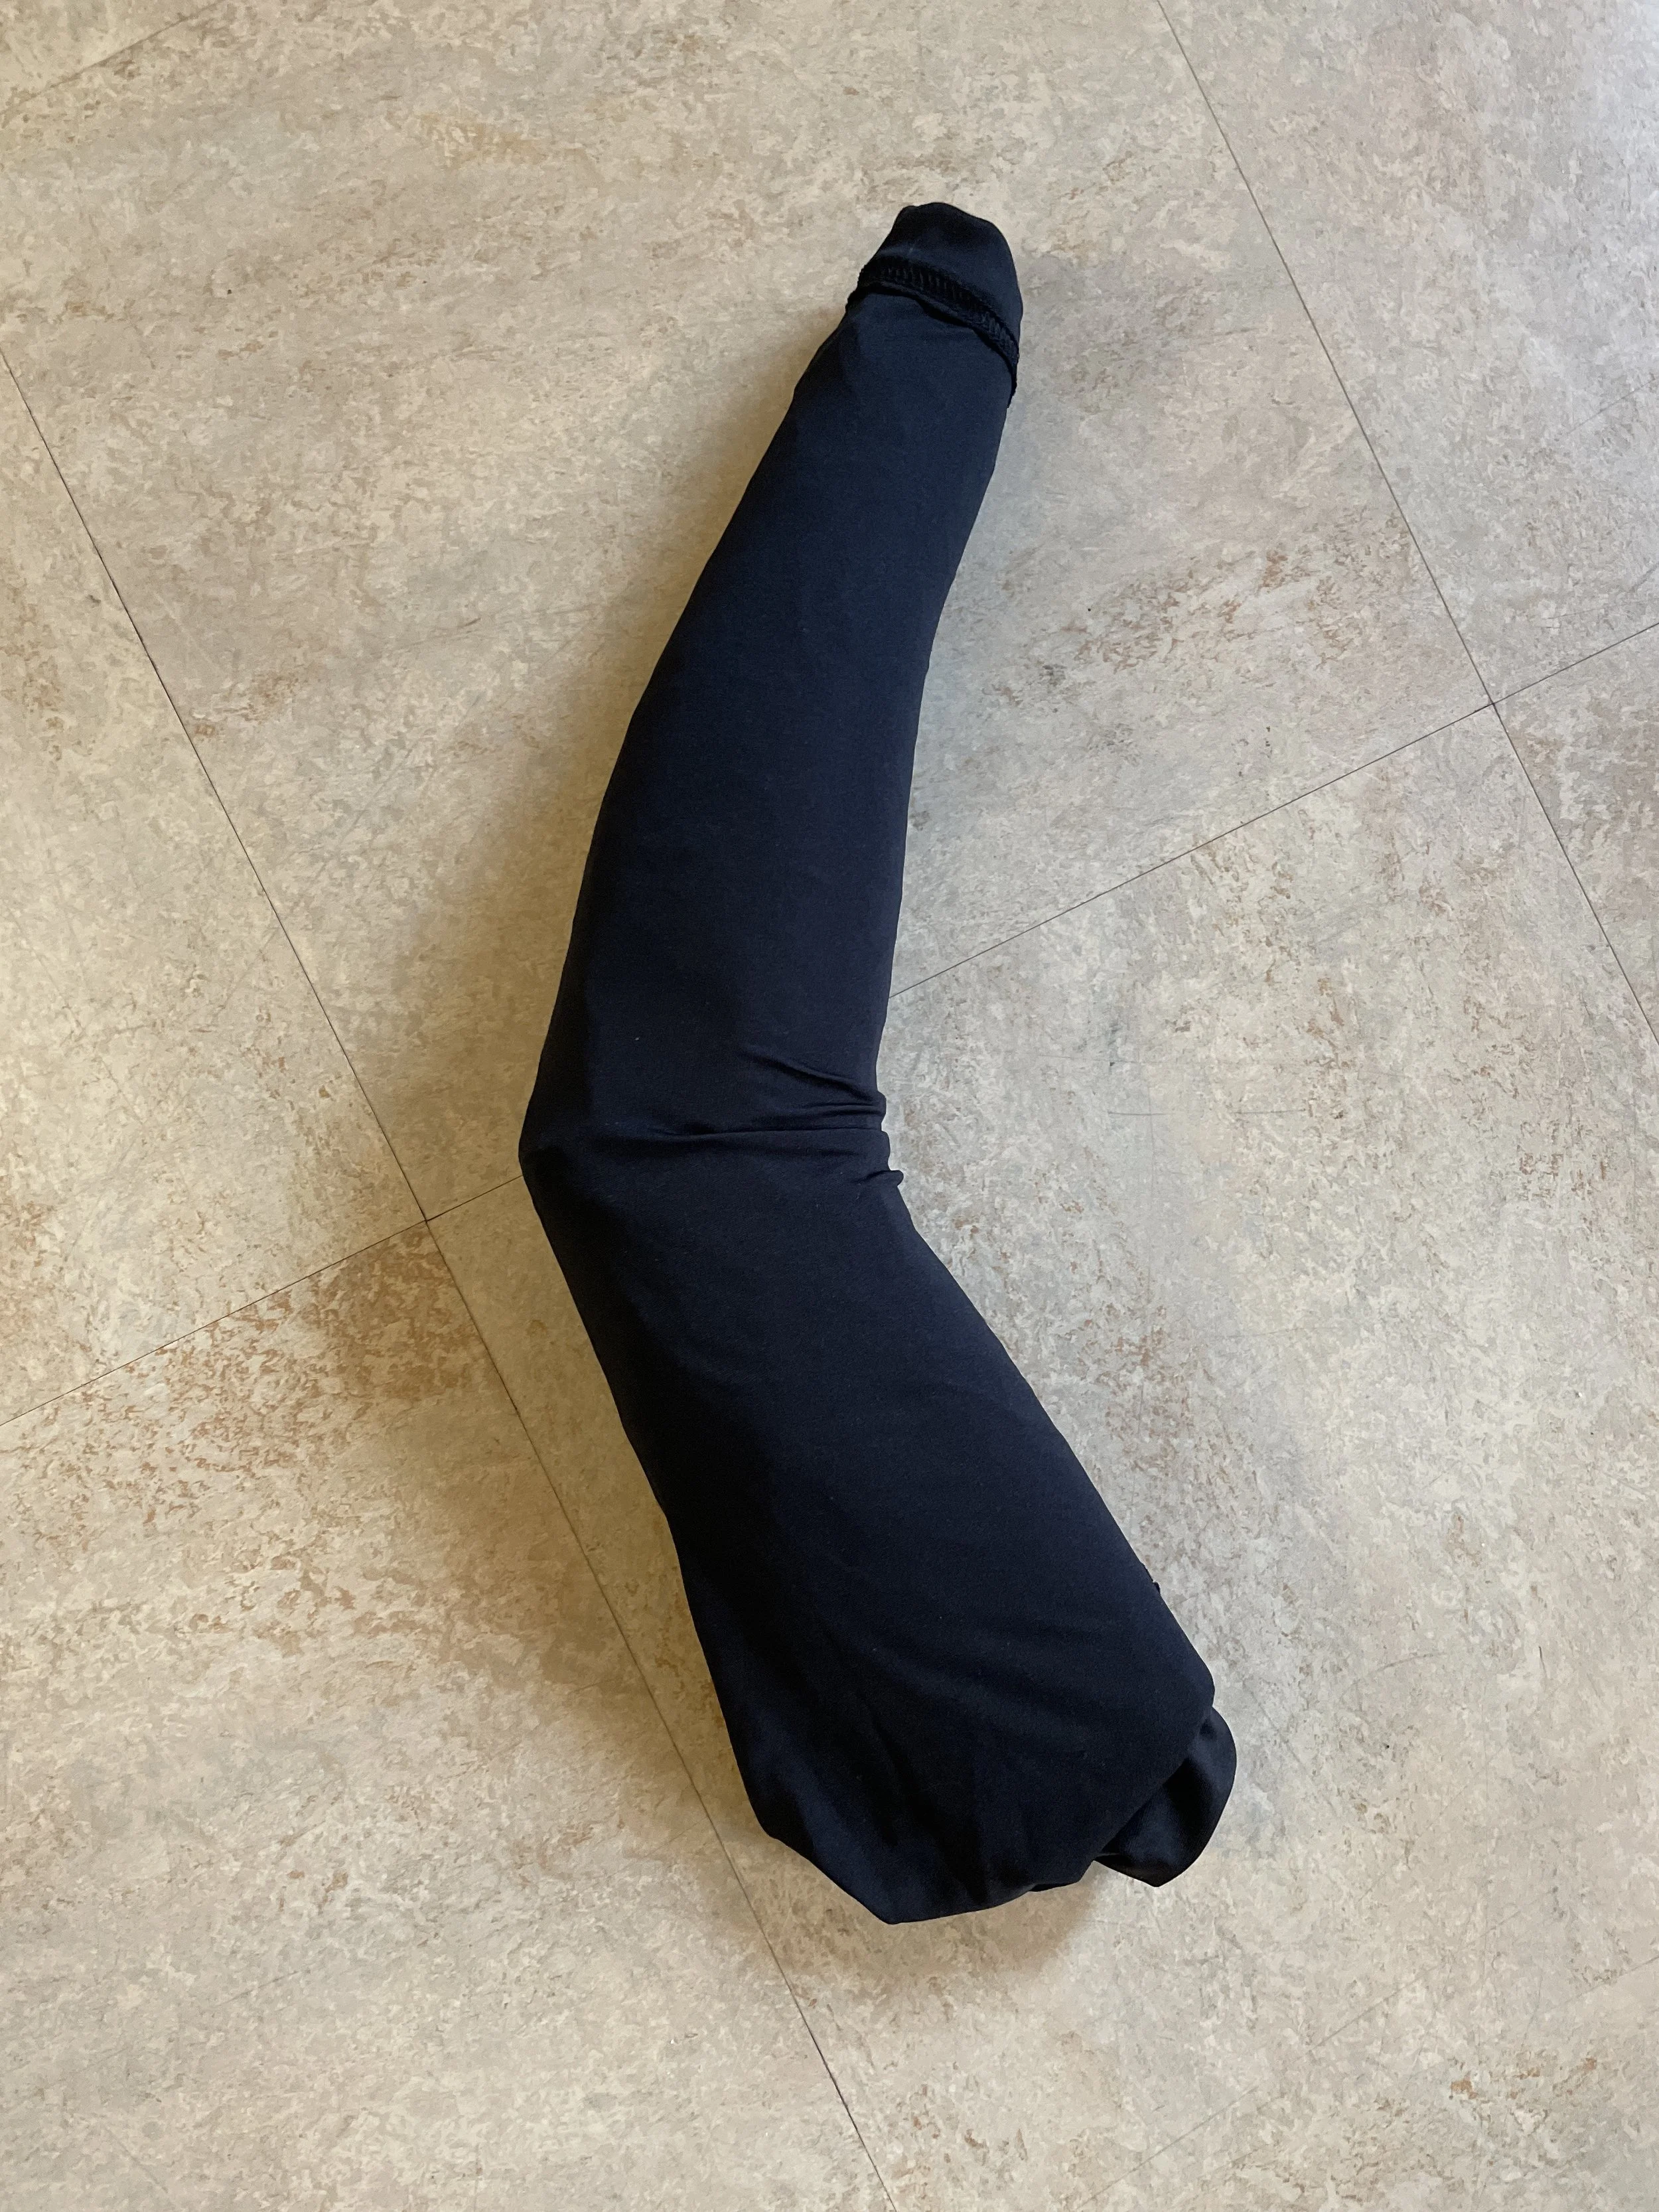
My arm, covered in paper mache
Sketch of helmet and face
Lit up base with wires exposed
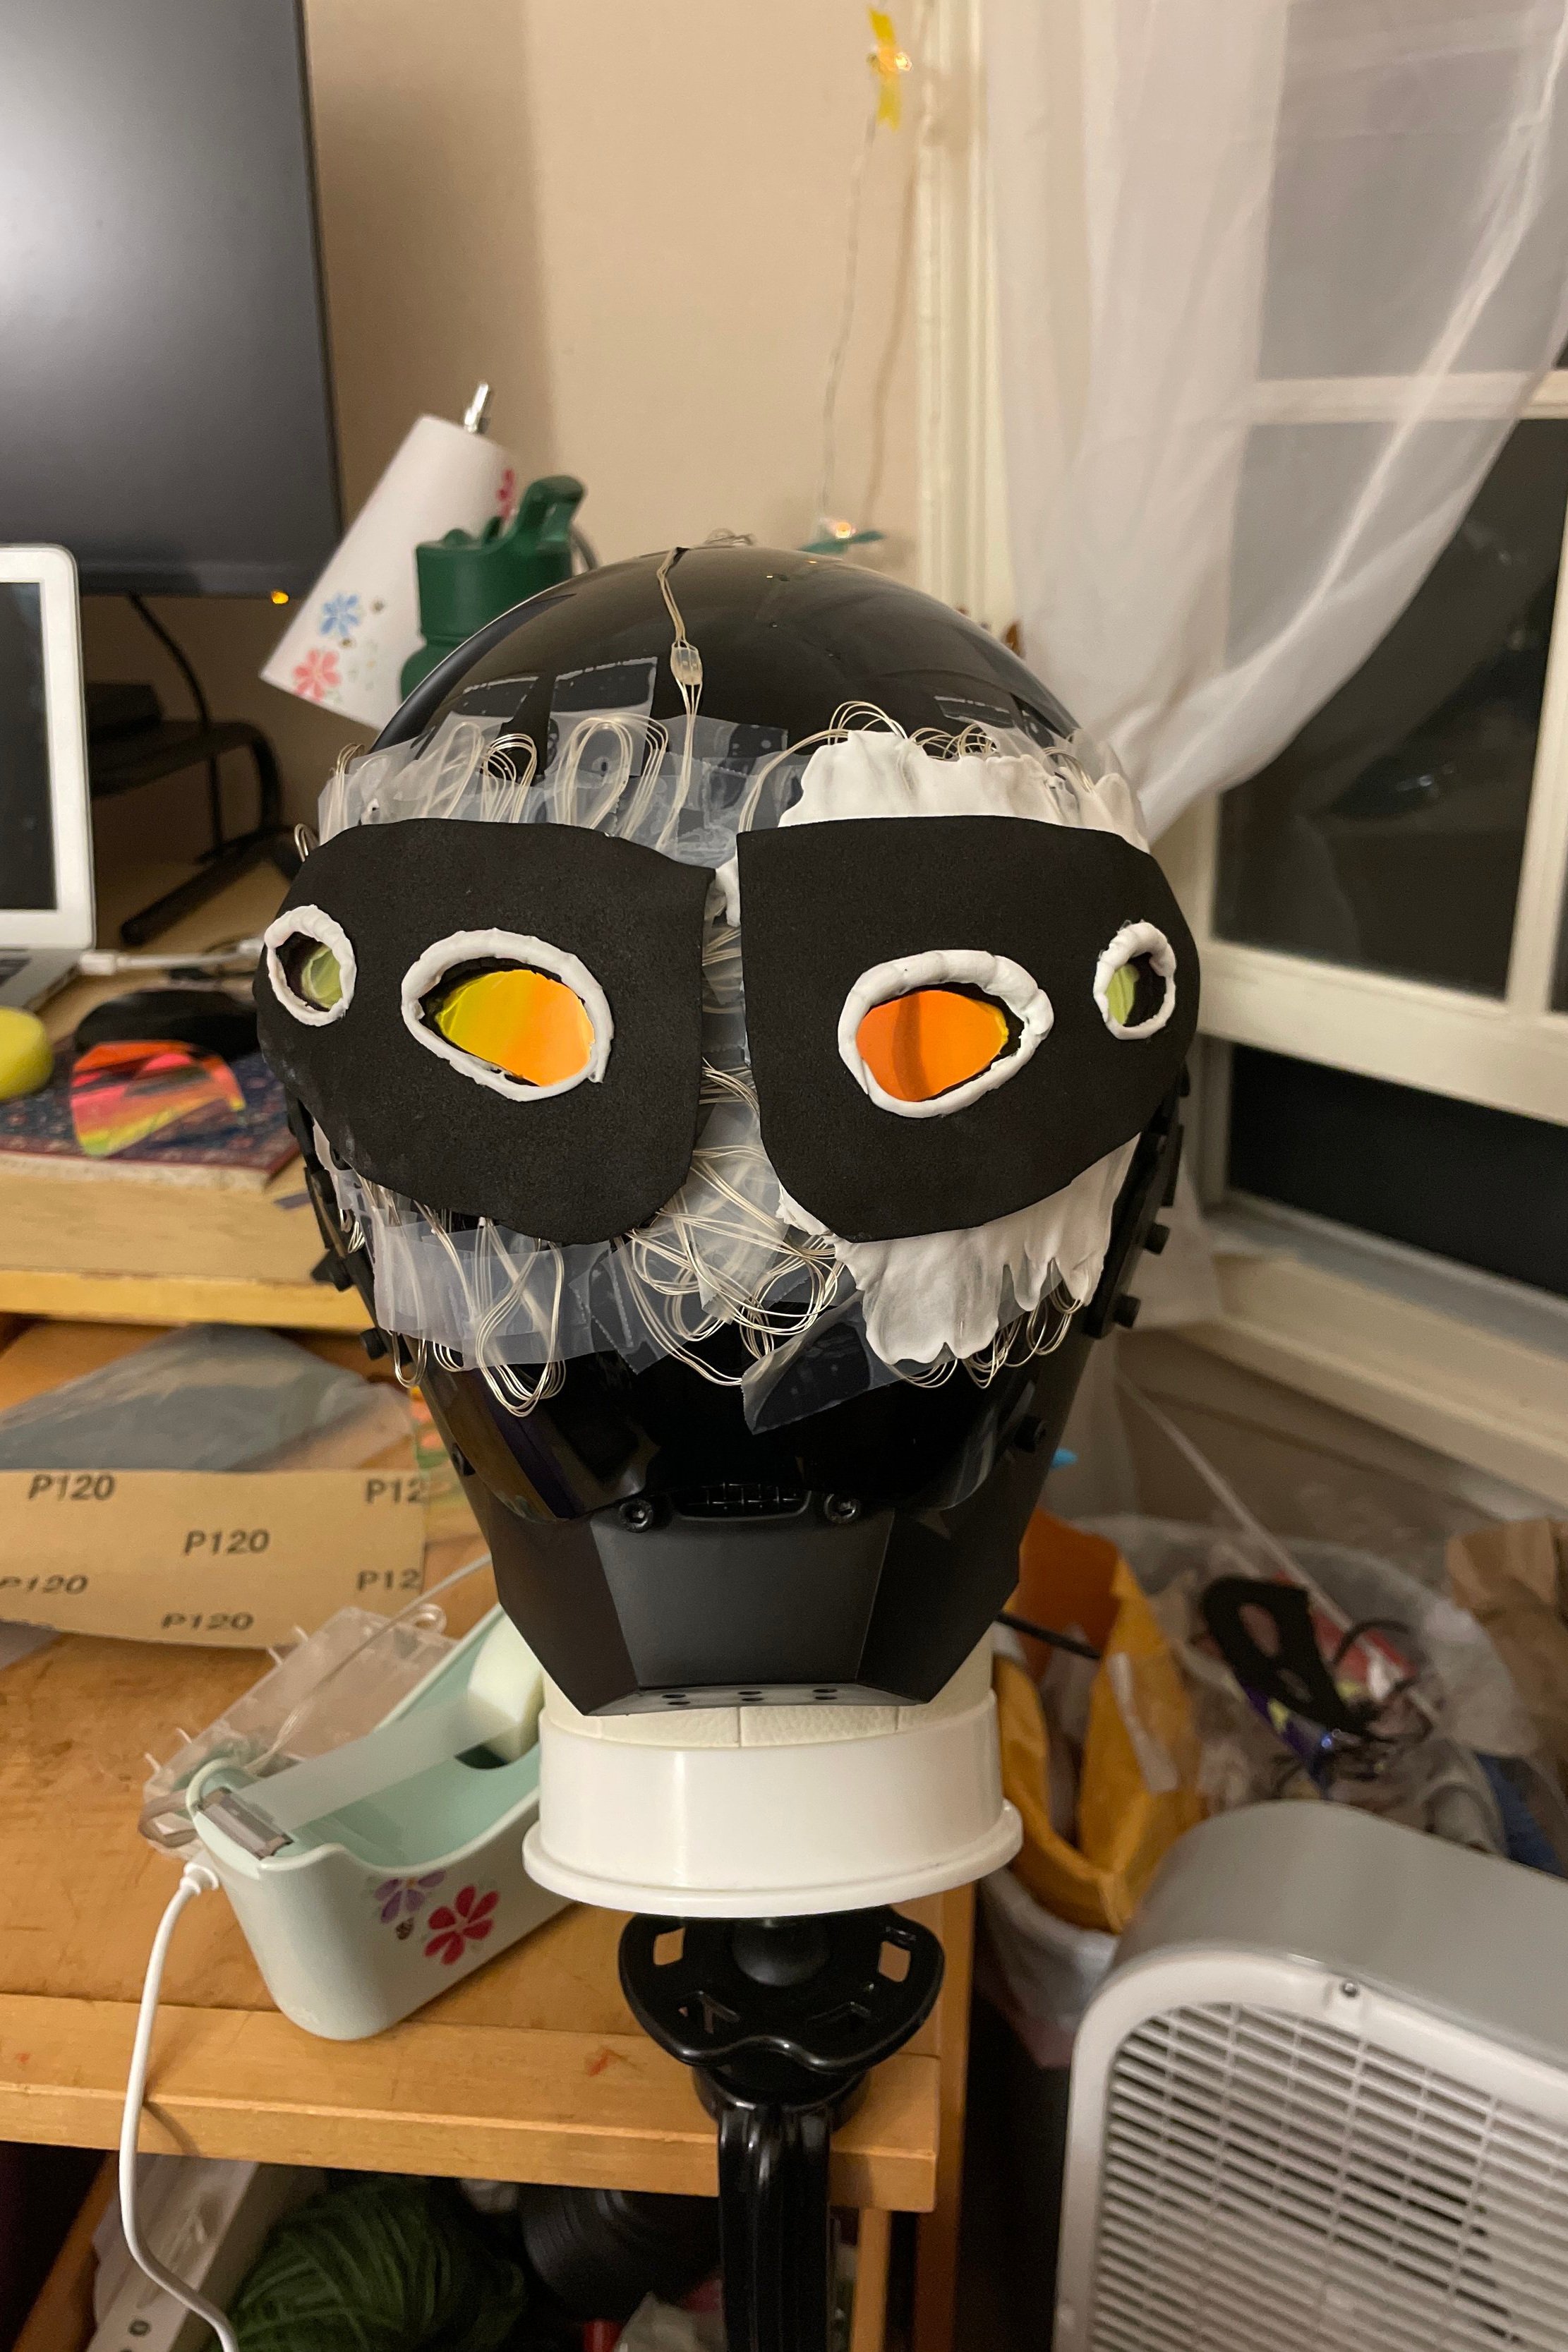
Base with wires exposed
The next step was making the helmet and respirator. I wanted to make this out of Worbla, a thermoplastic that is sculptable once it’s hot, both because it’s a material I’ve wanted to work with for a while, and because it seemed like having a hard, stable material would be a good idea for something like this. To get the pattern for that, I made the entire thing first out of EVA foam, which can be seen in the first photo to the right, and traced it on to the Worbla (seen to the far right). I then built the Worbla up based on that pattern.
I found Worbla pretty challenging to work with during this process. It was tricky to get it smooth, especially along seamlines, and I ended up being very grateful that this character is generally pretty weathered in appearance, as that let me get away with some rougher areas.
Helmet and respirator made from EVA foam
Detail photo of the false shoulder
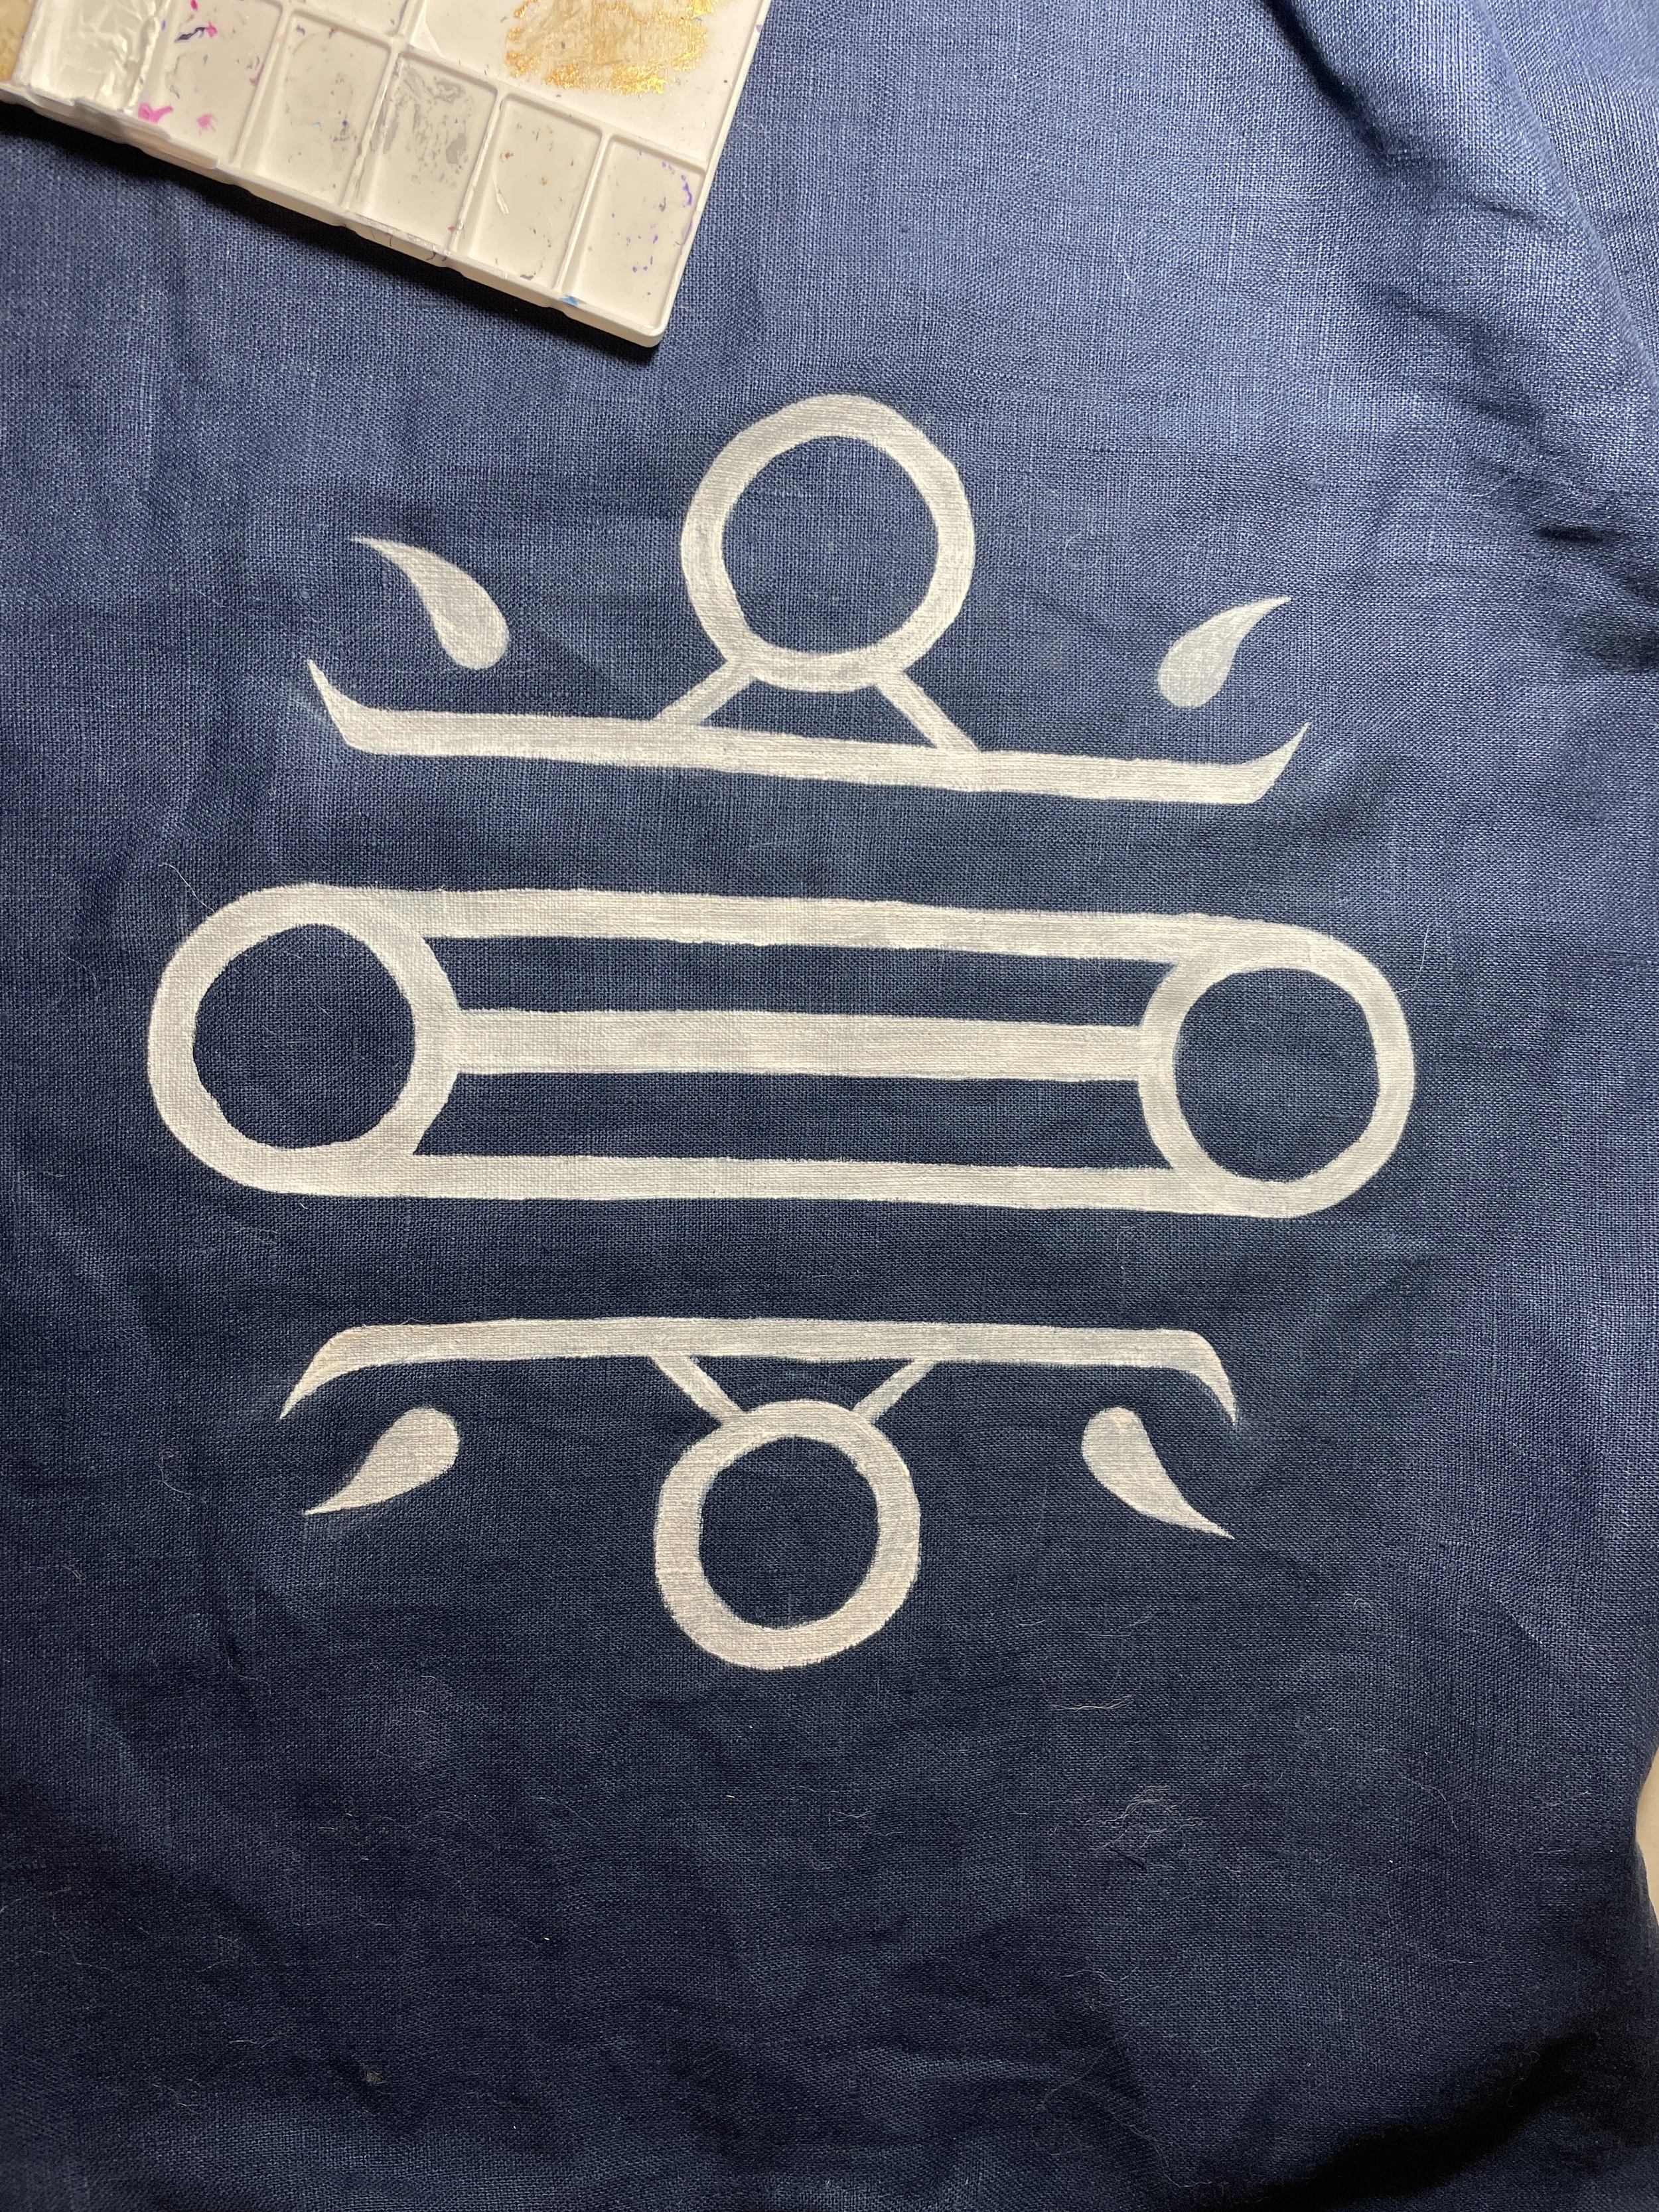
Painted symbol
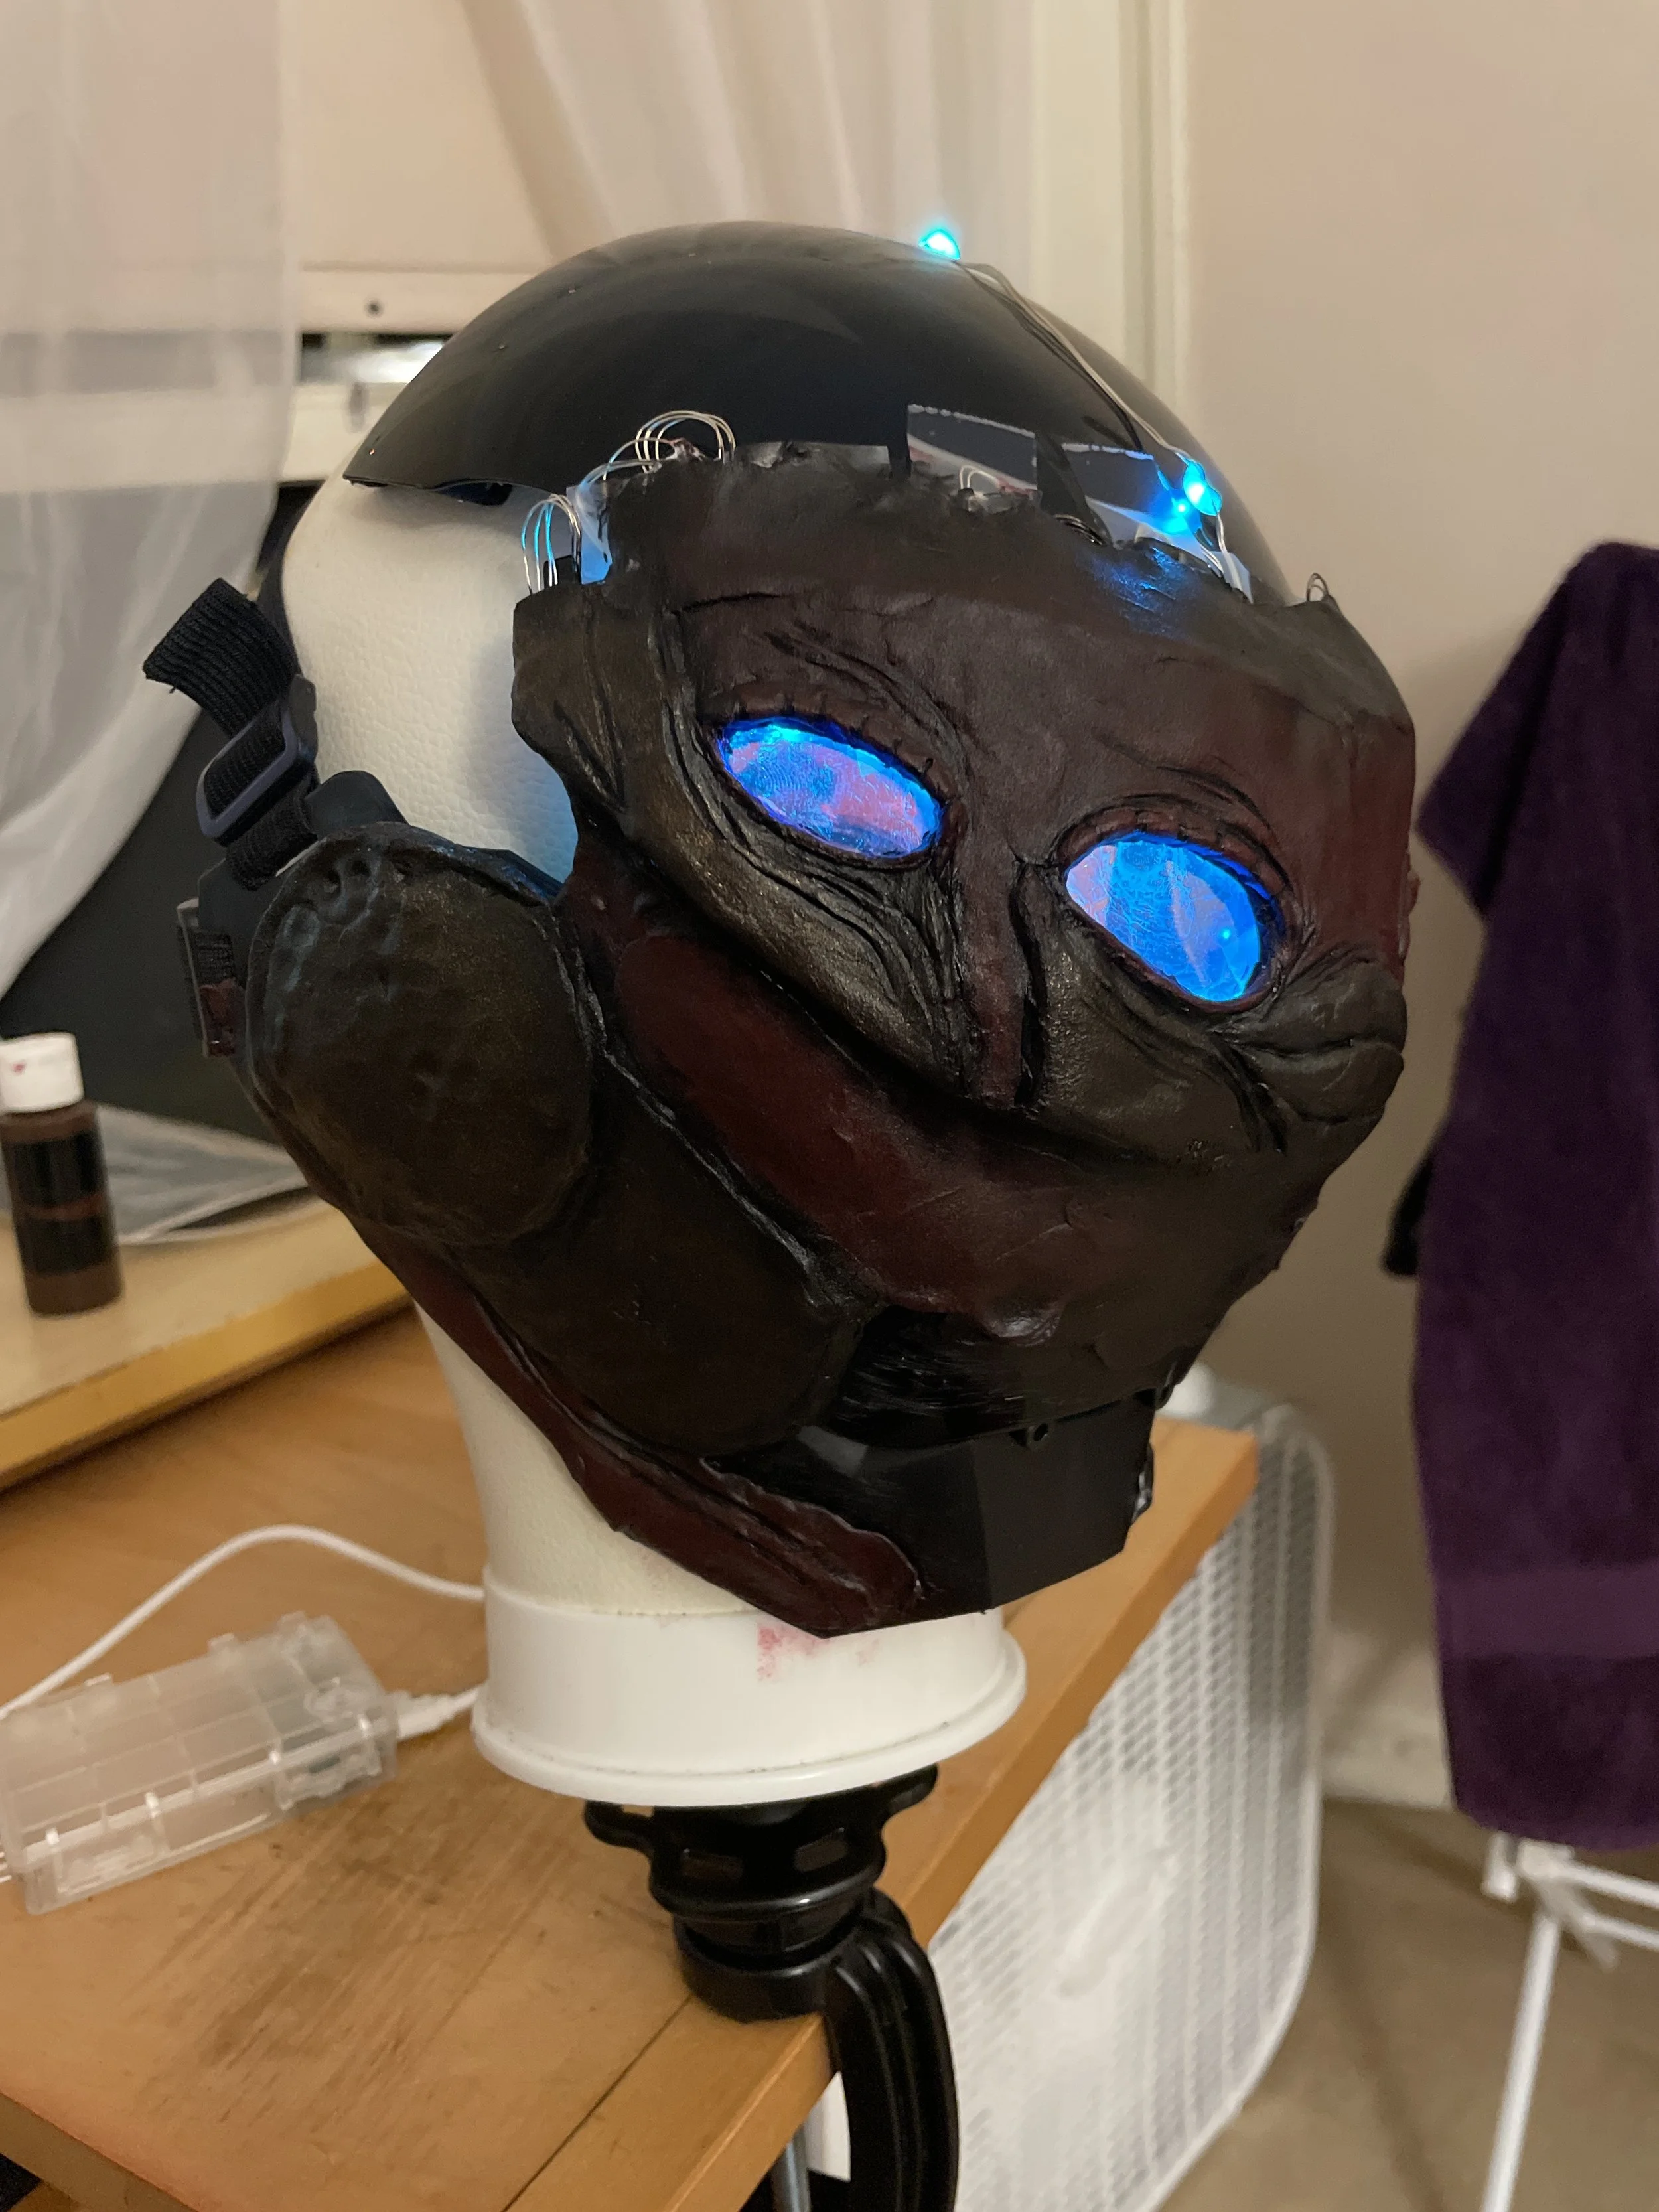
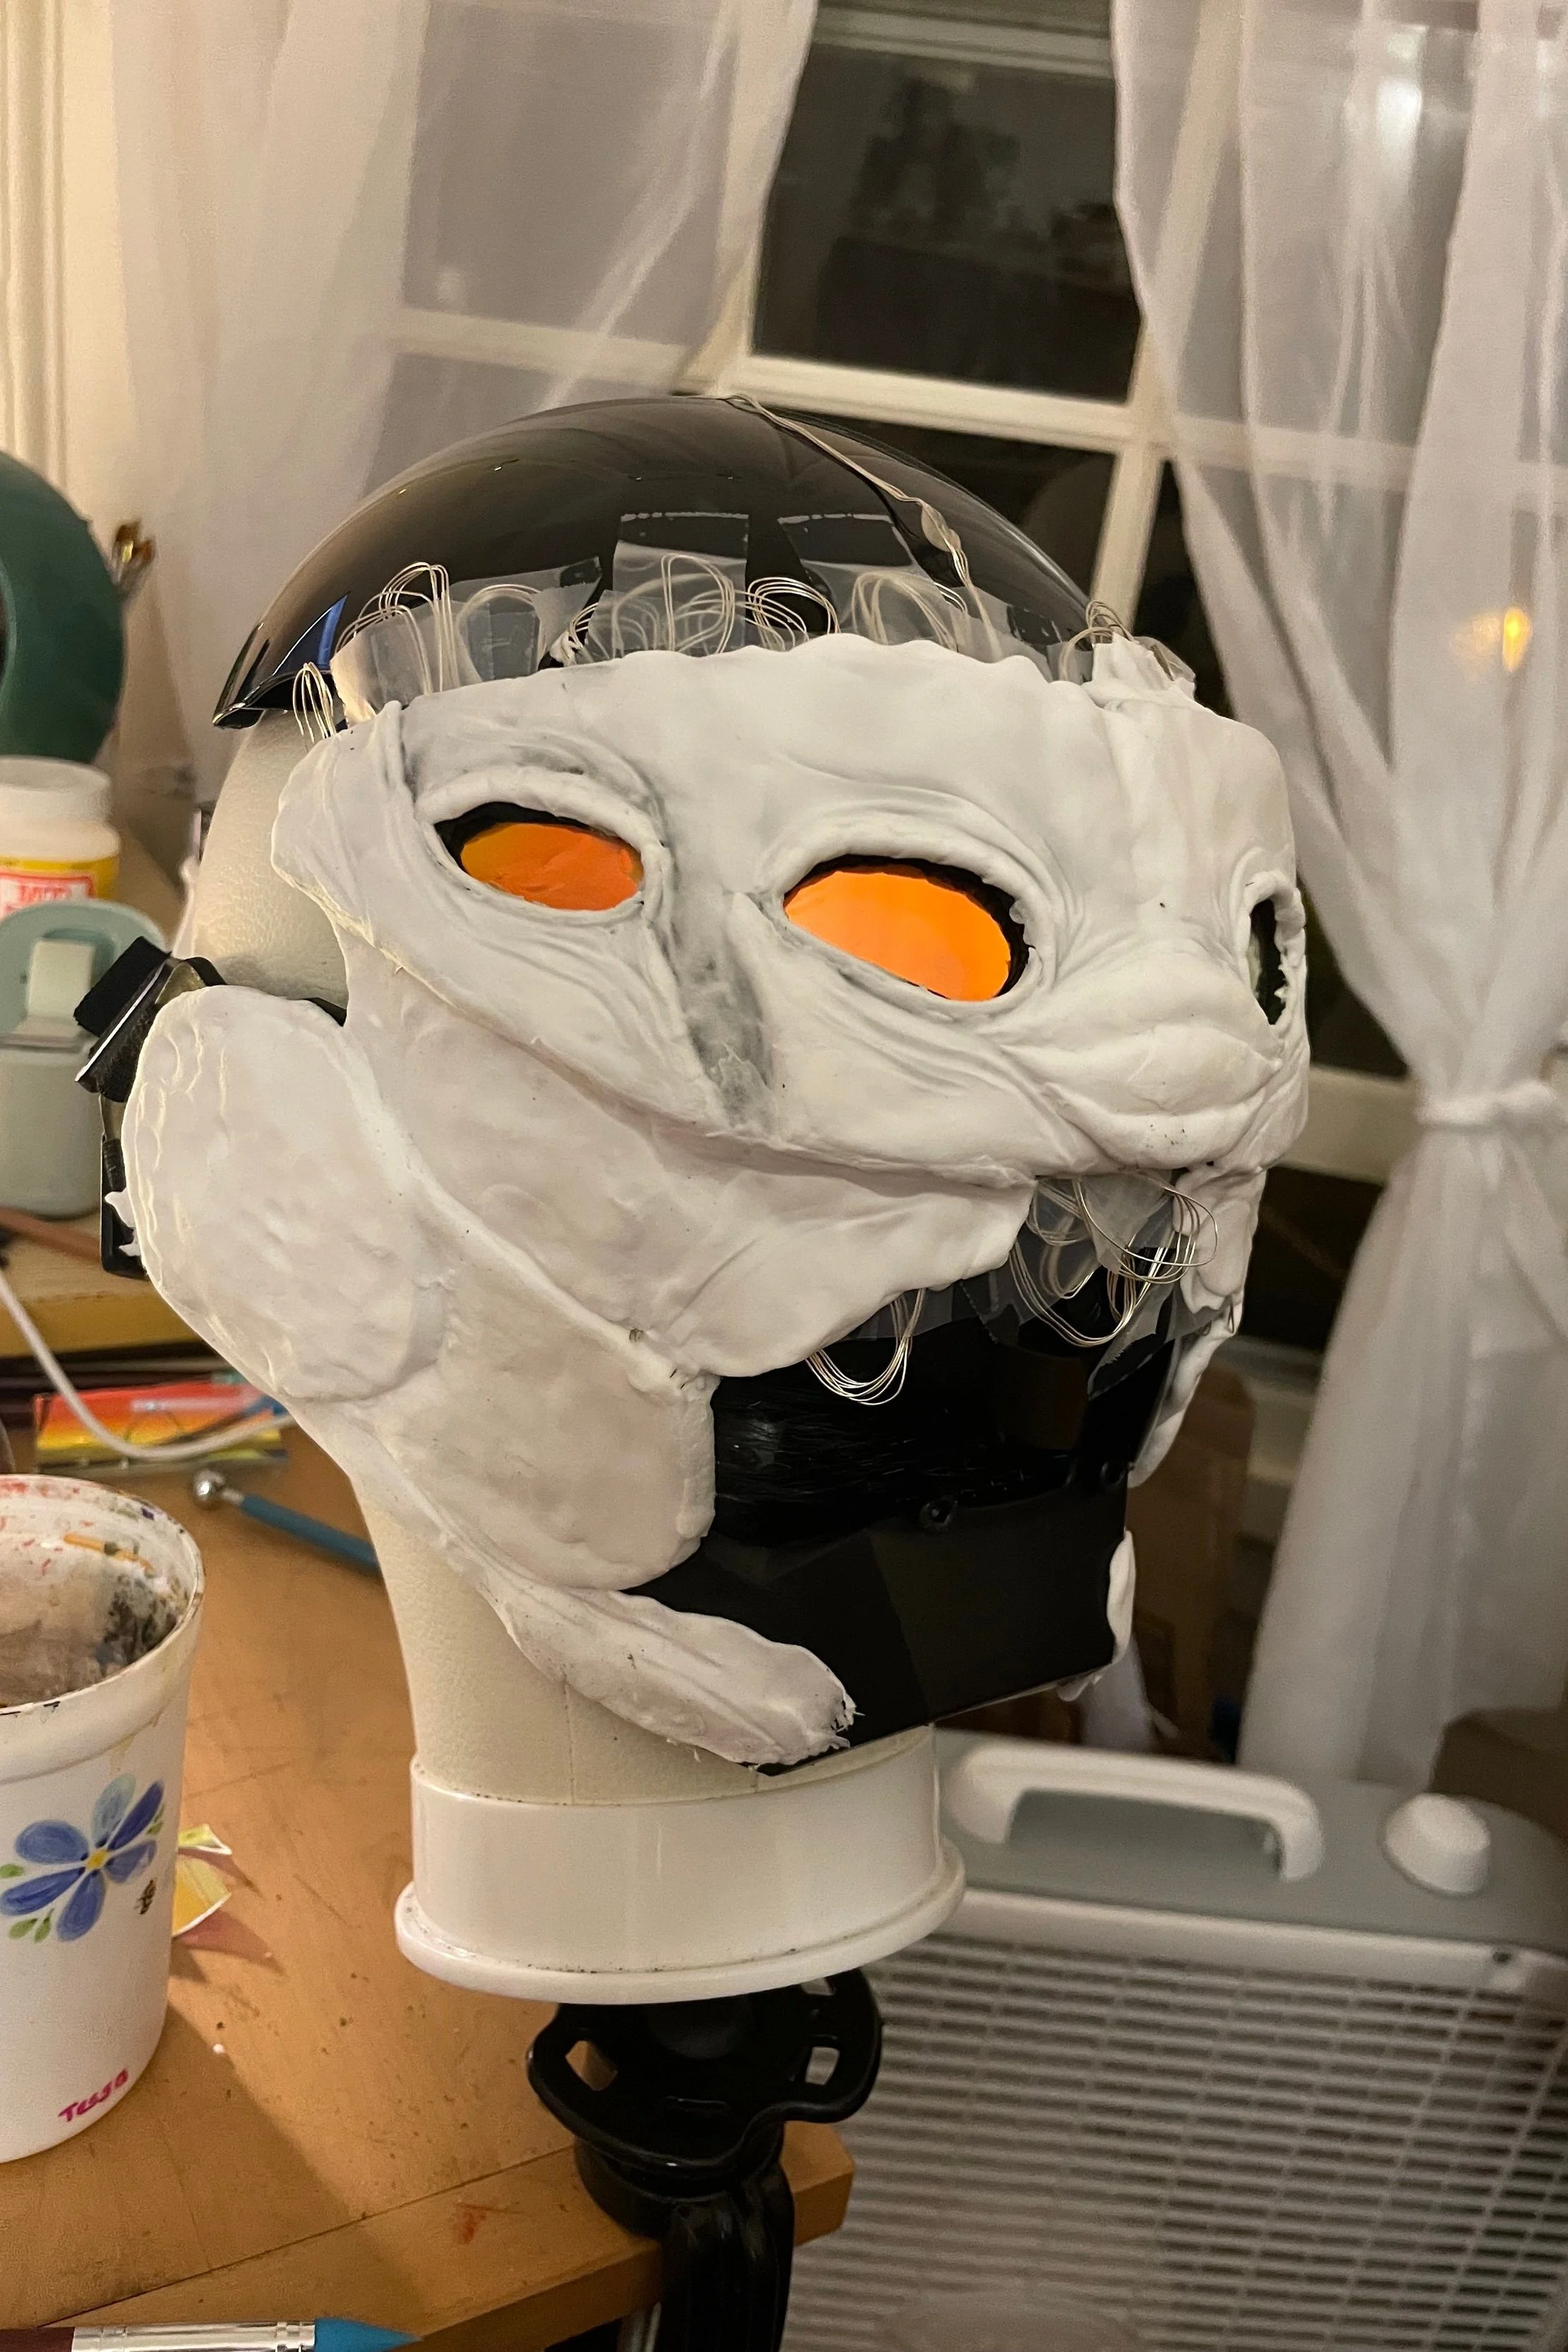
Next, I made the face. For the base, I used a mask with a plastic piece that covered the entire face; this gave me the base I needed to build on.
Part of the challenge here was that I wanted the eyes to glow, as they do for the character. To make that effect, I used LED lights and taped them into place around where the eyes would be - you can see all of the wires in the left image below, and what it looked like at this stage lit up in the center image. To help cover the lights in the eyes, I covered the openings with a reflective plastic. On its own, this looked blue, but ended up reflecting orange a lot more than I wanted.
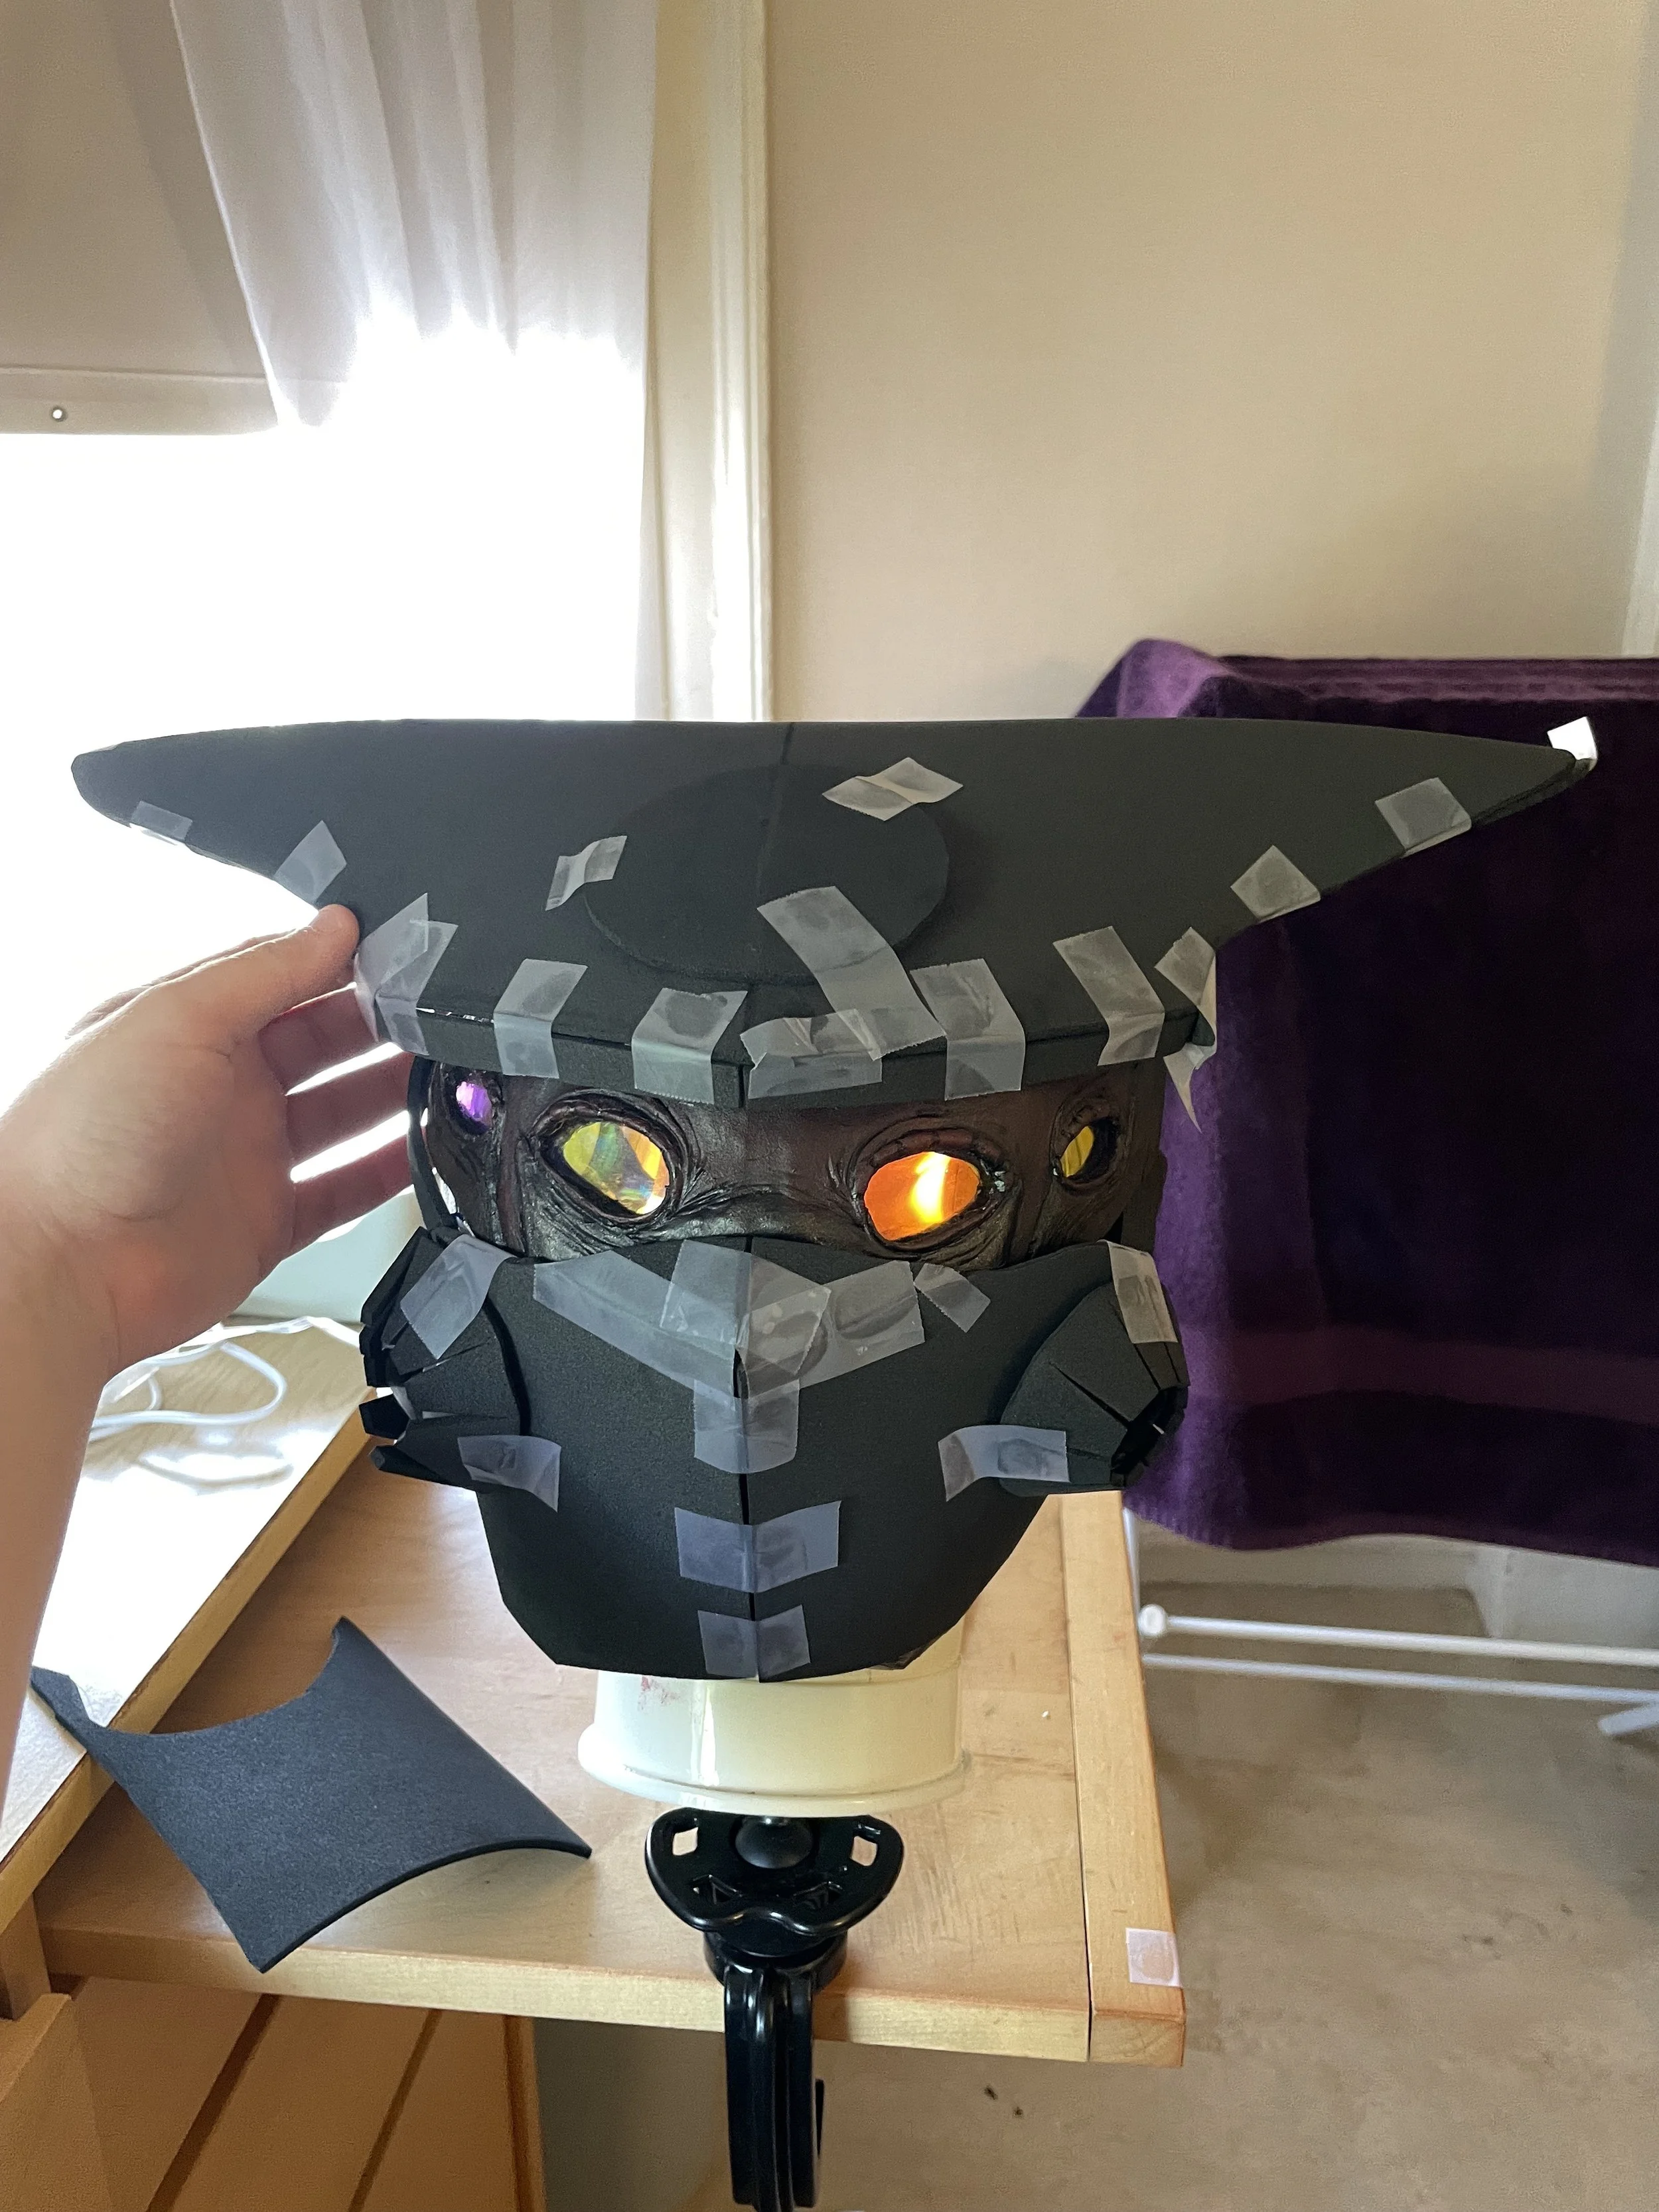
I then used foam clay to sculpt the texture of the face; this step can be seen in the right image below. It was my first time using this material, and I found it tricky to work with at first, but it did a great job capturing the texture I wanted without needing to be baked.
Once the clay cured, I was able to paint everything with acrylic paint, which is how I ended up with the image on the left.
Face sculpted with clay
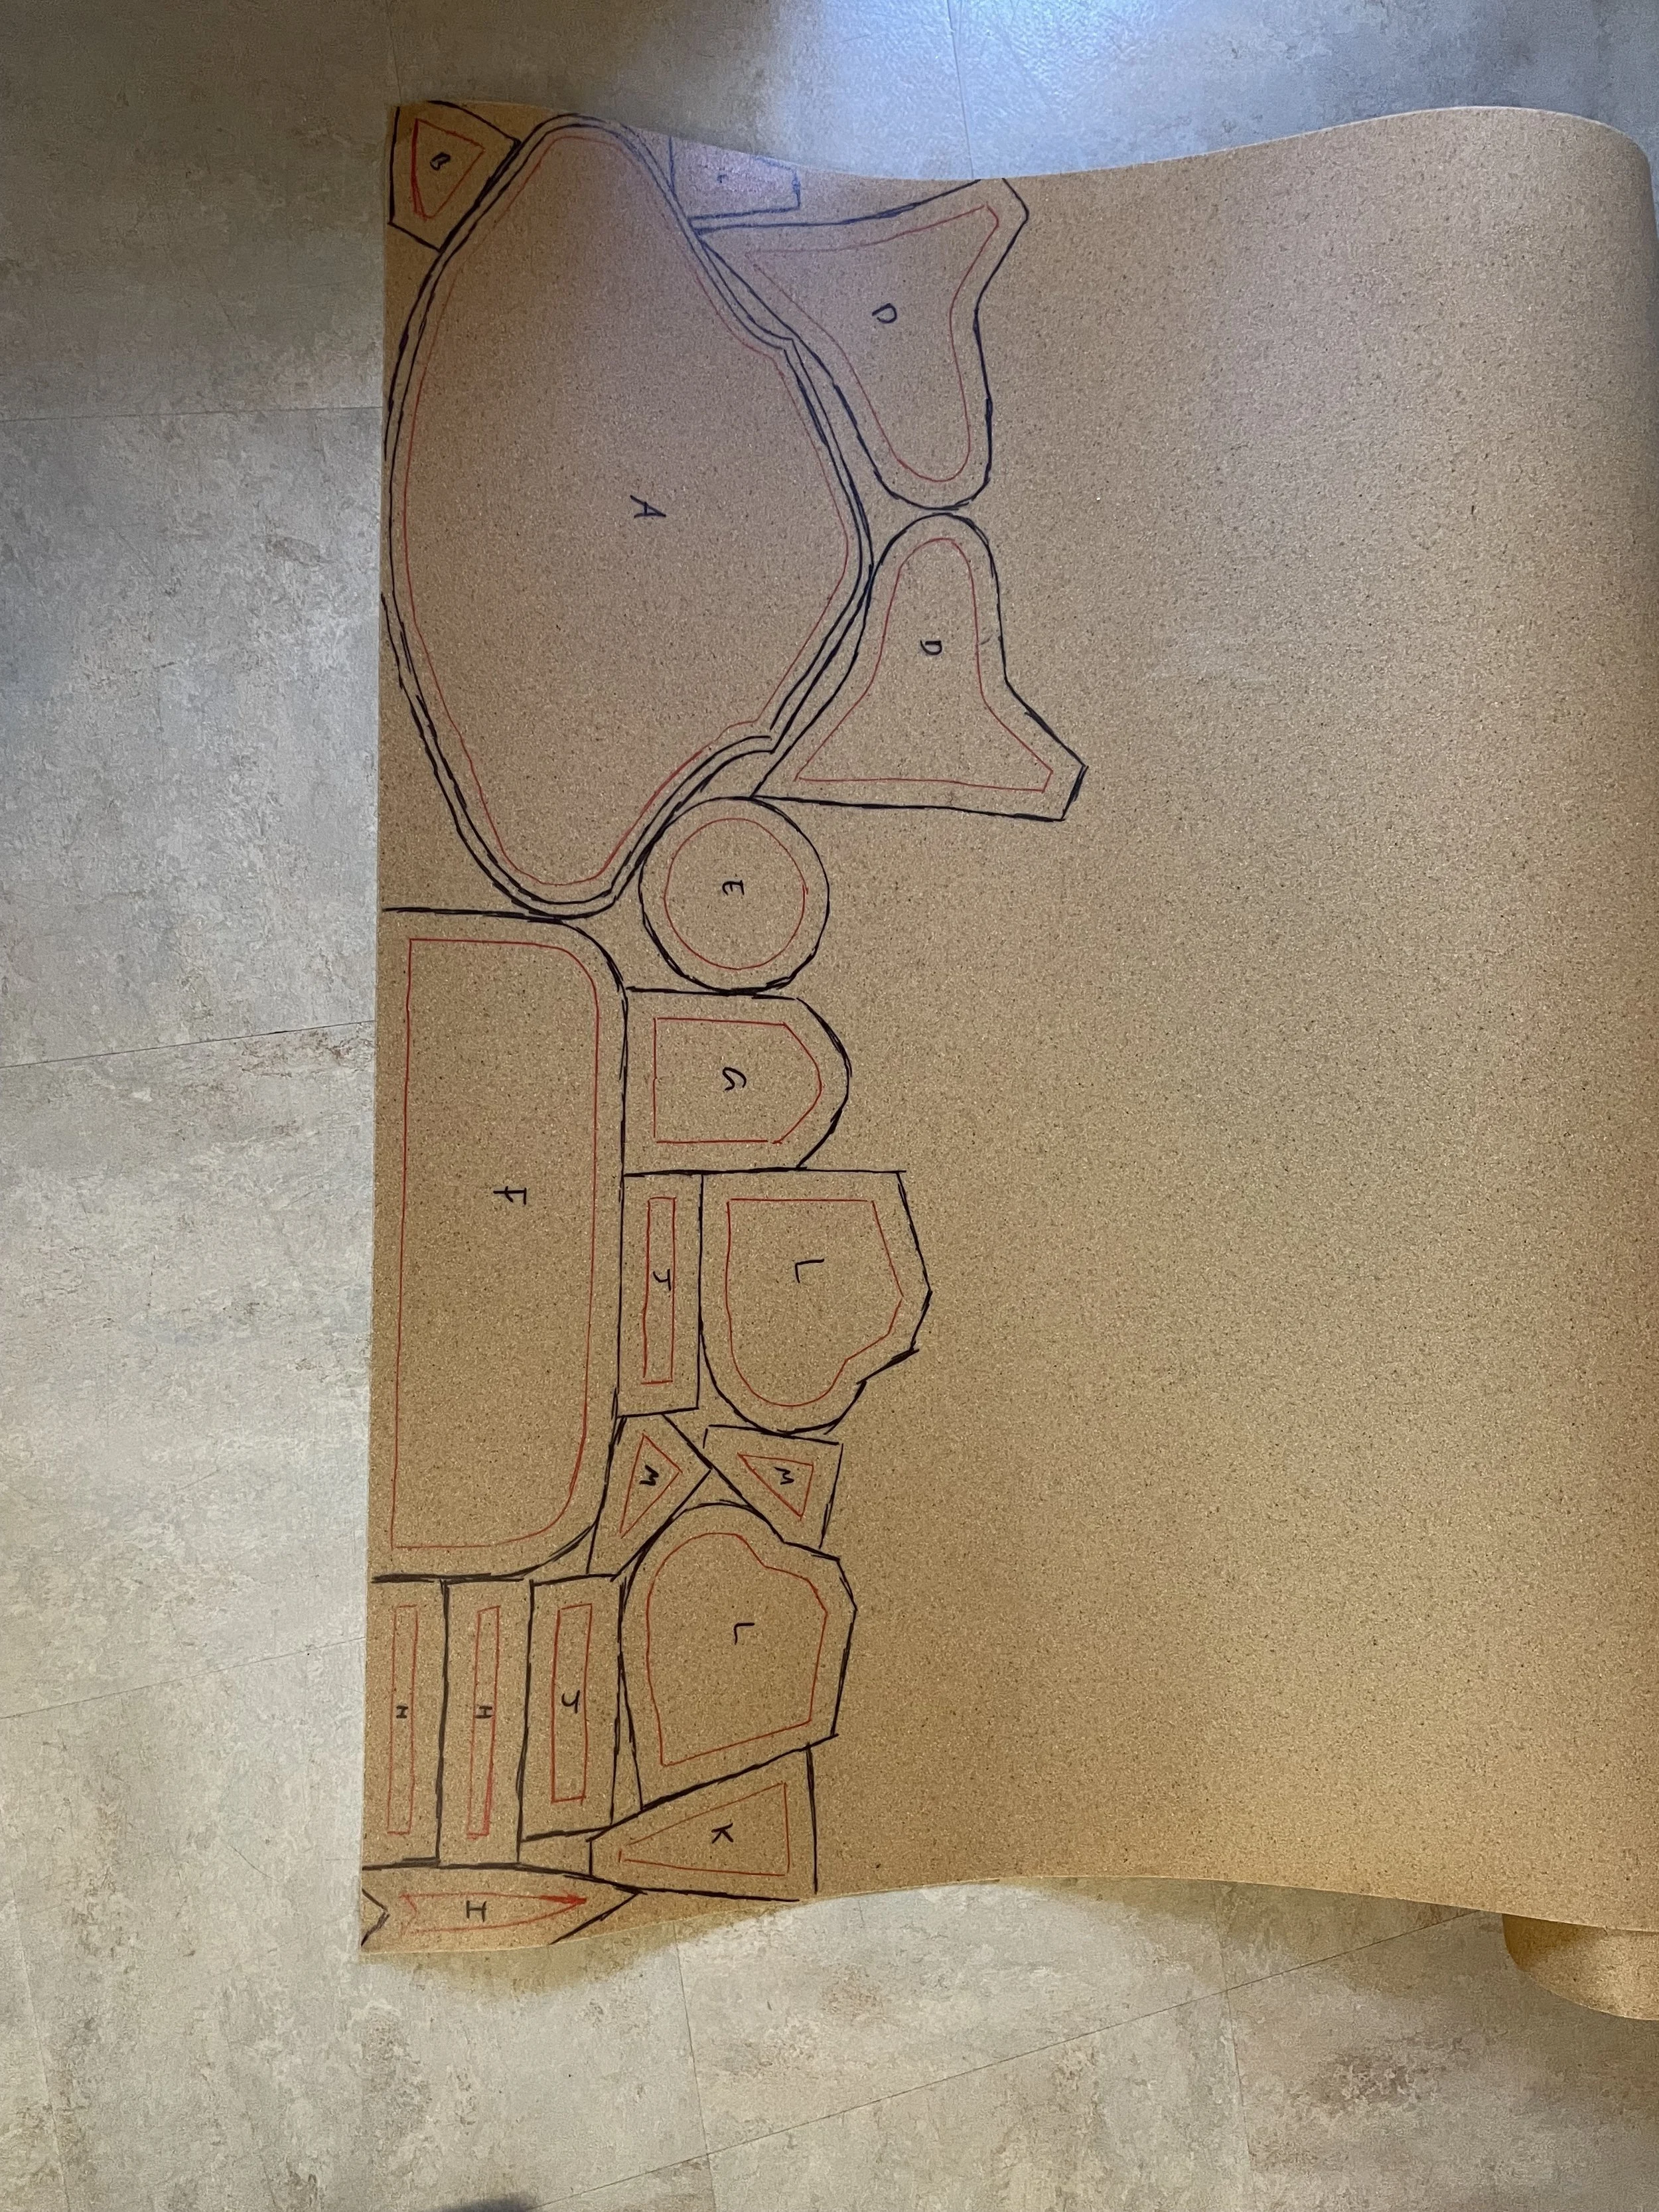
Pattern traced out on Worbla
After that were finishing steps; painting the helmet, gluing on the respirator, and attaching the chain mail. The face mask and the helmet stayed as two separate pieces. Because I sculpted the helmet to the dimensions of my head with the mask on, it’s a snug enough fit to stay on without needing anything holding it there, which makes it easy to get on and off.
The one big issue with this helmet is the lack of visibility. While wearing it, I can see very narrowly straight forward through the middle two eyes, but I really can’t see anything else. I’m not sure how that would be adjusted, though, and over all I’m satisfied with how it turned out.
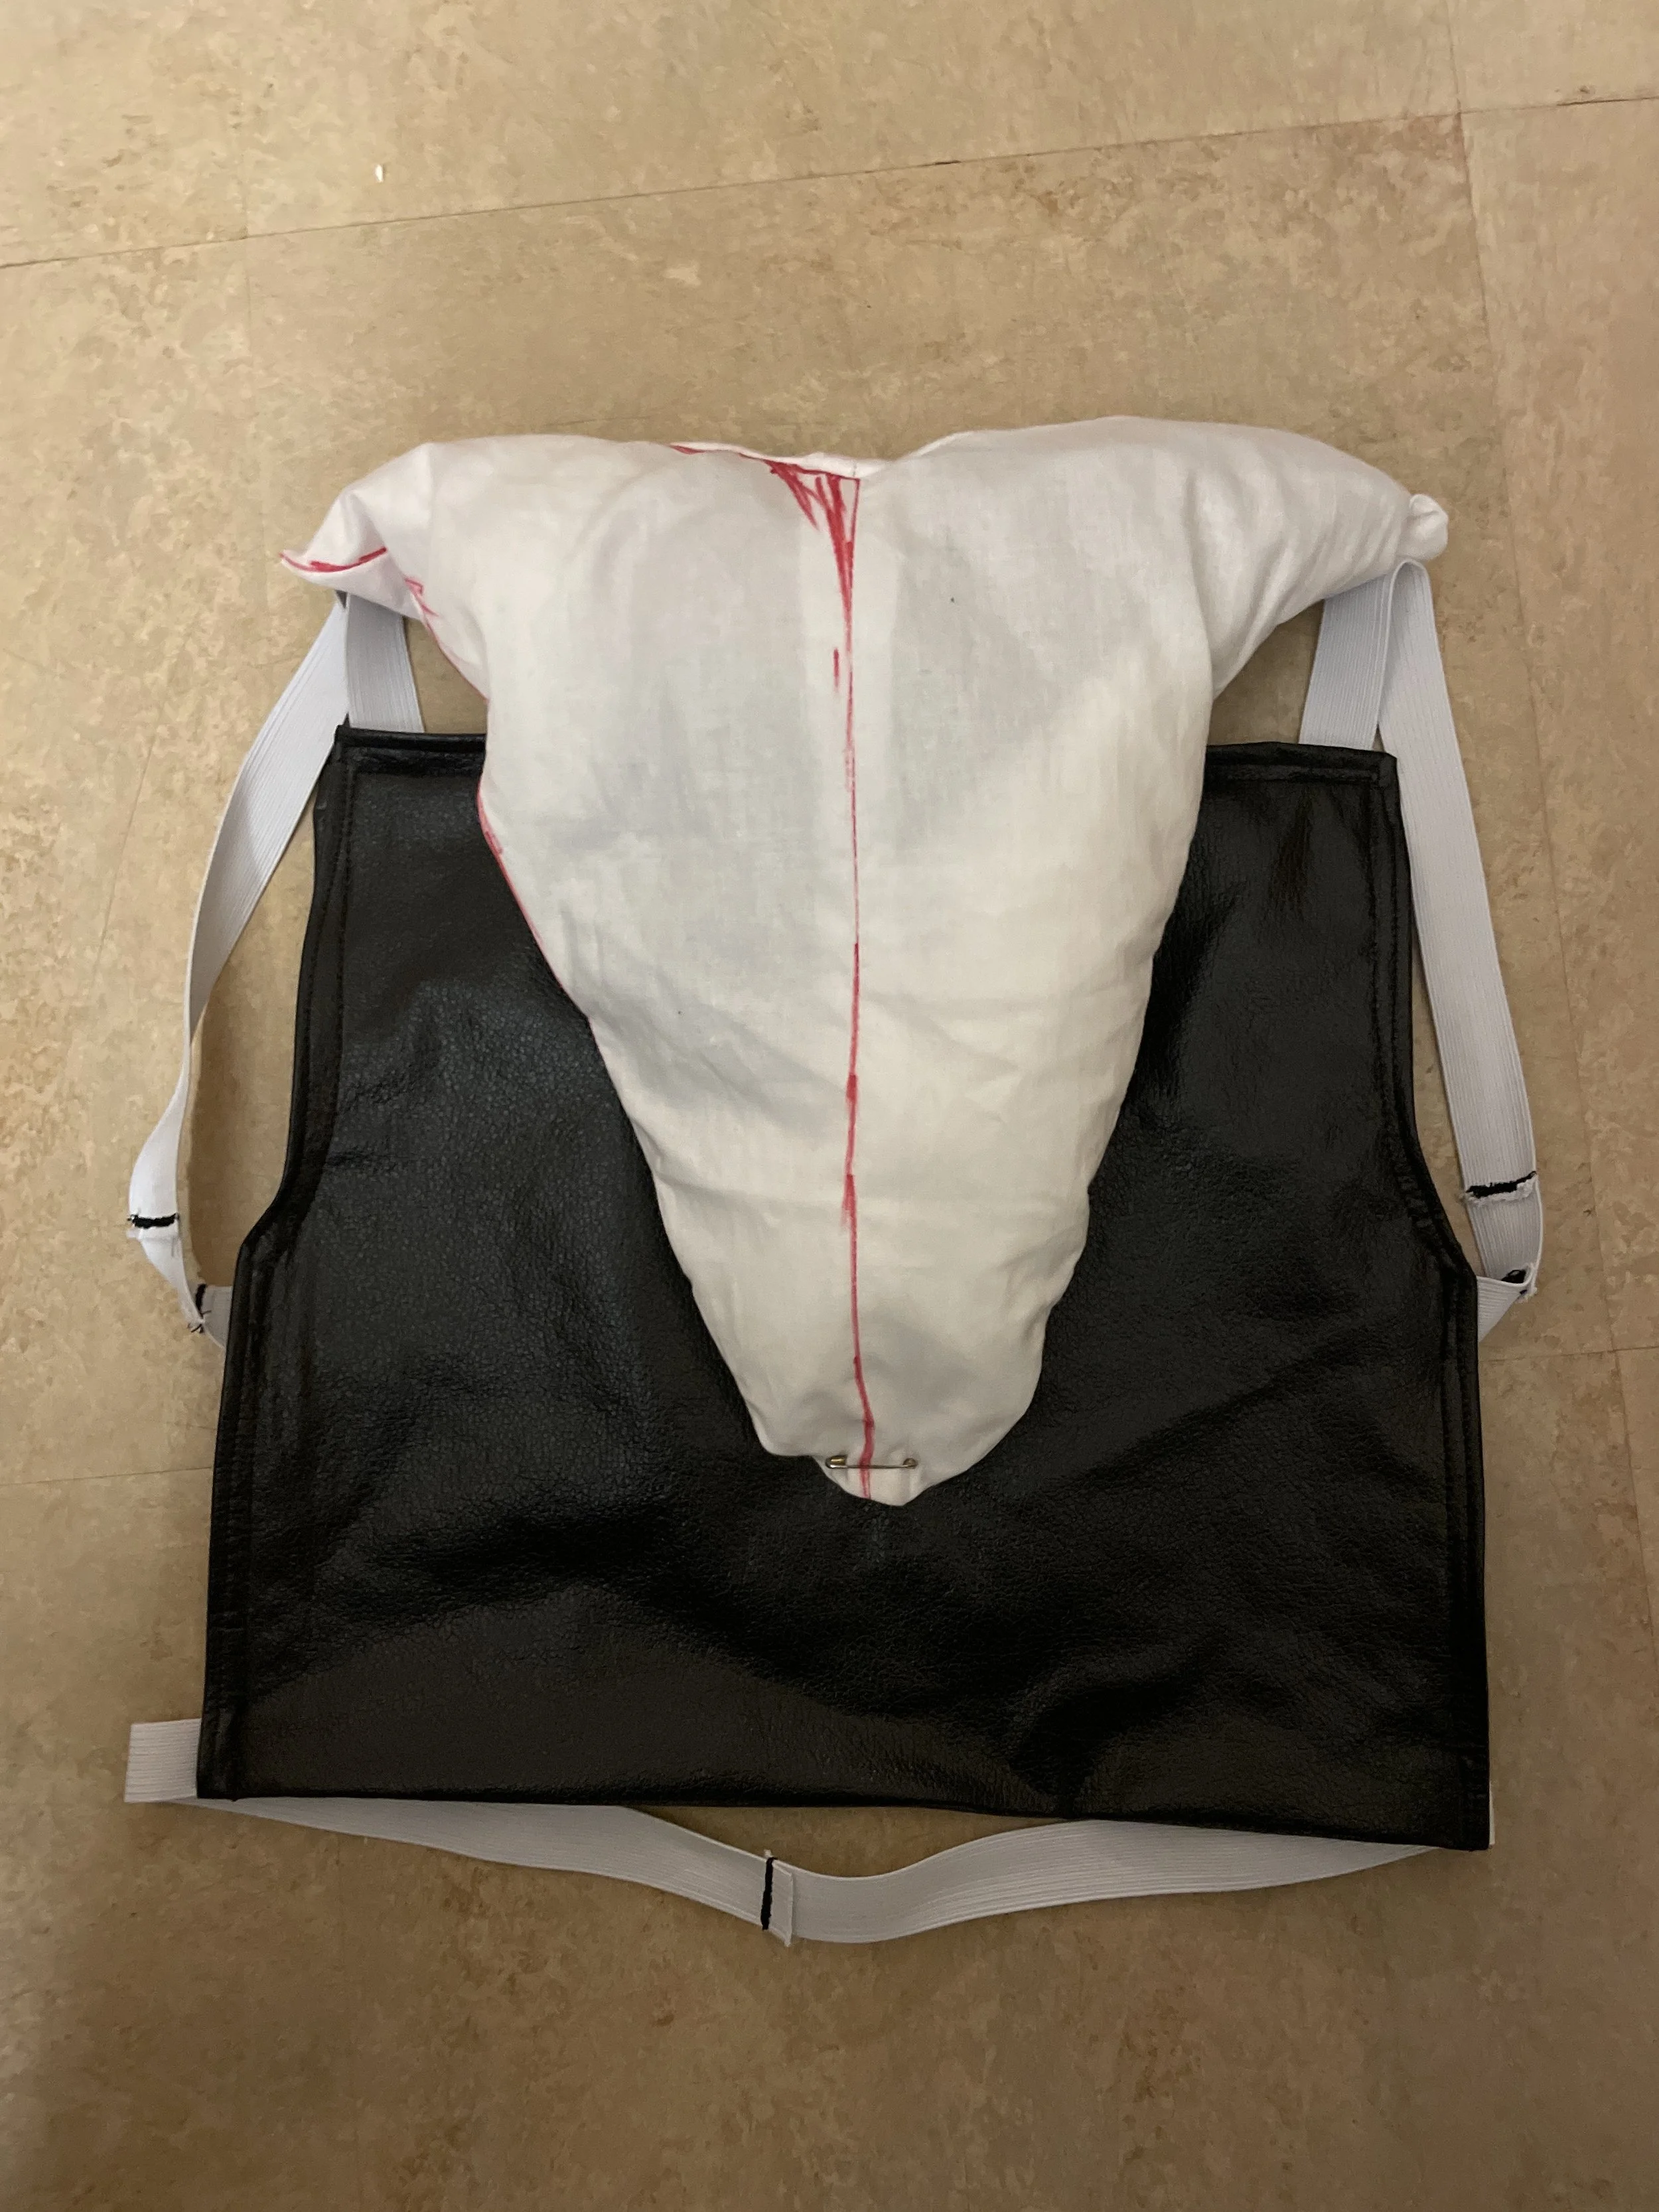
Padding
Moving on to the rest of the costume, I started from the foundational garments and moved outward. I could see when looking at my reference images that the character had some bulk that a human body wouldn’t really have, especially in the back and shoulders. To make sure I captured that shape, I decided to make a simple rig to add that padding to my back, pictured to the right. It’s a shape padded with stuffing, attached to a fake leather base with elastic straps to keep in on, a lot like a backpack. The fake leather base was originally meant to help hold the third arm in place - I’ll talk more about that in the next step.
Stuffed arm covered in a sleeve
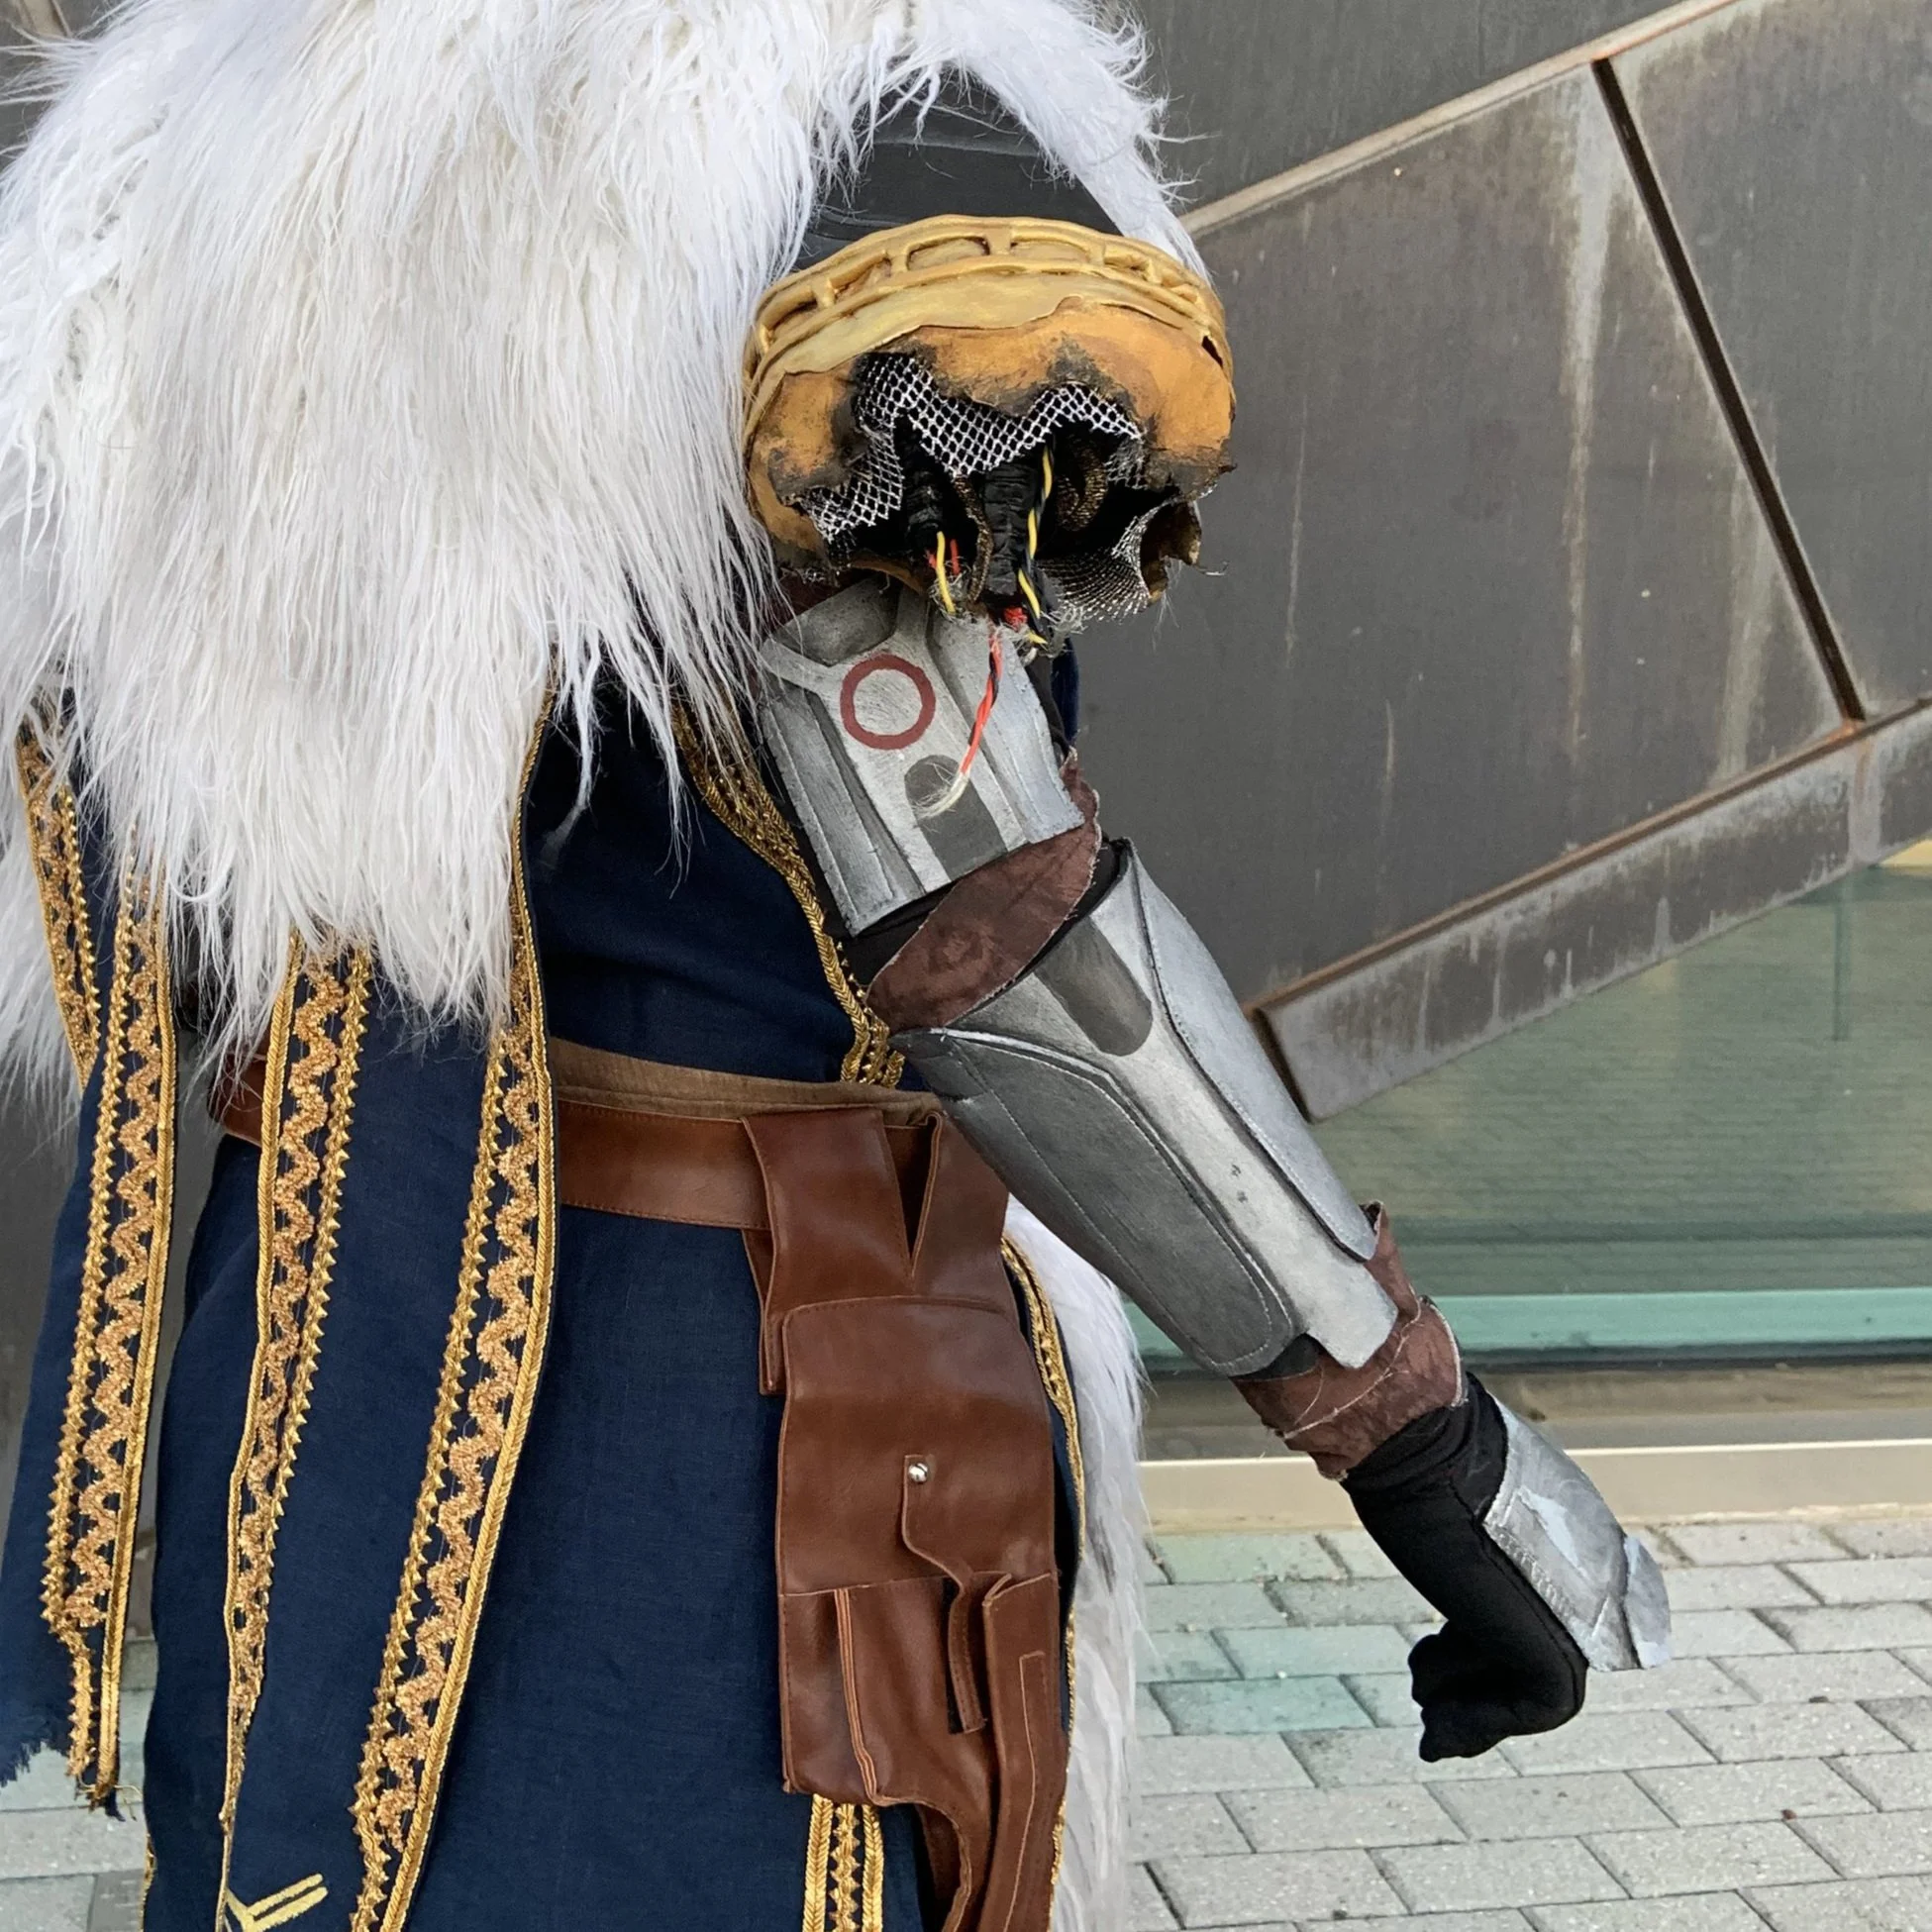
Next, I had to figure out how to make the character’s shoulder on the right side. The kind of alien that this character is typically has four arms, but Variks is missing one, with just a shoulder left. To make this, I made a ring of EVA foam roughly the size of my upper arm, and sculpted the metal details on top of that using foam clay. The wires were added in rough positions and glued down. Some gold fabric and silver mesh helped cover up the inside, and the entire thing was painted with acrylic paint to weather it. There is also a shoulder pad made of EVA foam with stitched details.
The entire thing was stuffed and sewn on to the base shirt layer. To the right is a detailed image of it, and a photo of it when worn.
Tunic and Fur Mantle
This was the part of the costume most within my comfort zone. For the tunic, I used a dark blue linen, which I then distressed around the hem (pictured below). I used three different kinds of gold trim, all from this Etsy store. These aren’t an exact replica of the trim on the original character model, but they were close enough, especially given the limited time frame I was working with. I also painted on the symbol by hand using acrylic paint (pictured below).
All of the fur was painted with a wash of black paint to give it more depth and make it look worn. The mantle itself was especially useful in covering up any weirdness at the shoulders of the base shirt caused by the added arm and shoulder.
The belt was a piece I purchased; I would have liked to make it myself, but the limited time I had to make this costume made that impossible.
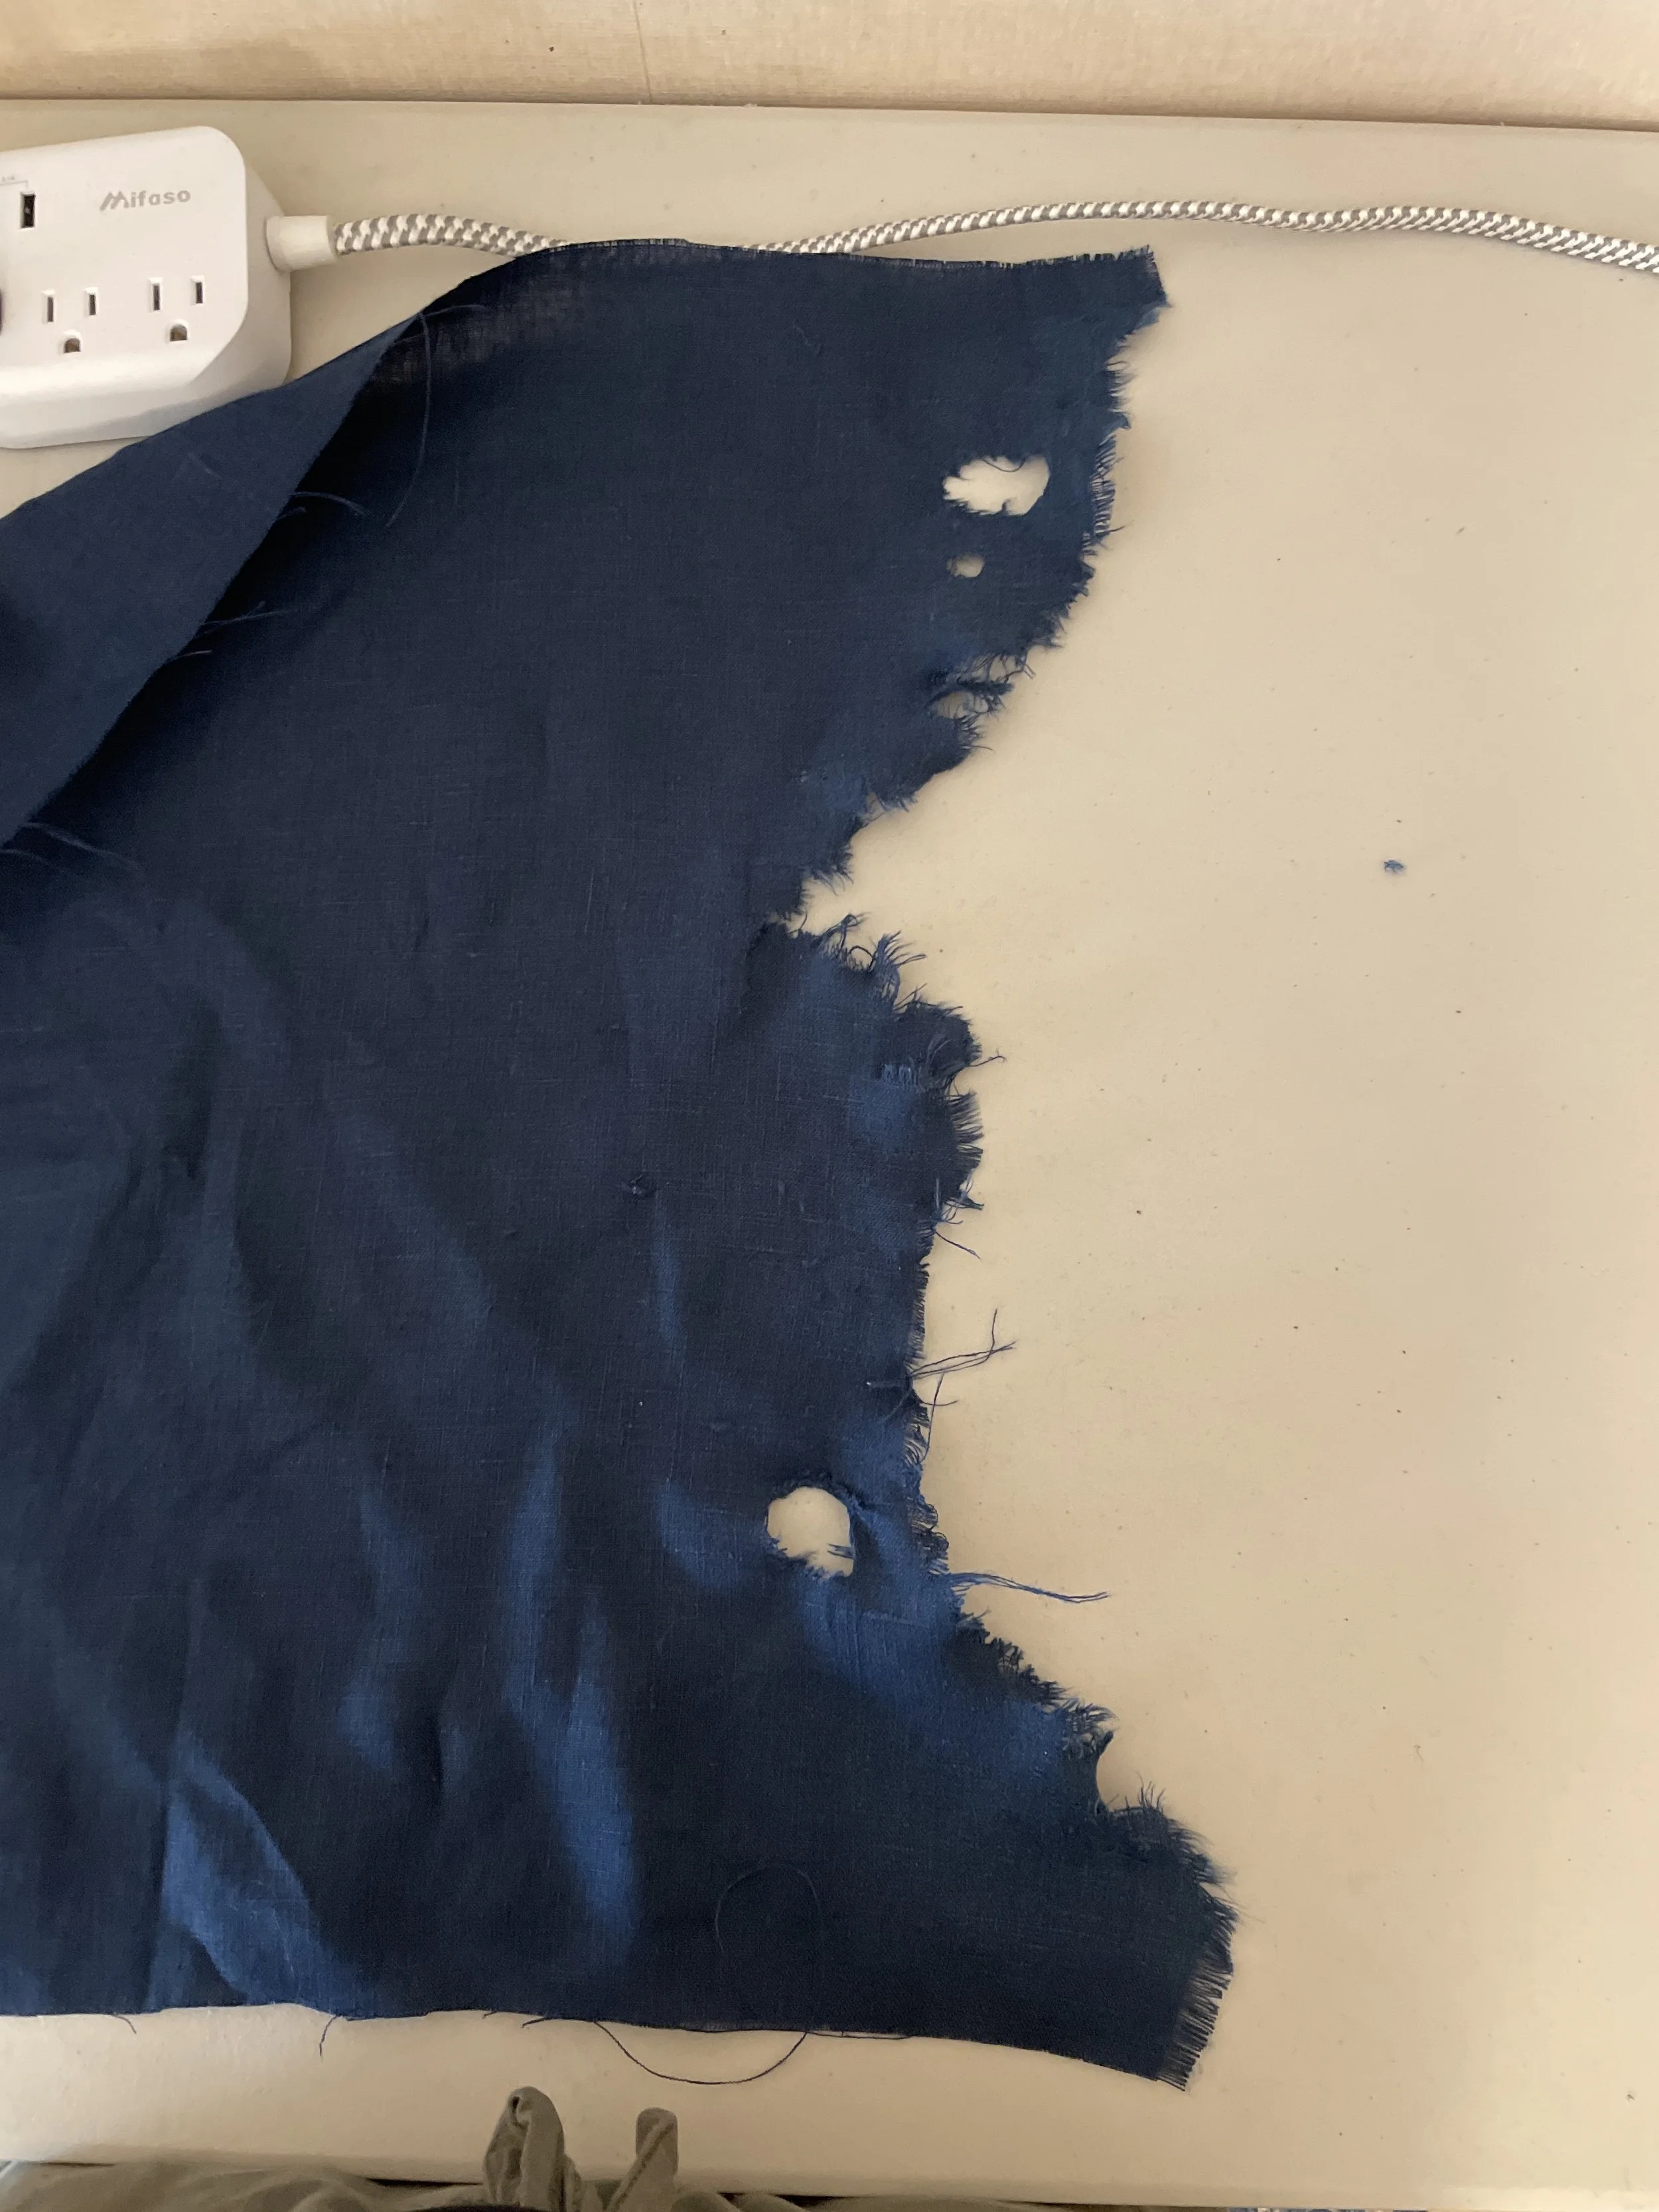
Distressing - brown paint was also added to the hem
Photo showing the armor on one arm
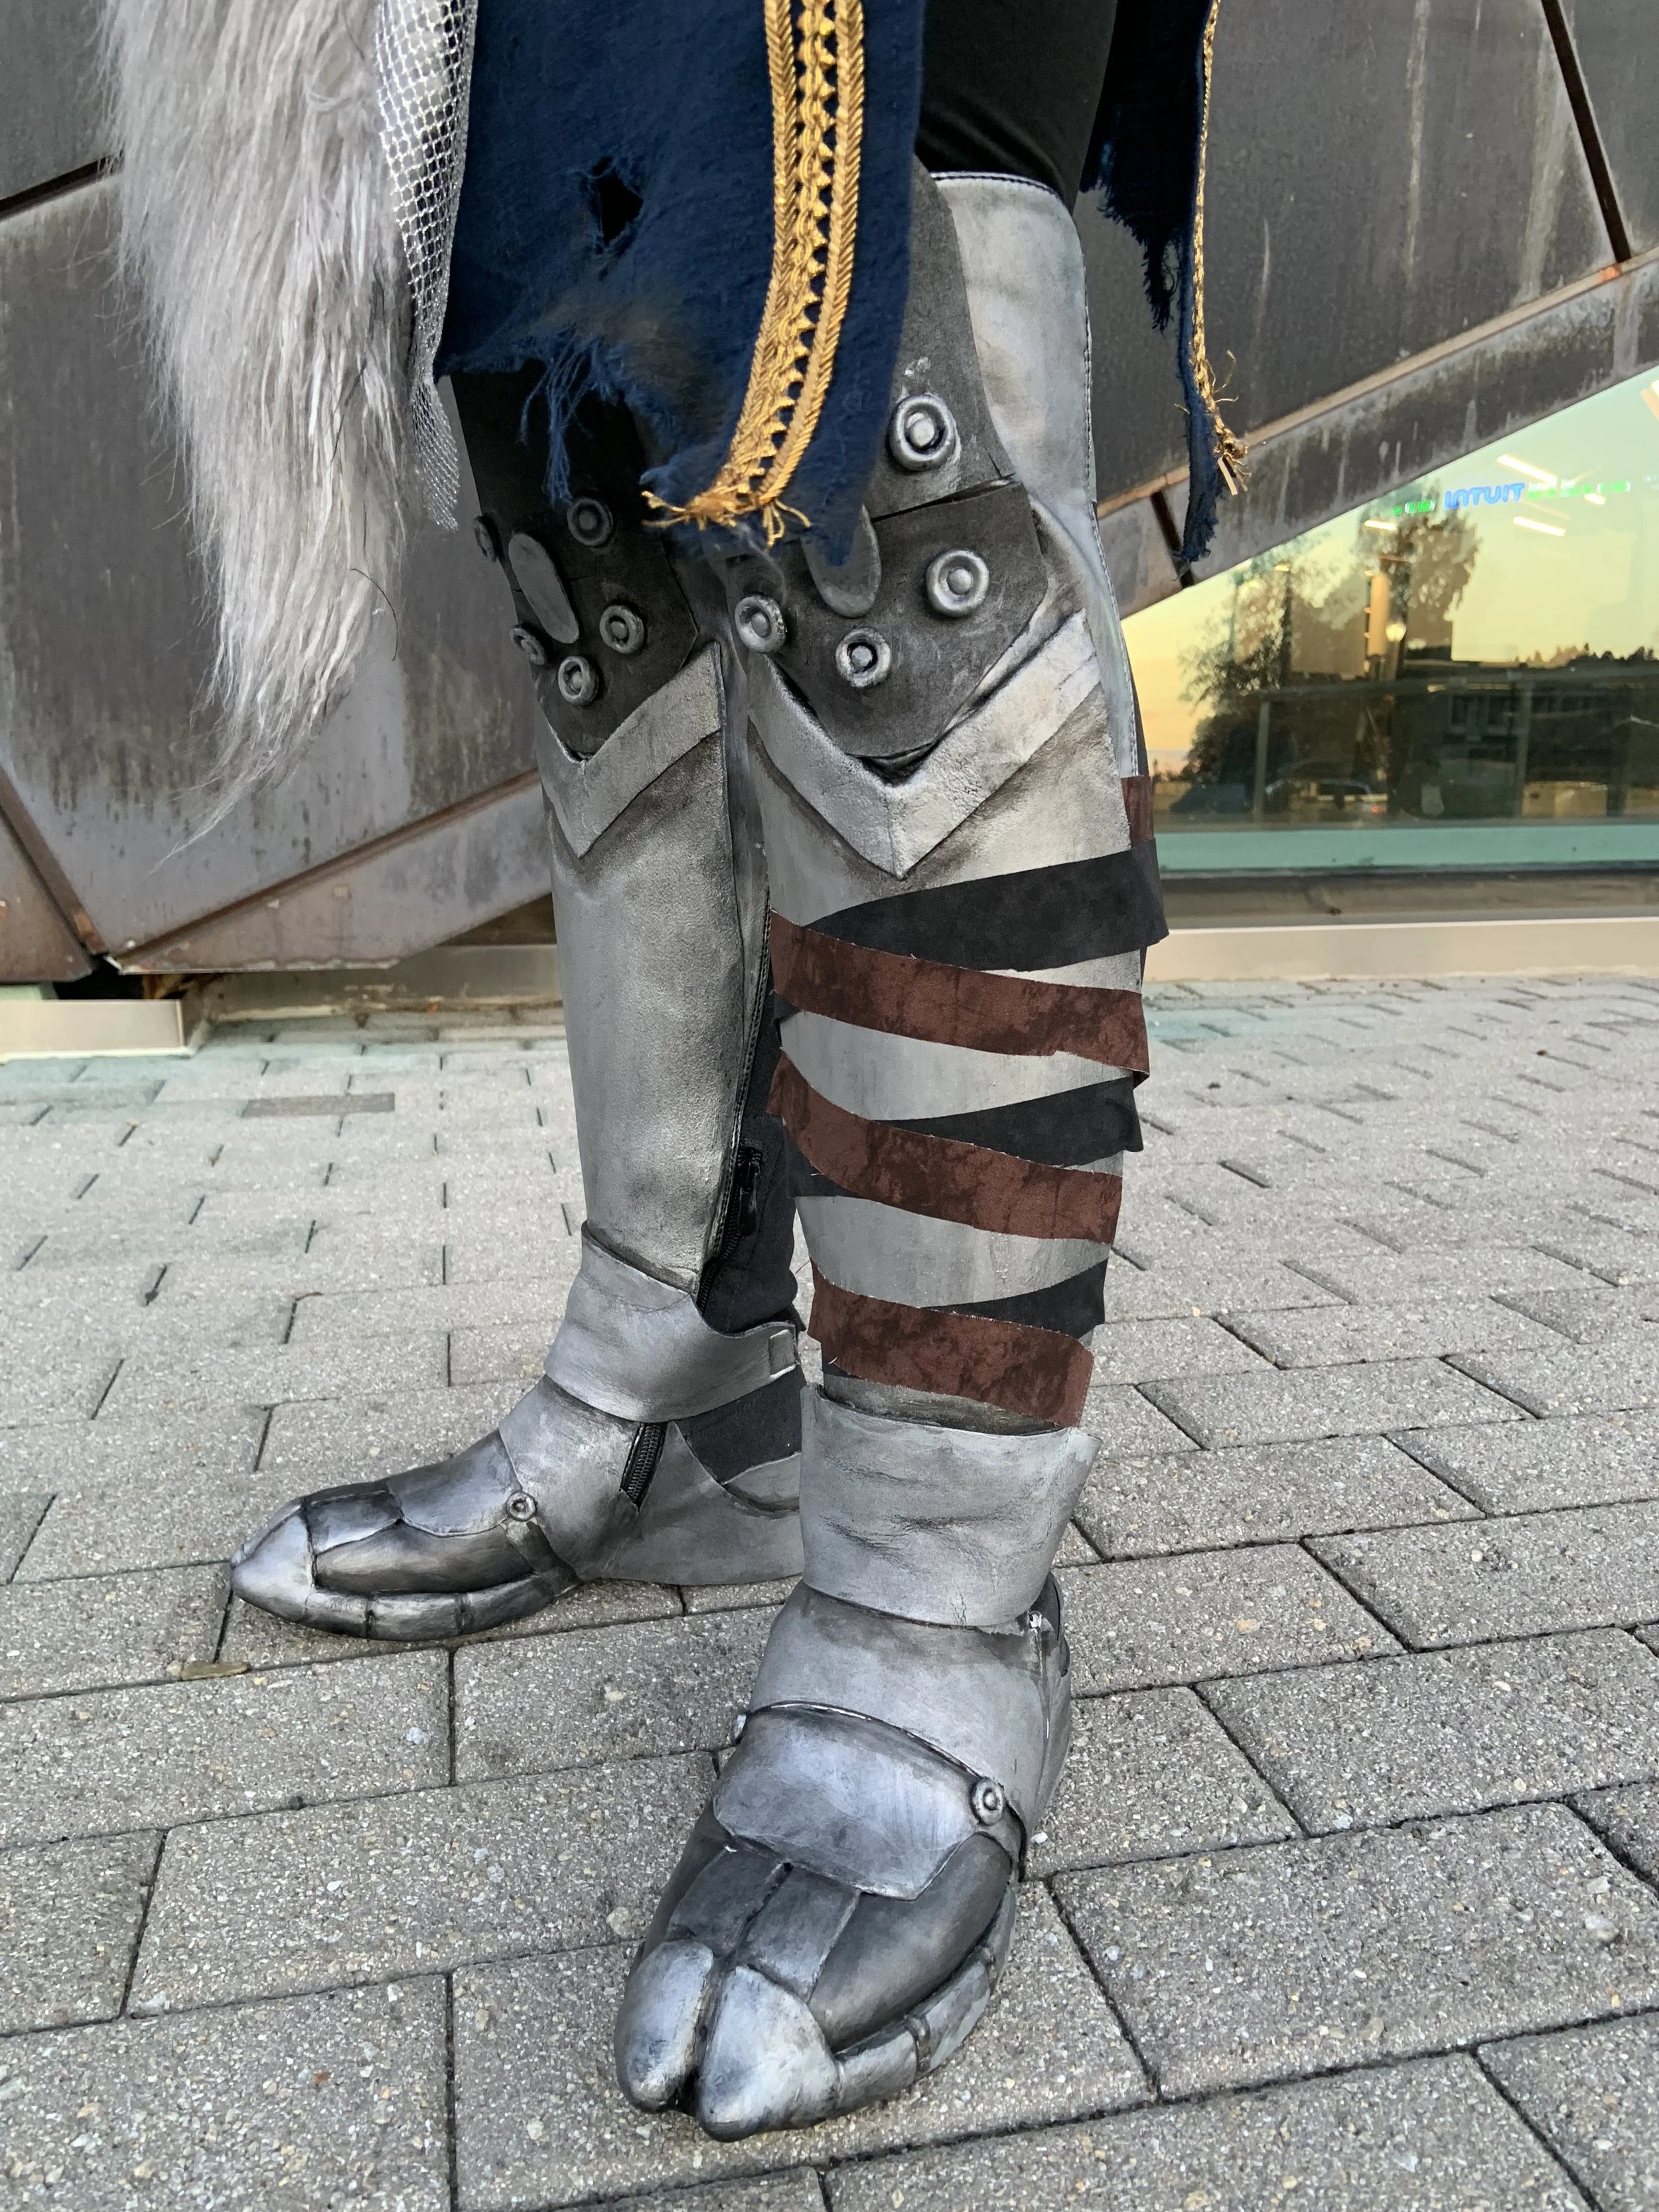
A close up photo of the front of the boots
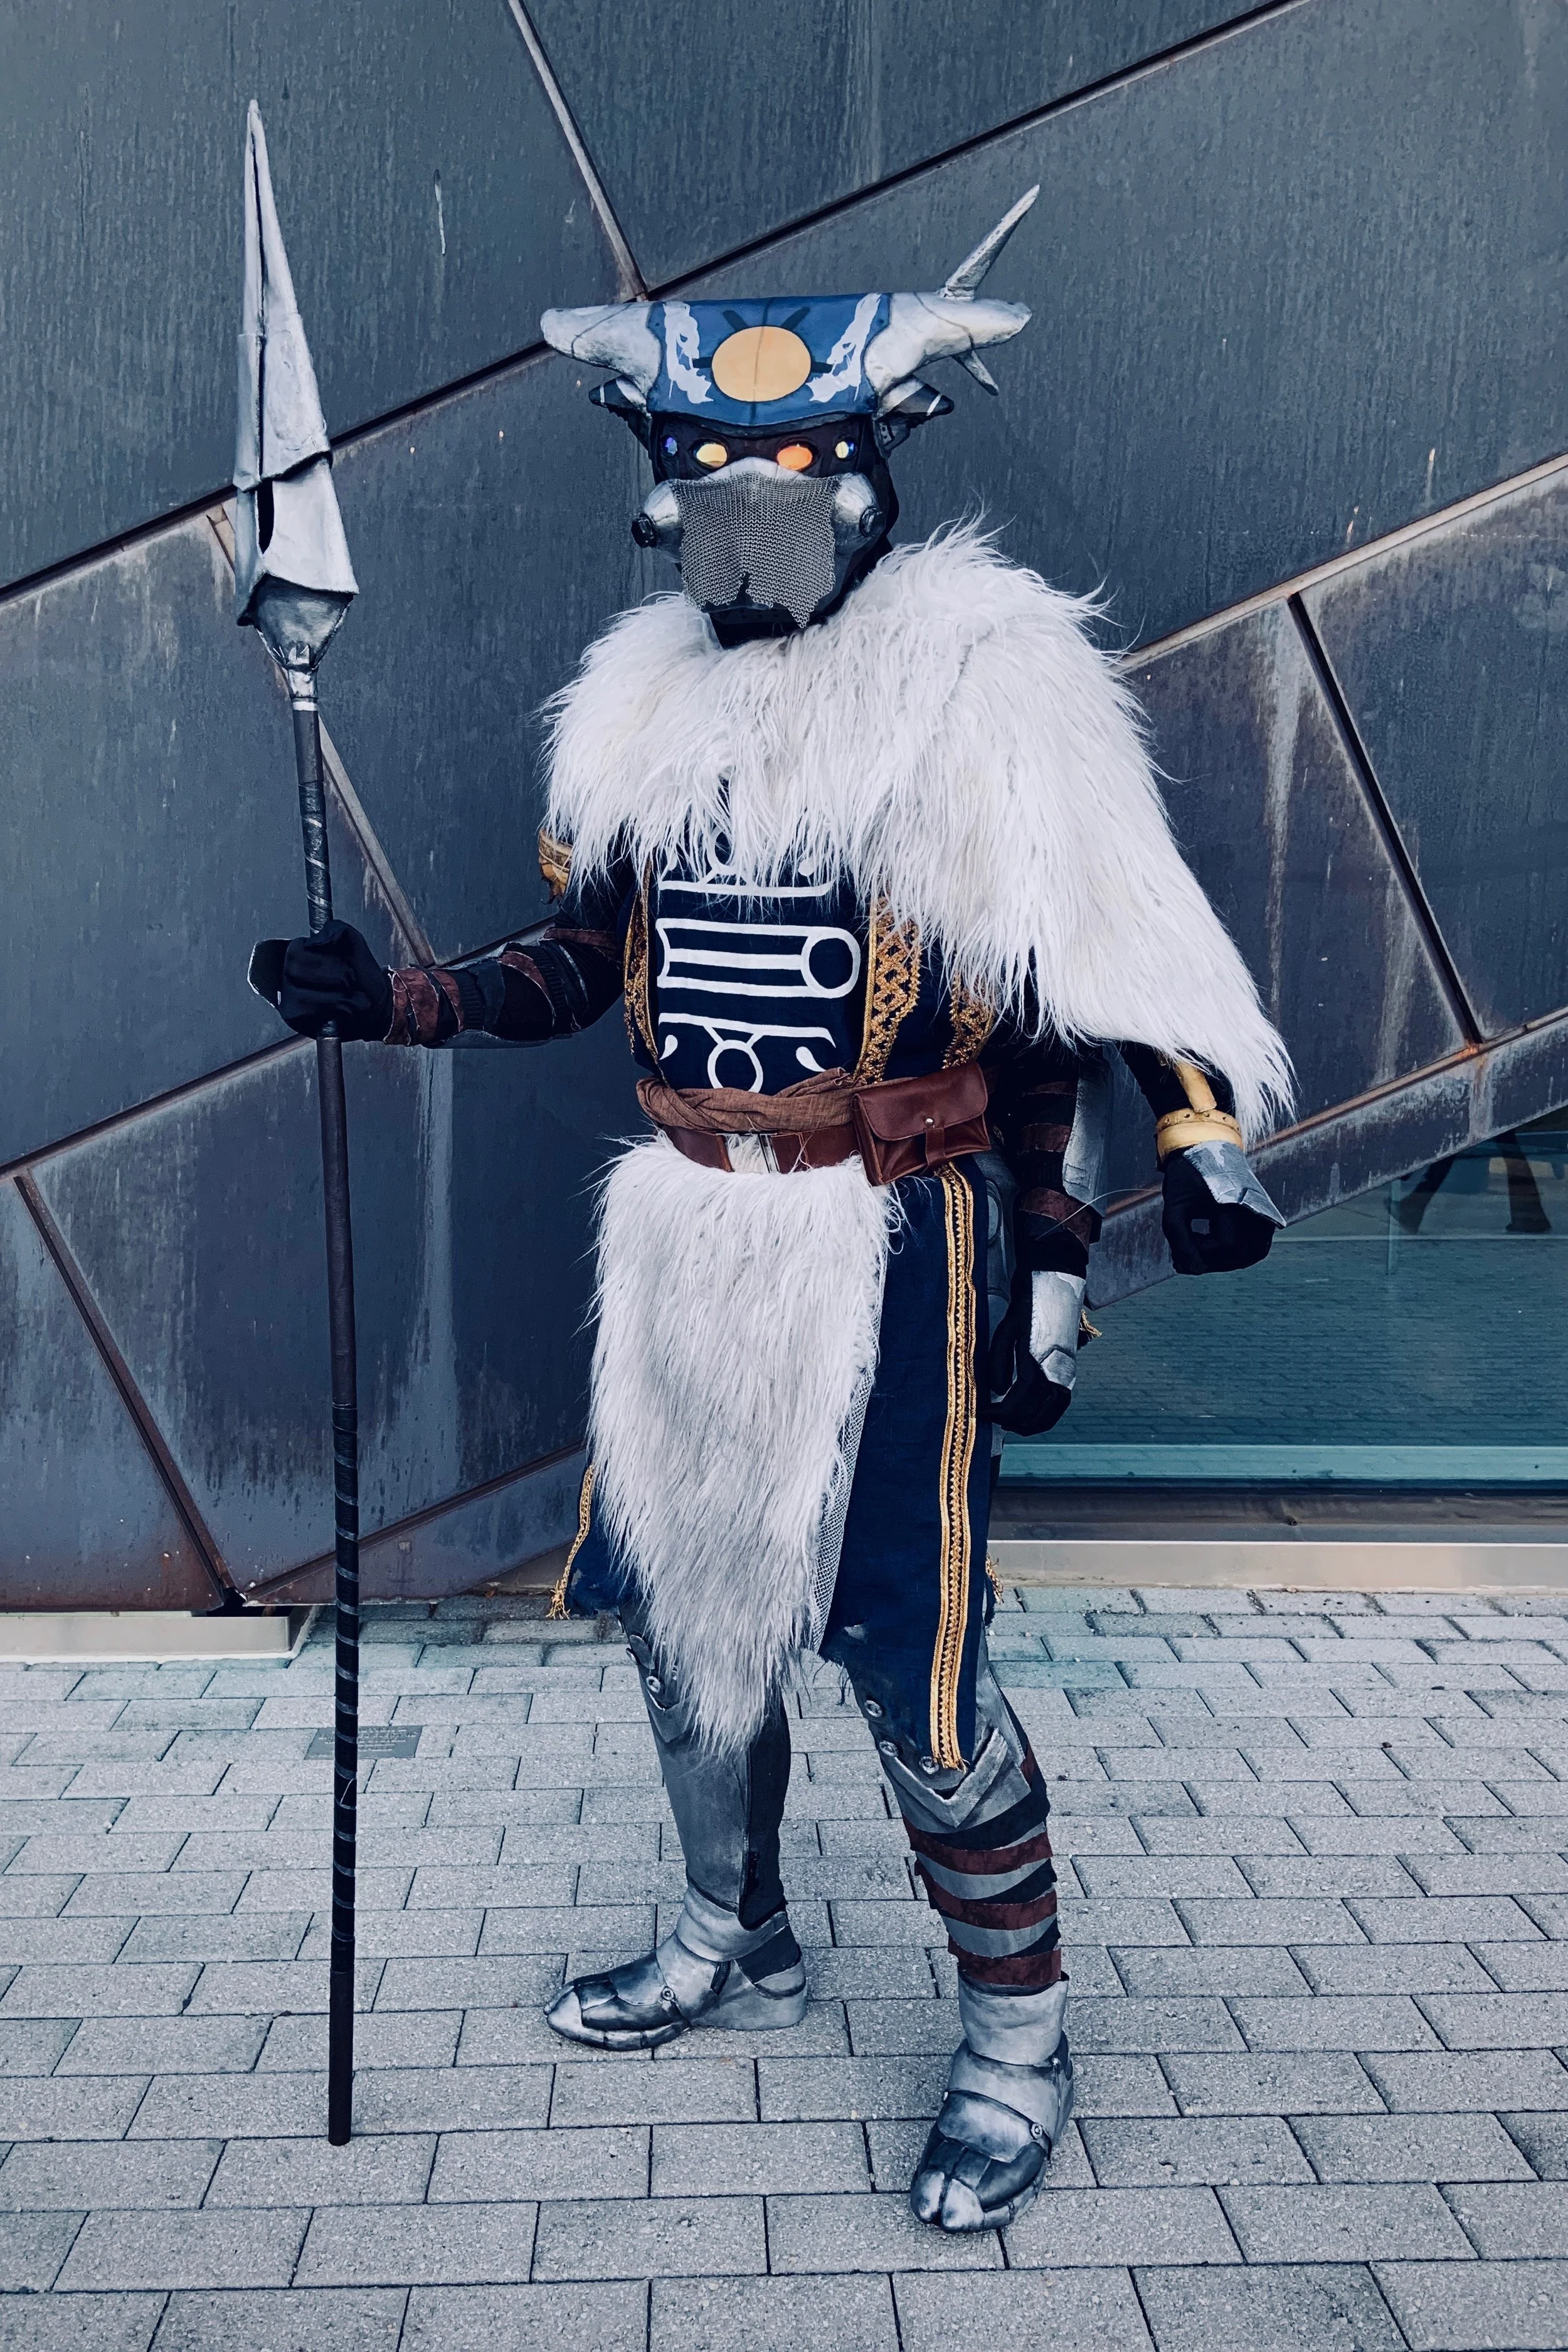
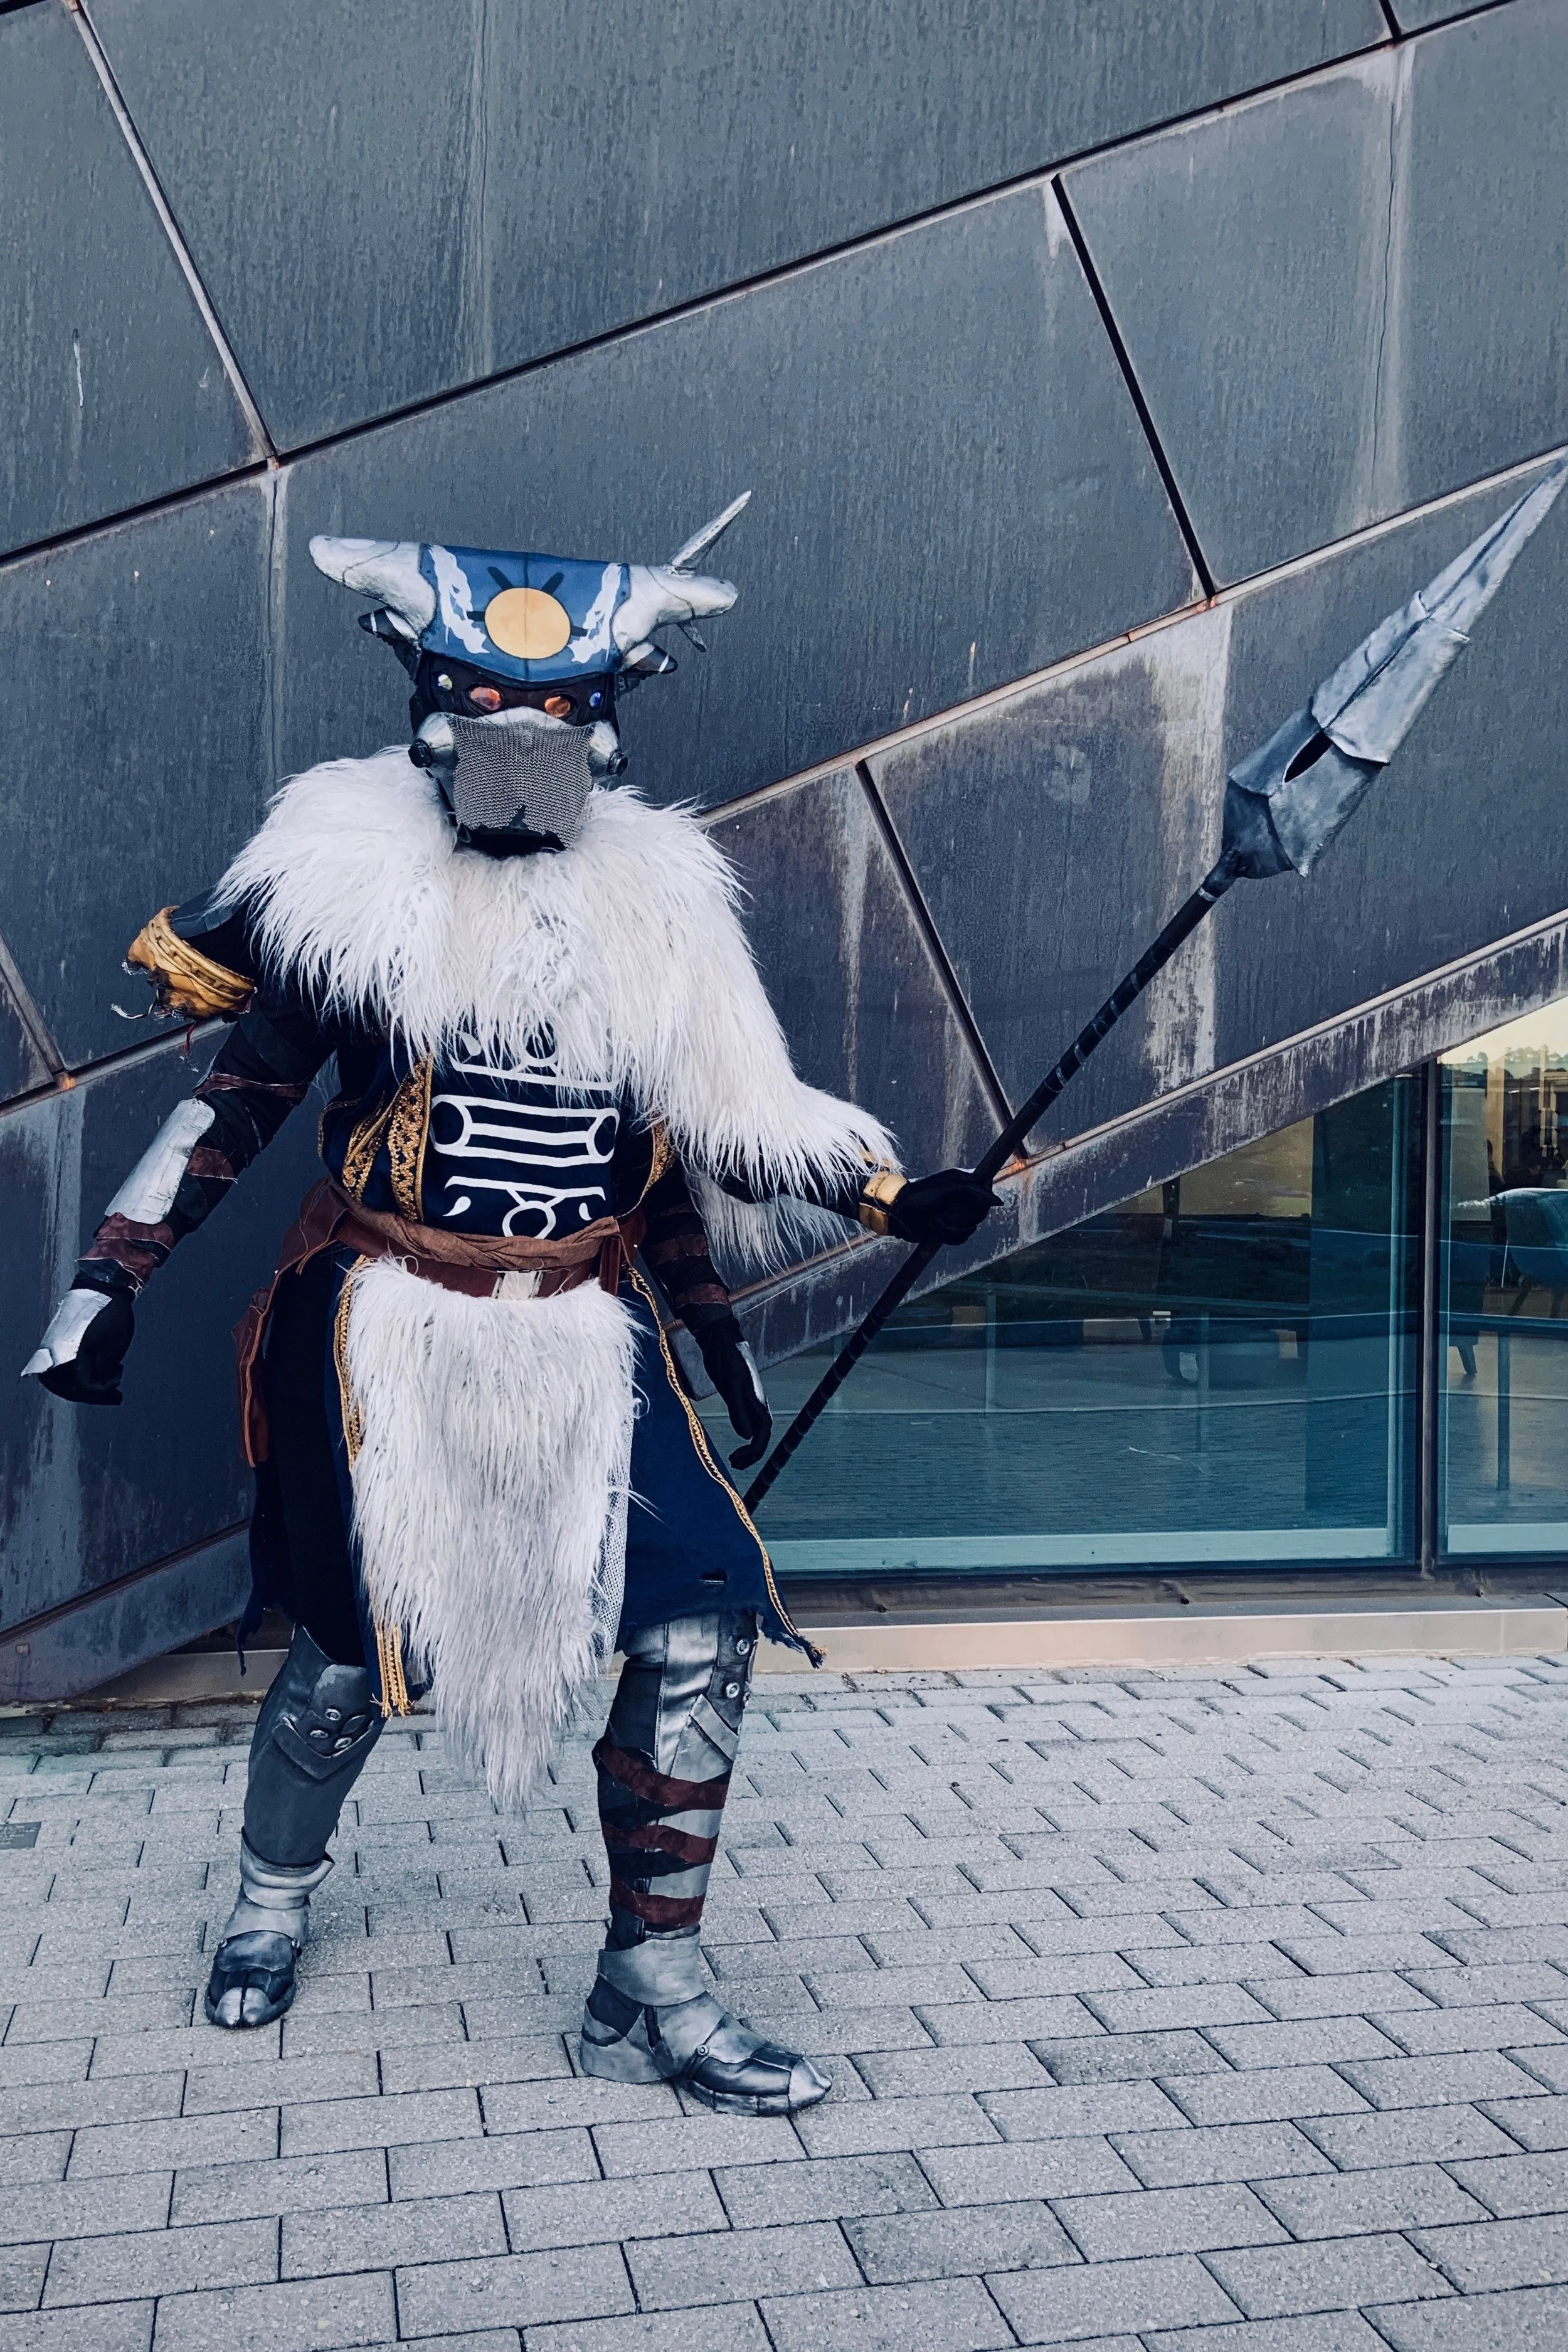
Me holding the spear
Padding
Extra Arm and Shoulder
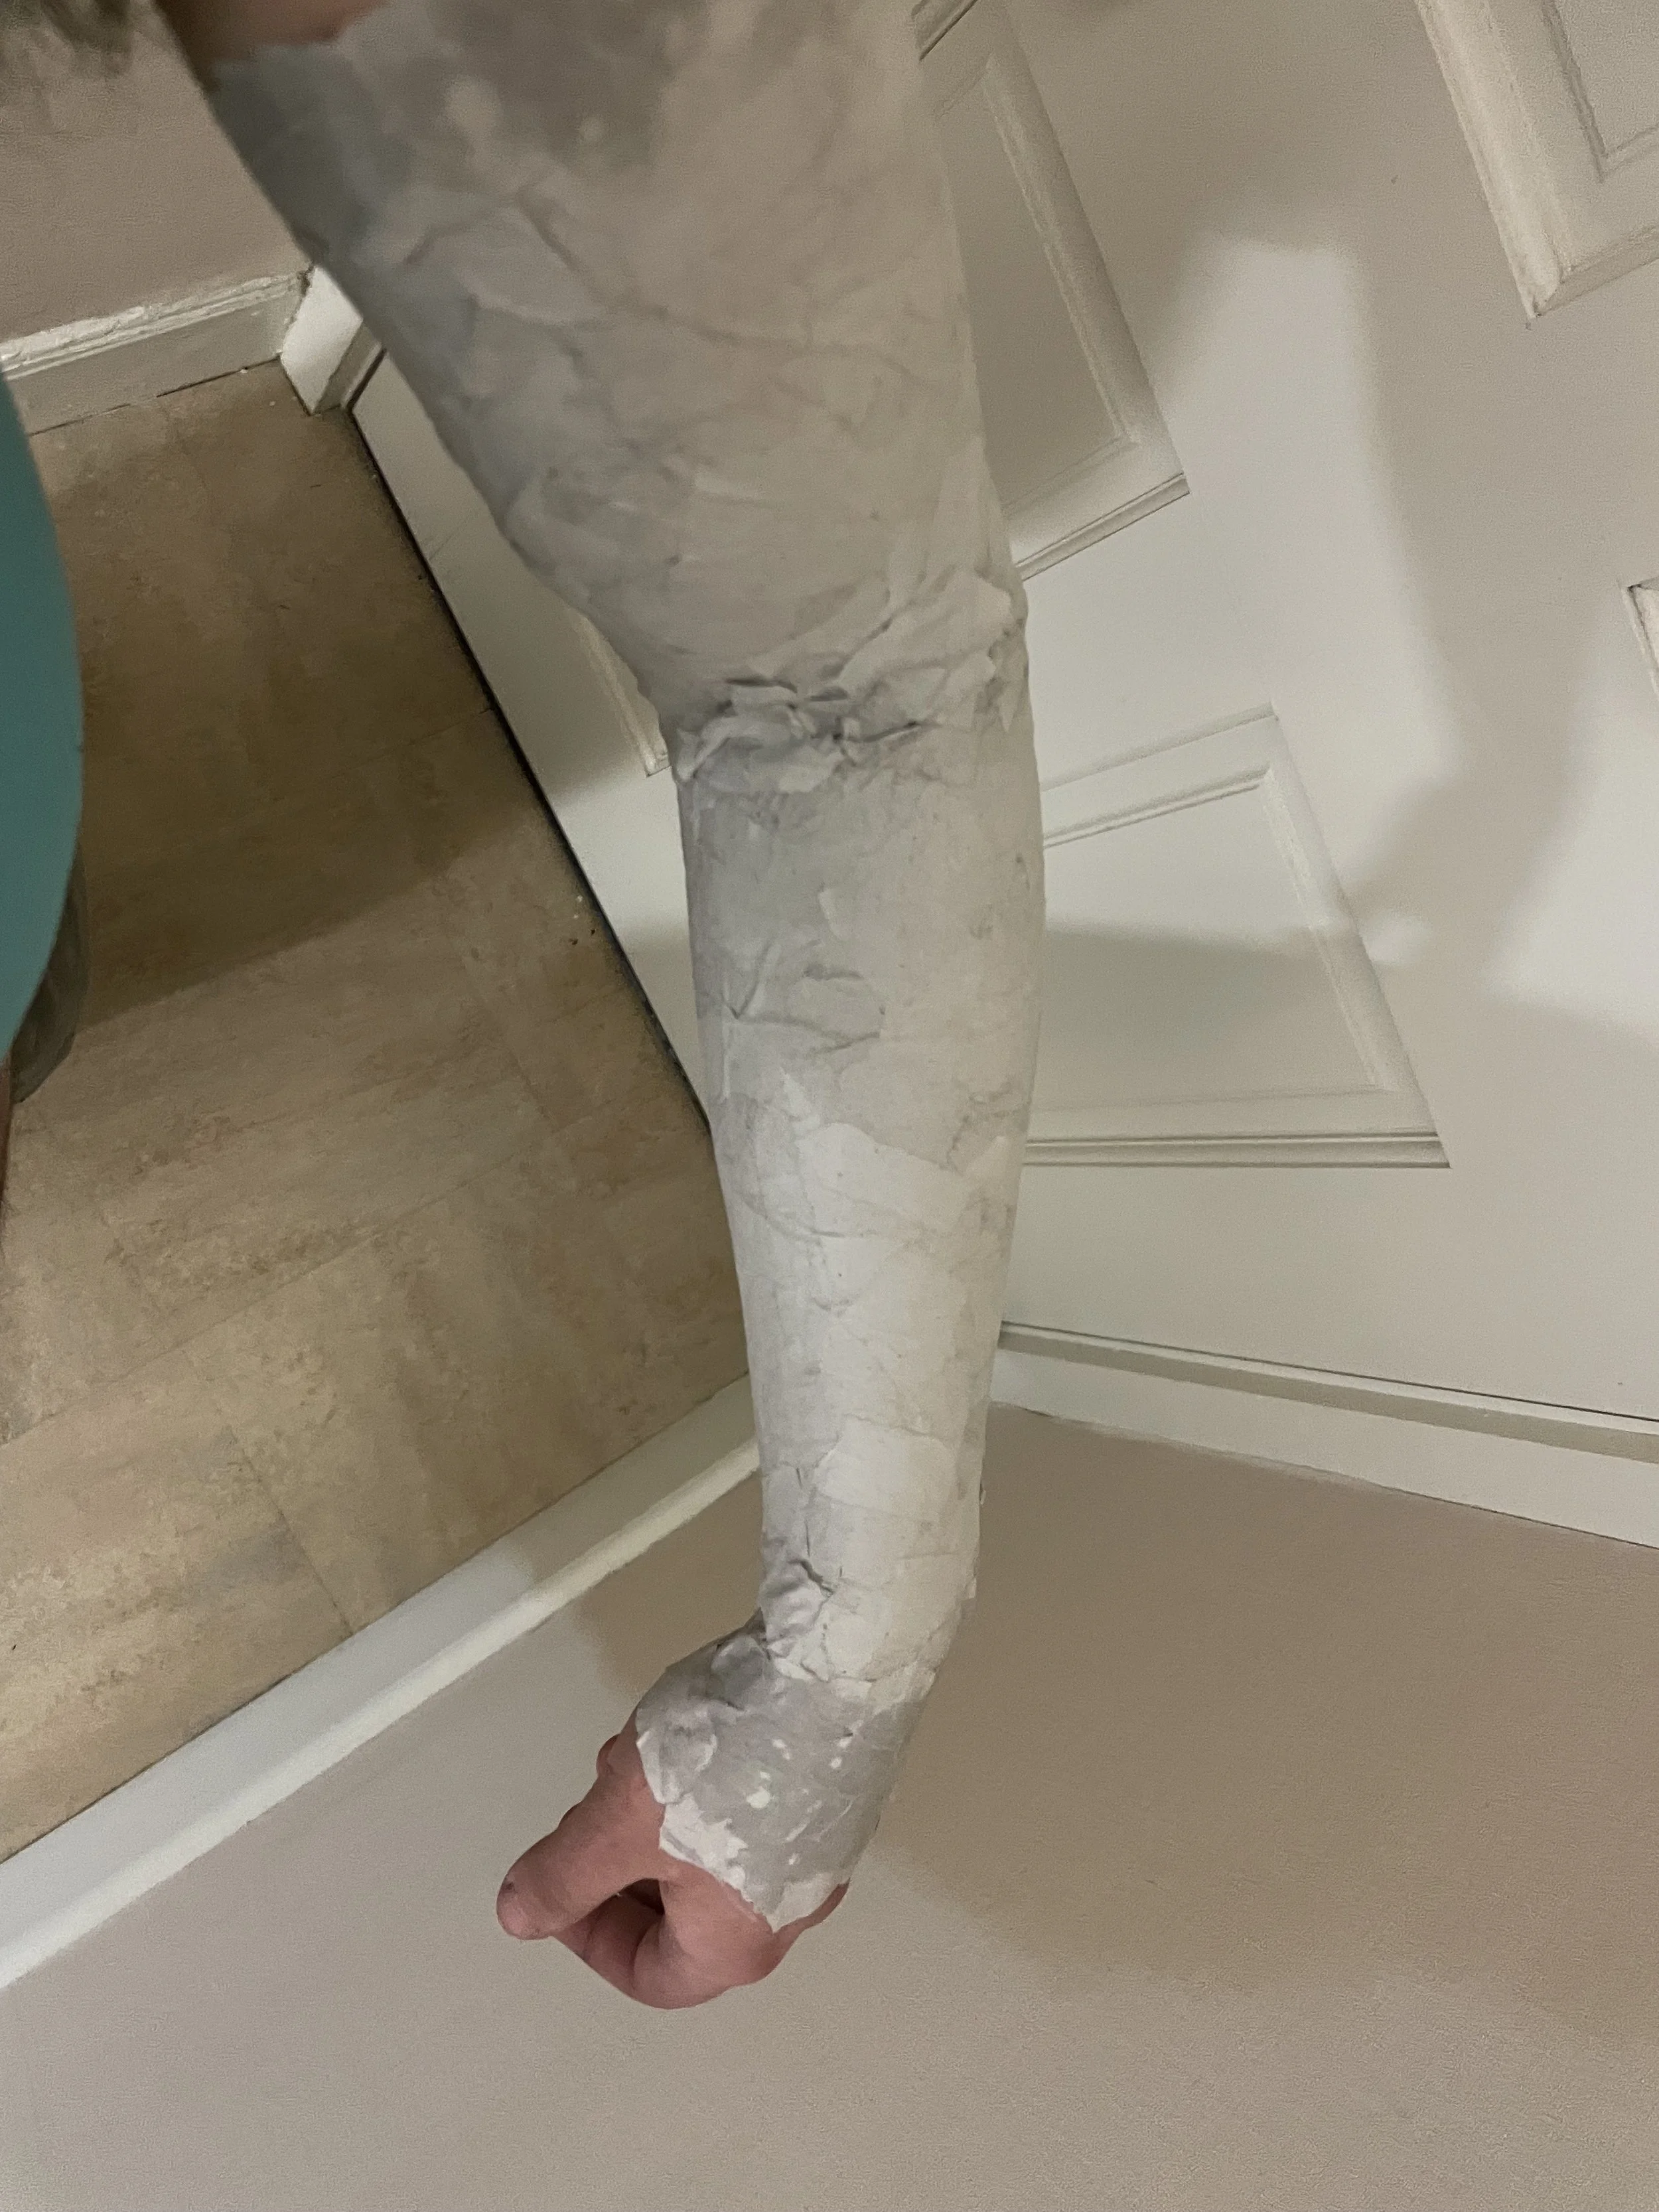
An interesting challenge in making this costume were the extra limbs this character has. I started with the extra arm, which went through a few different editions. At first, I thought I would use a mannequin arm, but I quickly realized that would be too heavy, too stiff, and just didn’t look like a human arm.
To solve that, I ended up using paper mache to cover my entire left arm (pictured to the far left), which allowed me to make essentially a replica of my own arm. Once I peeled the paper mache off, I stuffed it and covered it in a sleeve I could later attach to the shirt, which can be seen in the middle left photo. To make the hand, I just stuffed one of the gloves.
I wanted the arm to be able to move along with my left arm, instead of just hanging by my side, so I attached it using fishing wire - while not completely invisible, it works pretty well to raise the fake arm.

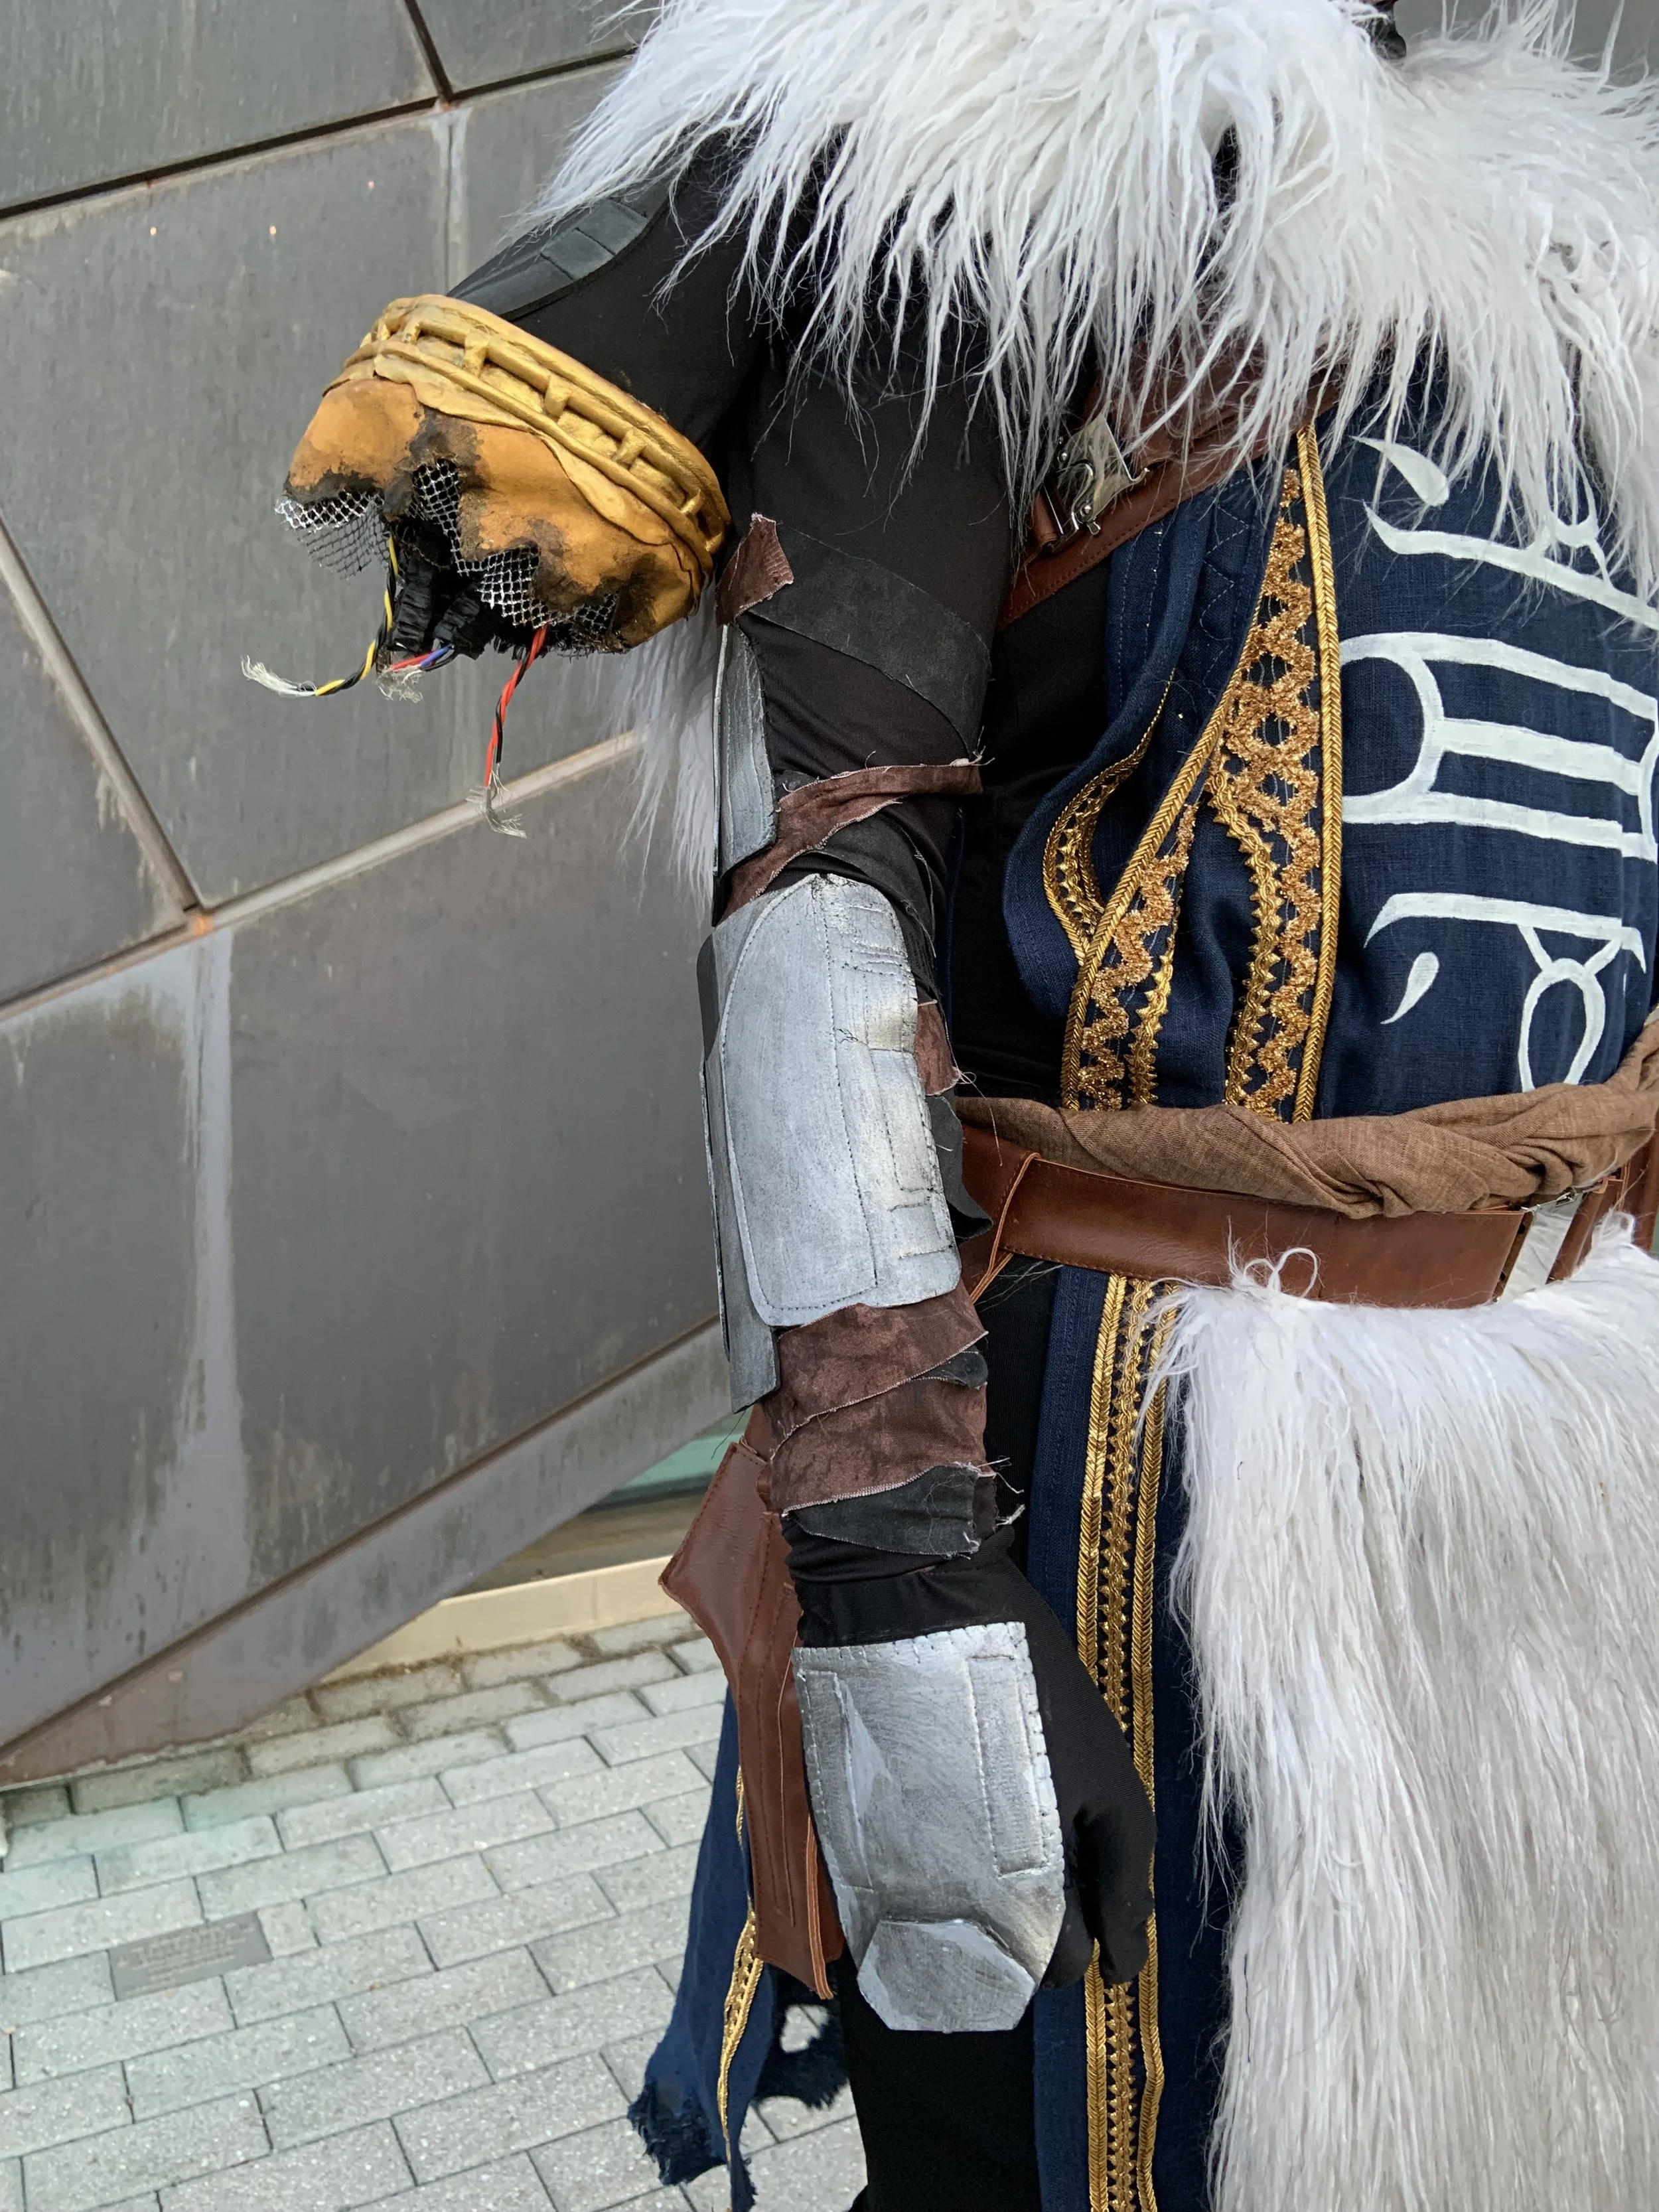
Worn photo of the shoulder
Worn photo of the tunic and mantle
Armor
This costume had a bunch of random armor pieces, including three pieces on the back of the hands, two bracers, two elbow pieces, and a thigh piece. I made all of those out of EVA foam, which I then painted with acrylic paint to make it look like metal. A photo of the armor on one arm is pictured to the left.
For most of the armor, I ended up sewing it on, because I knew putting things on and taking things off was going to be tricky in this costume. While I do think rigging it to make it easier to put on and take off was the right move, I wish I had hid the stitching better; a lot of it is visible, and while that isn’t necessarily a problem unless you’re looking closely at it, it’s something I wish I’d put a little more time into crafting more finely.
On the left arm that was my real arm, there was also a series of metal pipes and rods acting as a sort of prosthetic on the original character model. To achieve that look, I used EVA foam to make a frame and sculpted the pipes on top of that using foam clay. I also used fake leather to make a tube, which I stuffed to give it dimension. The entire thing attaches using velcro at the wrist and elbow, and can be seen in the photo to the right.
Spear
The last piece of this costume was actually somewhat last minute addition. Variks, in the game, has a spear, and originally I wasn’t going to make one, as I have very limited experience making fake weapons. However, it felt like having a prop for the photoshoot would be really helpful, so I ended up putting one together very quickly, using a random plastic pole I had lying around and Worbla to form the spear head.
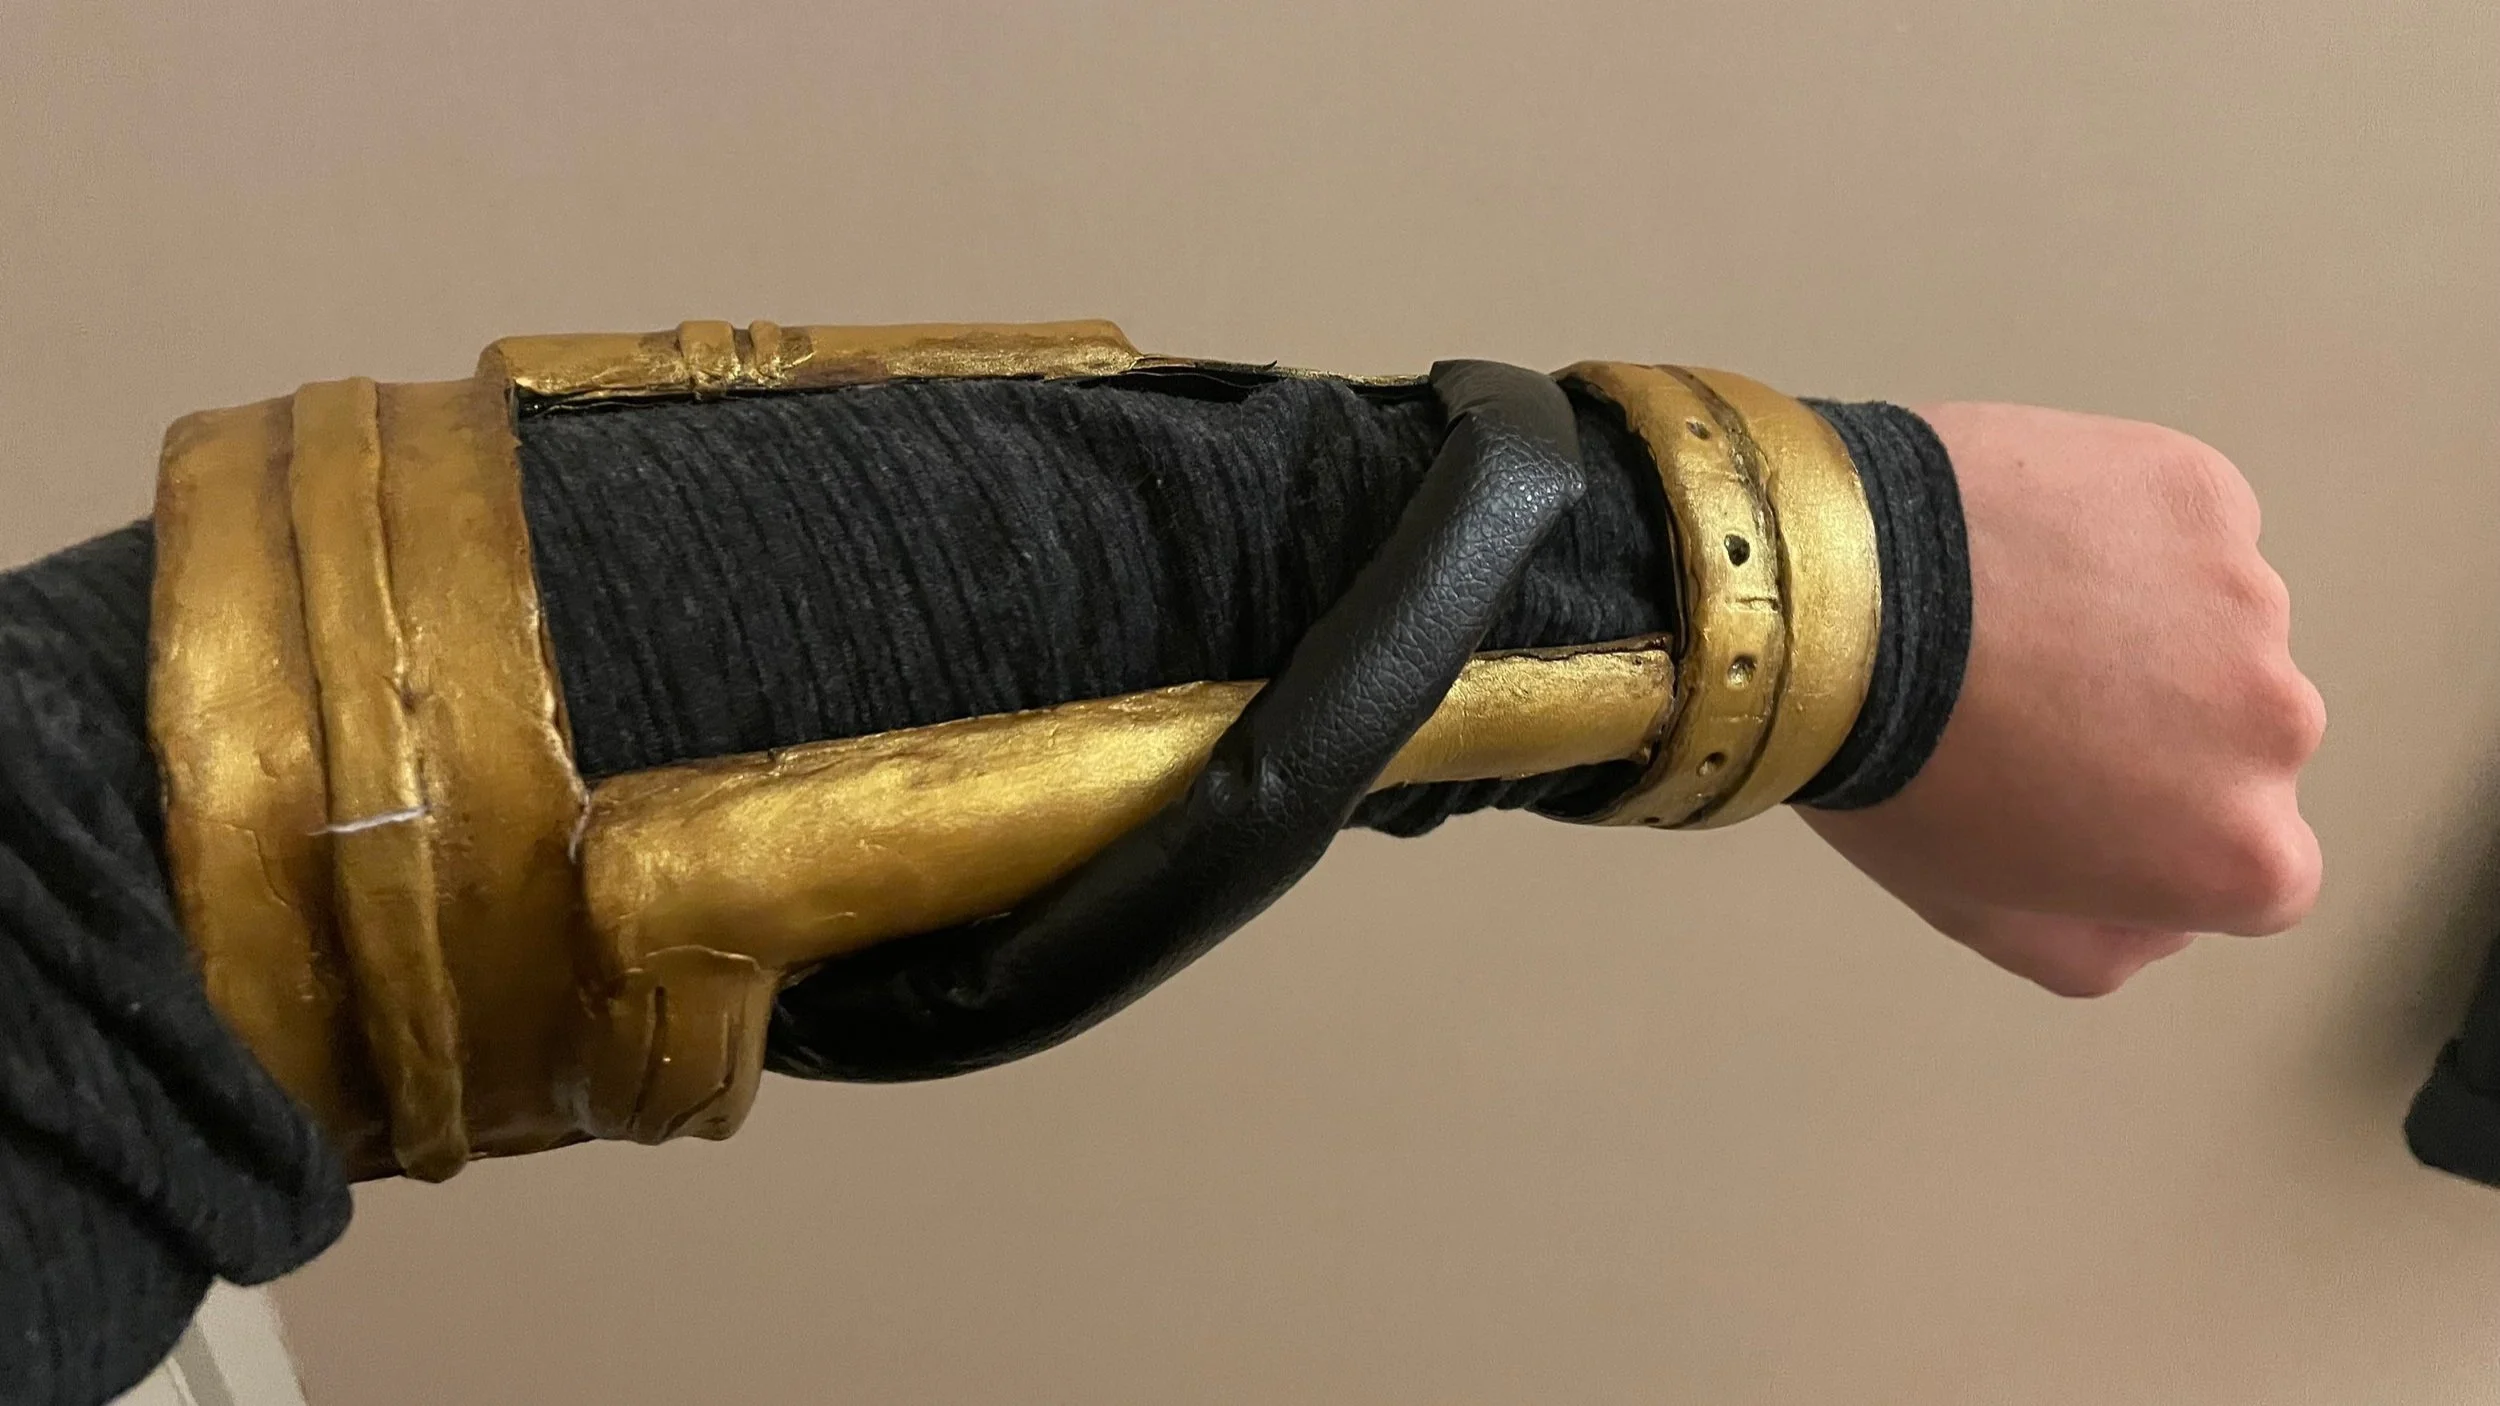
Gold arm piece on my arm
Boots
The boots were the last big challenge of this costume. I tried a few different techniques to make them. My first try was using Worbla to sculpt the shapes, but I quickly realized that wasn’t going to move enough for me to be able to walk easily. In the end, I built them around some knee high boots I bought, using a mixture of foam clay, EVA foam, and Worbla to get the shapes I wanted.
While I’m largely very happy with the front, the back of the boots ended up not getting as much love as I would have liked. I was working on the boots until very late the night before the photoshoot, and at a certain point just had to decide that they were done. The back of the boots is something I’d like to come back to in the future and work on a little more, especially if I ever decide to take this costume to a convention.


Acknowledgements
I’d like to thank Rex Tans for taking the photographs of this costume, as well as the Smith College Costume Shop supervisors, Emily Dunn and Tilly Adams, for letting me use their tools and space.